Center On LandmarkList Interactive
In this guide you will learn how to interactively select a set of landmarks on an interactive map and then center the bounding box containing all selected landmarks in the viewport.
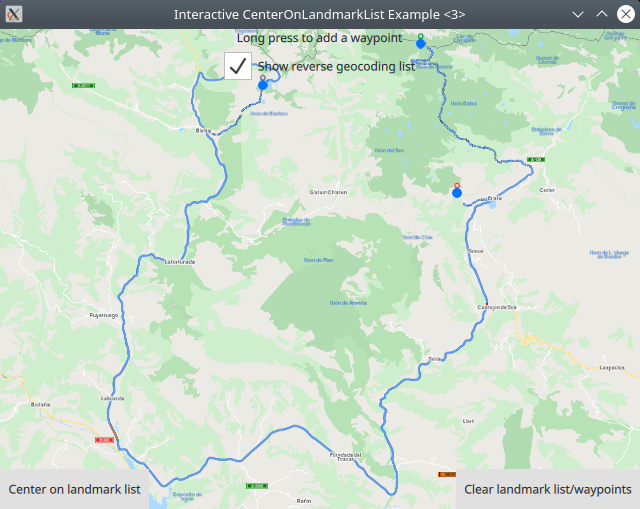
Interactively selected Landmarks
First, get an API key token, see the Getting Started guide.
Qt should be installed to continue.The Maps SDK for Qt should be installed, see the Setup Maps SDK for Qt guide.
Overview
CenterOnLandmarkListInteractive demonstrates how easy it is to use MapView
to display an interactive map, interactively select a set of landmarks, and center
the view on the bounding box containing all selected landmarks.
How it works

In Qt, go to the File menu and select Open File or Project…
then browse to the CenterOnLandmarkListInteractive example folder and open CenterOnLandmarkListInteractive.pro
You may want to have a look at Setting your API Key to see how to open and configure a project and set your API Key.
Selecting landmarks interactively
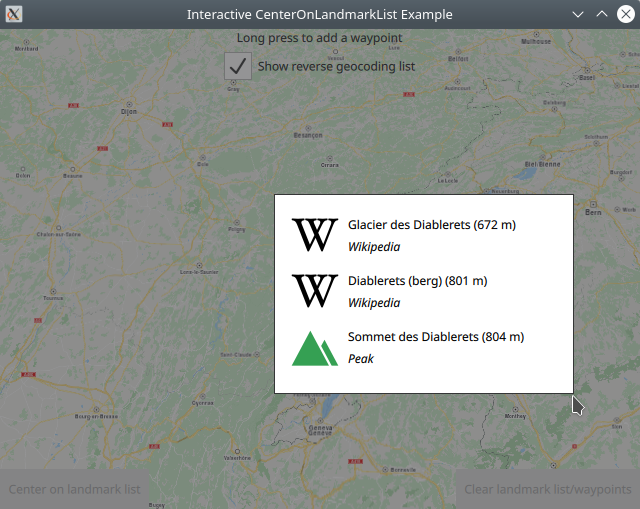
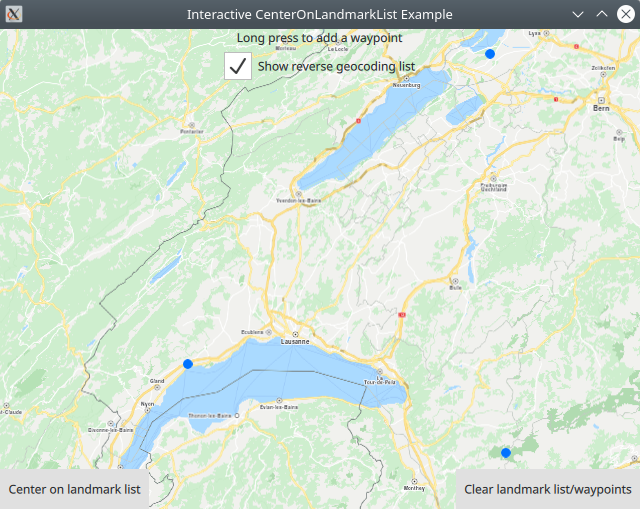
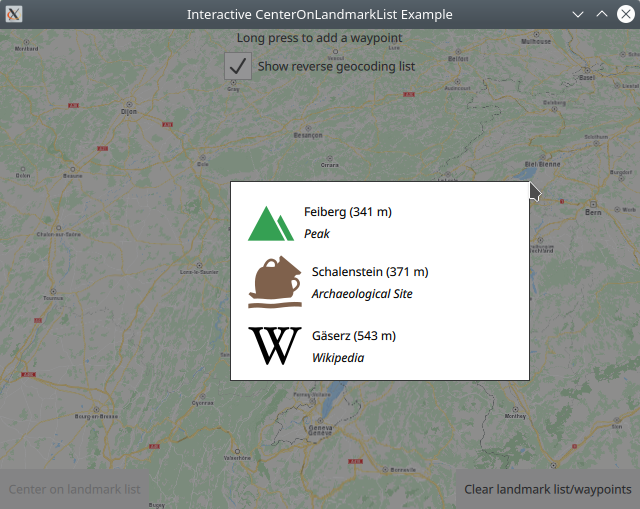
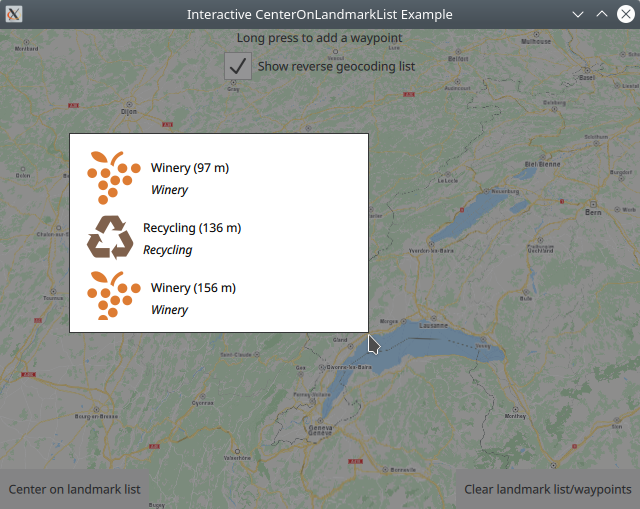
Left click and hold anywhere on the map, and a list of nearby landmarks is displayed. Then left click on one of the options to select it.
If you do not want to select any of the displayed landmarks, click outside the popup, and the list disappears. Then left click and hold somewhere else on the map to try again.
Repeat to select a second and then a third landmark.
Then click the Center on landmark list button, which is
now enabled.

Although a minimum of 2 landmarks is required, it is better to select at least 3 so they form a triangle or polygon, so it is visually clearer that the view centers on the selected group of landmarks.
1SearchService {
2       id: reverseGeocoding
3       searchMapPOIs: true
4       searchAddresses: true
5       limit: 10
6       thresholdDistance: 500
7       onSearchCompleted: addWaypointPopup.open()
8   }
SearchService is defined.addWaypointPopup.open()
or simply click outside the popup to close it.routingWaypoints.append(landmark)1LandmarkList {
2 id: routingWaypoints
3}
routingWaypoints is simply a LandmarkList
 1RoutingService {
 2    id: routingService
 3    type: Route.Type.Fastest
 4    transportMode: Route.TransportMode.Car
 5    waypoints: routingWaypoints
 6    onFinished: {
 7        mapView.routeCollection.set(routeList);
 8        mapView.centerOnRouteList(routeList);
 9    }
10}
The list of selected landmarks/waypoints is made available to the l RoutingService. In this case, a route is not rendered, as we are interested only in the bounding box containing all selected landmarks (2 or more), in order to center the map view on that bounding box/list of interactively selected landmarks.
 1Button {
 2   text: "Center on landmark list"
 3   enabled: ServicesManager.settings.connected && routingWaypoints.length > 1
 4   onClicked: {
 5      //show landmarks on map as point markers
 6      let marker = ServicesManager.createMarker();
 7      for (let n = 0; n < routingWaypoints.length; n++) {
 8         let lmkit = routingWaypoints.get(n)
 9         marker.append(lmkit.coordinates);
10      }
11      let renderSettings = ServicesManager.createMarkerRenderSettings();
12      let list = mapView.markerCollection.getExtendedList(MarkerList.Type.Point);
13      list.append(marker, renderSettings);
14      mapView.centerOnGeographicArea(routingWaypoints.boundingBox)
15   }
16}
When the "Center on landmark list" button is clicked,
a marker is created for each waypoint/landmark in the list.
The list of markers is then rendered on the map.
See also the Markers example.
To render a route via the selected landmarks/waypoints, in the above code, after this line:
mapView.centerOnGeographicArea(routingWaypoints.boundingBox)
you can add this line:
routingService.update()
to treat the waypoints as a route in the order in which they were added, instead of a group of landmarks.
Then the route as well as the waypoints are rendered, and the camera centers on the bounding box containing the selected landmarks/waypoints, as well as the route connecting them.