Magic Lane Documentation
Examples, tutorials, and API references for building with Magic Lane. Find all the guides and resources you need.

Follow our step-by-step guide to sign up for a free account, create a project, generate your API key and start building your mapping solution.
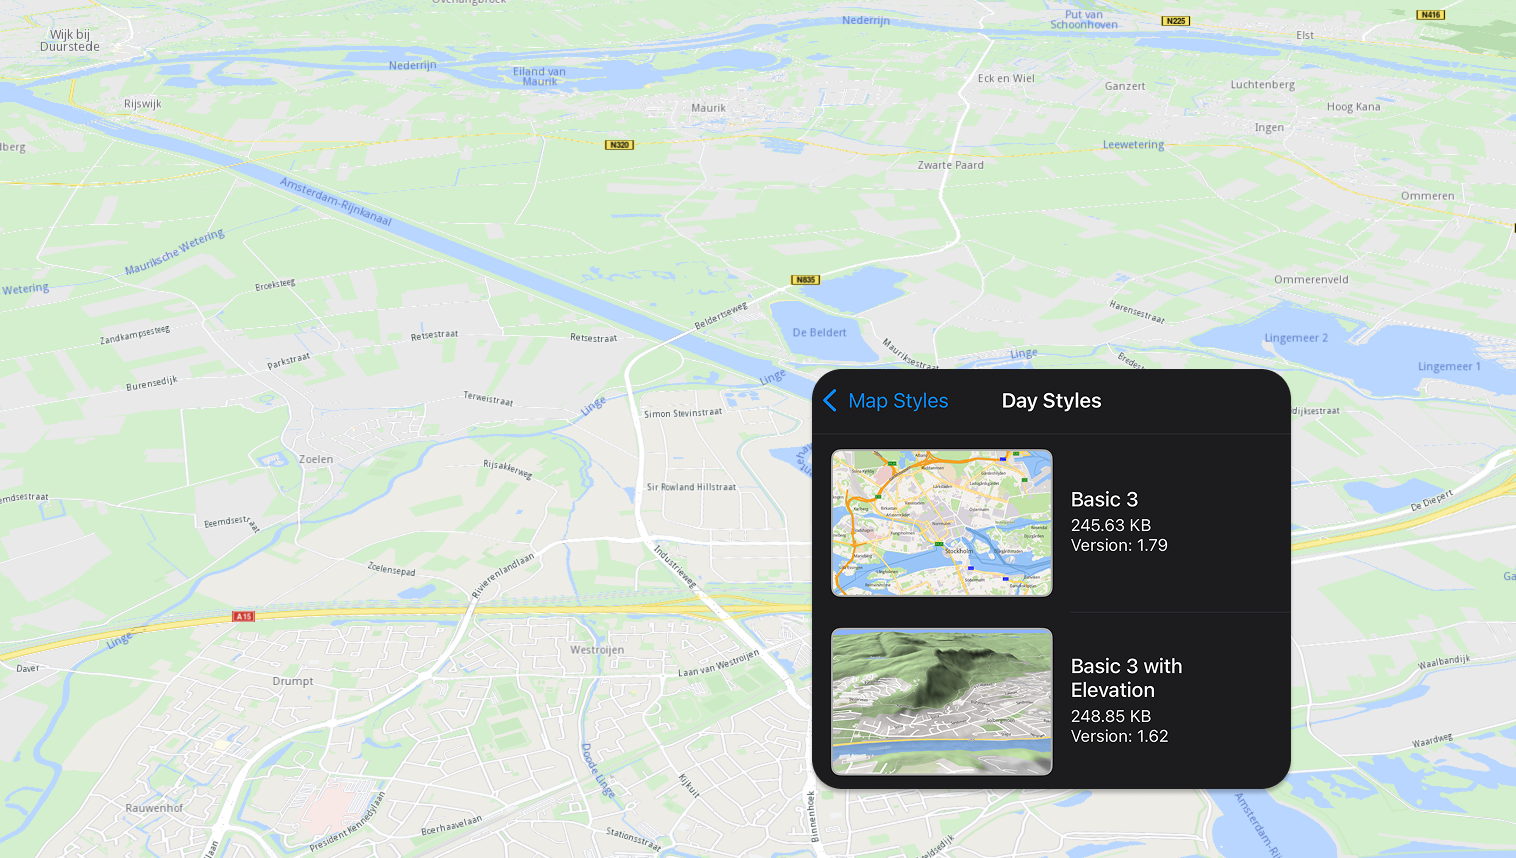
Studio

Maps client SDKs
Maps SDK for Android
Build interactive Android maps with the Maps SDK, featuring 3D views, navigation, styling, offline support, and real-time location tracking.
Maps SDK for iOS
Develop immersive iOS maps with 3D views, navigation, offline access, and real-time tracking.
Maps SDK for Flutter
Create powerful Flutter apps with global maps, offline routing, and optimized navigation for cars, pedestrians, and cyclists.
REST APIs
Maps
A stateless, reliable Maps REST API for global coverage, real-time navigation, offline maps, and terrain profiling.
Fleet Management
Streamline fleet operations with VRP optimization for efficient route planning, order fulfillment, and vehicle assignments, reducing costs and maximizing productivity.