Text Search
|
|||
Setup
Prerequisites
Build and run
Go to the text_search directory,
within the flutter examples directory - that is the name of this example project.
Note - the gem_kit directory containing the Maps SDK for Flutter
should be in the plugins directory of the example, e.g.
example_pathname/plugins/gem_kit - see the environment setup guide above.
Run: flutter pub get
Configure the native parts:
First, verify that the ANDROID_SDK_ROOT environment variable
is set to the root path of your android SDK.
In android/build.gradle add the maven block as shown,
within the allprojects block, for both debug and release builds:
allprojects {
    repositories {
        google()
        mavenCentral()
        maven {
           url "${rootDir}/../plugins/gem_kit/android/build"
        }
    }
}
in android/app/build.gradle
within the android block, in the defaultConfig block,
the android SDK version minSdk must be set as shown below.
Additionally, for release builds, in android/app/build.gradle,
within the android block, add the buildTypes block as shown:
Replace example_pathname with the actual project pathname
android {
    defaultConfig {
        applicationId "com.magiclane.gem_kit.examples.example_pathname"
        minSdk 21
        targetSdk flutter.targetSdk
        versionCode flutterVersionCode.toInteger()
        versionName flutterVersionName
    }
    buildTypes {
        release {
            minifyEnabled false
            shrinkResources false

            // TODO: Add your own signing config for the release build.
            // Signing with the debug keys for now, so `flutter run --release` works.
            signingConfig signingConfigs.debug
        }
    }
}
Then run the project:
flutter run --debugorflutter run --release
App entry and initialization
const projectApiToken = String.fromEnvironment('GEM_TOKEN');

void main() {
  runApp(const MyApp());
}
This code initializes the projectApiToken with the required authorization token and launches the app.
How it works
This example demonstrates the following features:
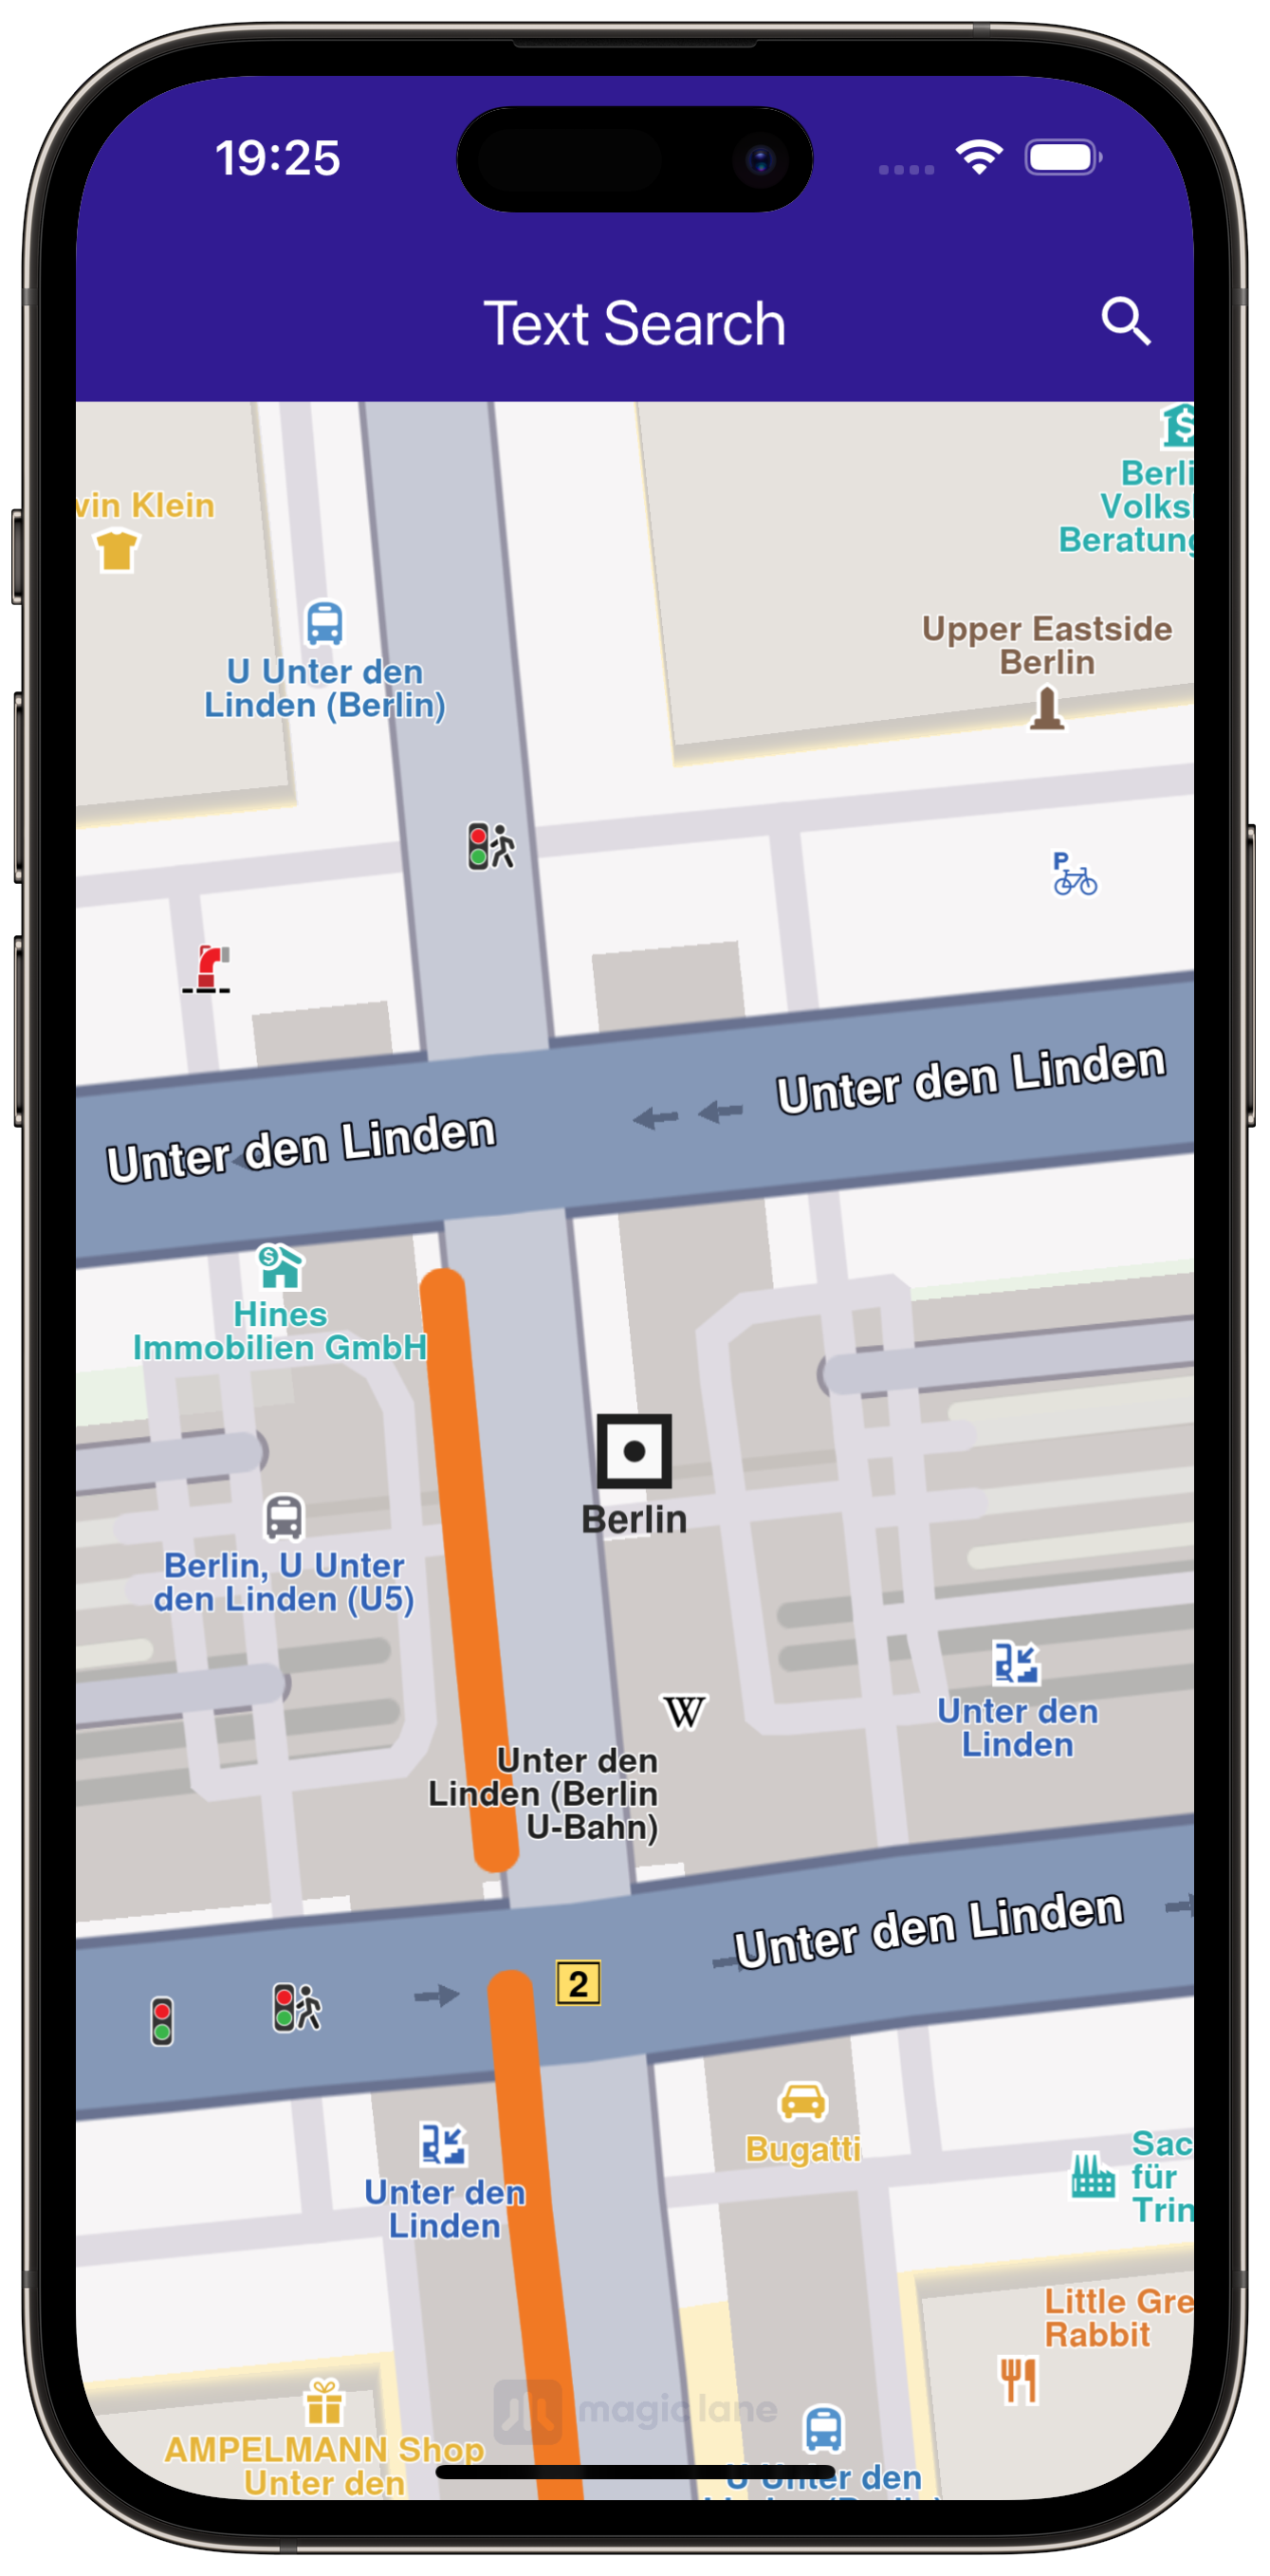
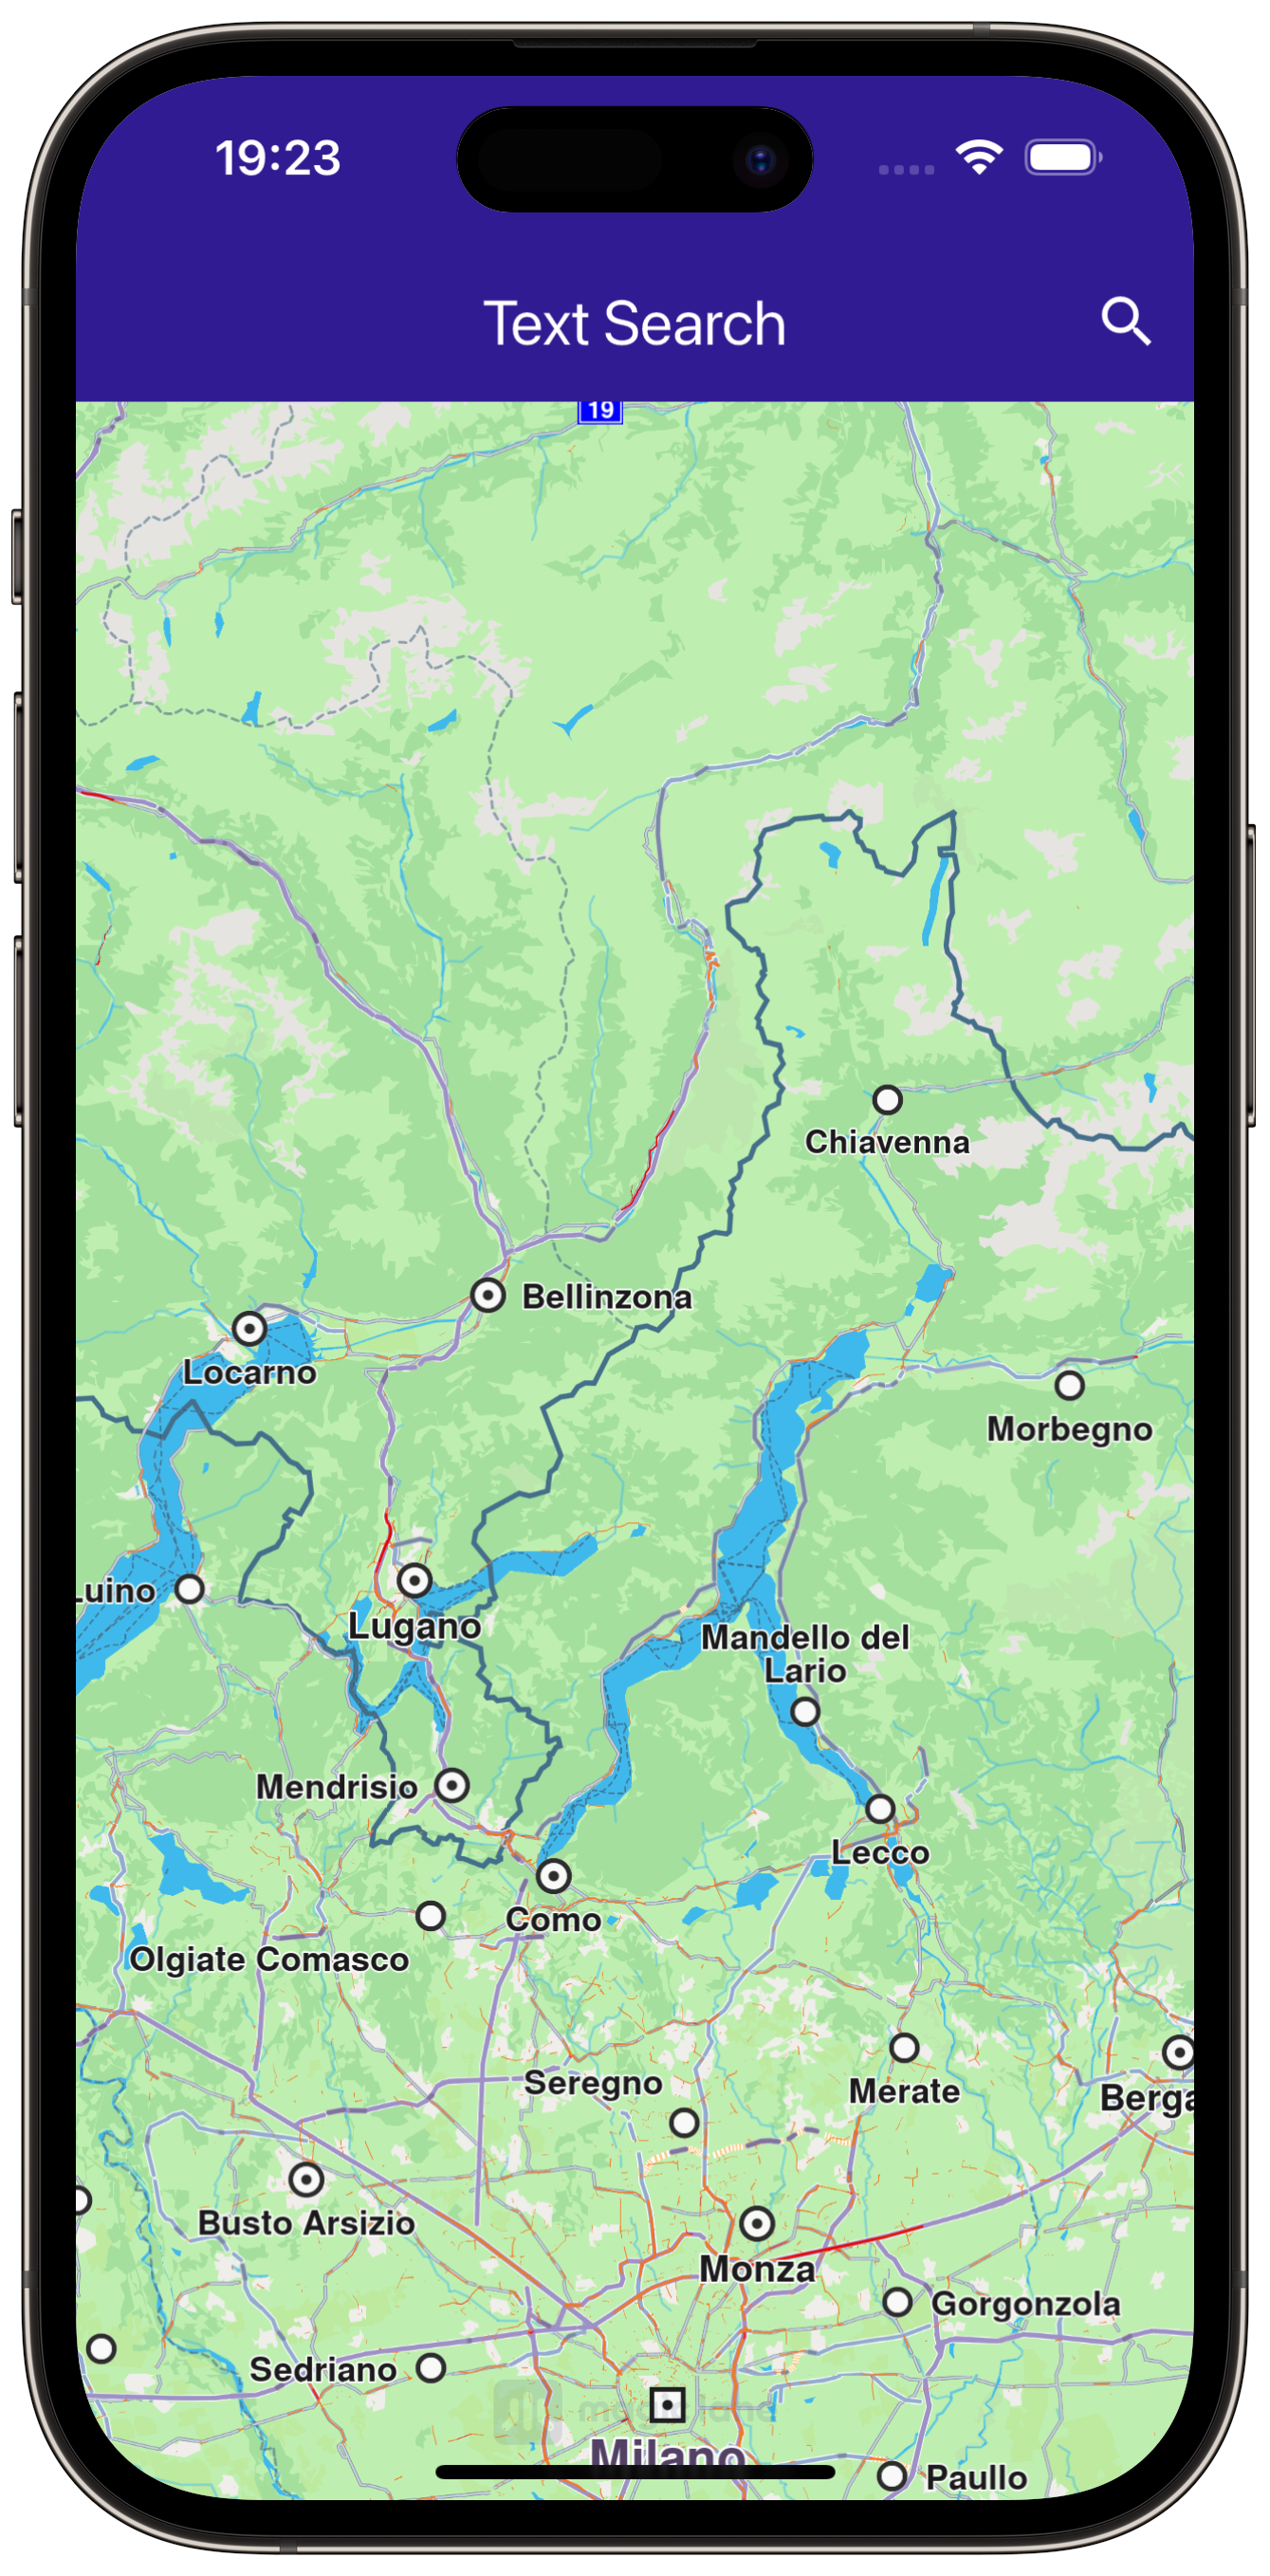
Search for landmarks using a text input, with results being displayed on an interactive map.
|
|||
import 'package:gem_kit/core.dart';
import 'package:gem_kit/landmark_store.dart';
import 'package:gem_kit/map.dart';
import 'search_page.dart';
import 'package:flutter/material.dart';
Note that the source file search_page.dart also includes:
import 'package:gem_kit/search.dart';
import 'dart:async';
The dart material package is imported, as well as the
required gem_kit packages.
void onMapCreated(GemMapController controller) {
  _mapController = controller;
}
This callback function is called when the interactive map is initialized and ready to use.
|
|||
// Custom method for navigating to search screen
void _onSearchButtonPressed(BuildContext context) async {
// Taking the coordinates at the center of the screen as reference coordinates for search.
 final x = MediaQuery.of(context).size.width / 2;
 final y = MediaQuery.of(context).size.height / 2;
 final mapCoords = _mapController.transformScreenToWgs(XyType(x: x.toInt(), y: y.toInt()));

// Navigating to search screen. The result will be the selected search result(Landmark)
 final result = await Navigator.of(context).push(MaterialPageRoute<dynamic>(
   builder: (context) => SearchPage(coordinates: mapCoords!),
 ));

 if (result is Landmark) {
   // Retrieves the LandmarkStore with the given name.
   var historyStore = LandmarkStoreService.getLandmarkStoreByName("History");

   // If there is no LandmarkStore with this name, then create it.
   historyStore ??= LandmarkStoreService.createLandmarkStore("History");

   // Add the landmark to the store.
   historyStore.addLandmark(result);

   // Activating the highlight
   _mapController.activateHighlight([result], renderSettings: RenderSettings());

   // Centering the map on the desired coordinates
   _mapController.centerOnCoordinates(result.coordinates);
 }
}
This is the method to navigate to the search screen, defined in the SearchPage() widget,
in search_page.dart
|
|||

void _onSearchSubmitted(String text) {
  SearchPreferences preferences = SearchPreferences(maxMatches: 40, allowFuzzyResults: true);

  search(text, widget.coordinates, preferences: preferences);
}
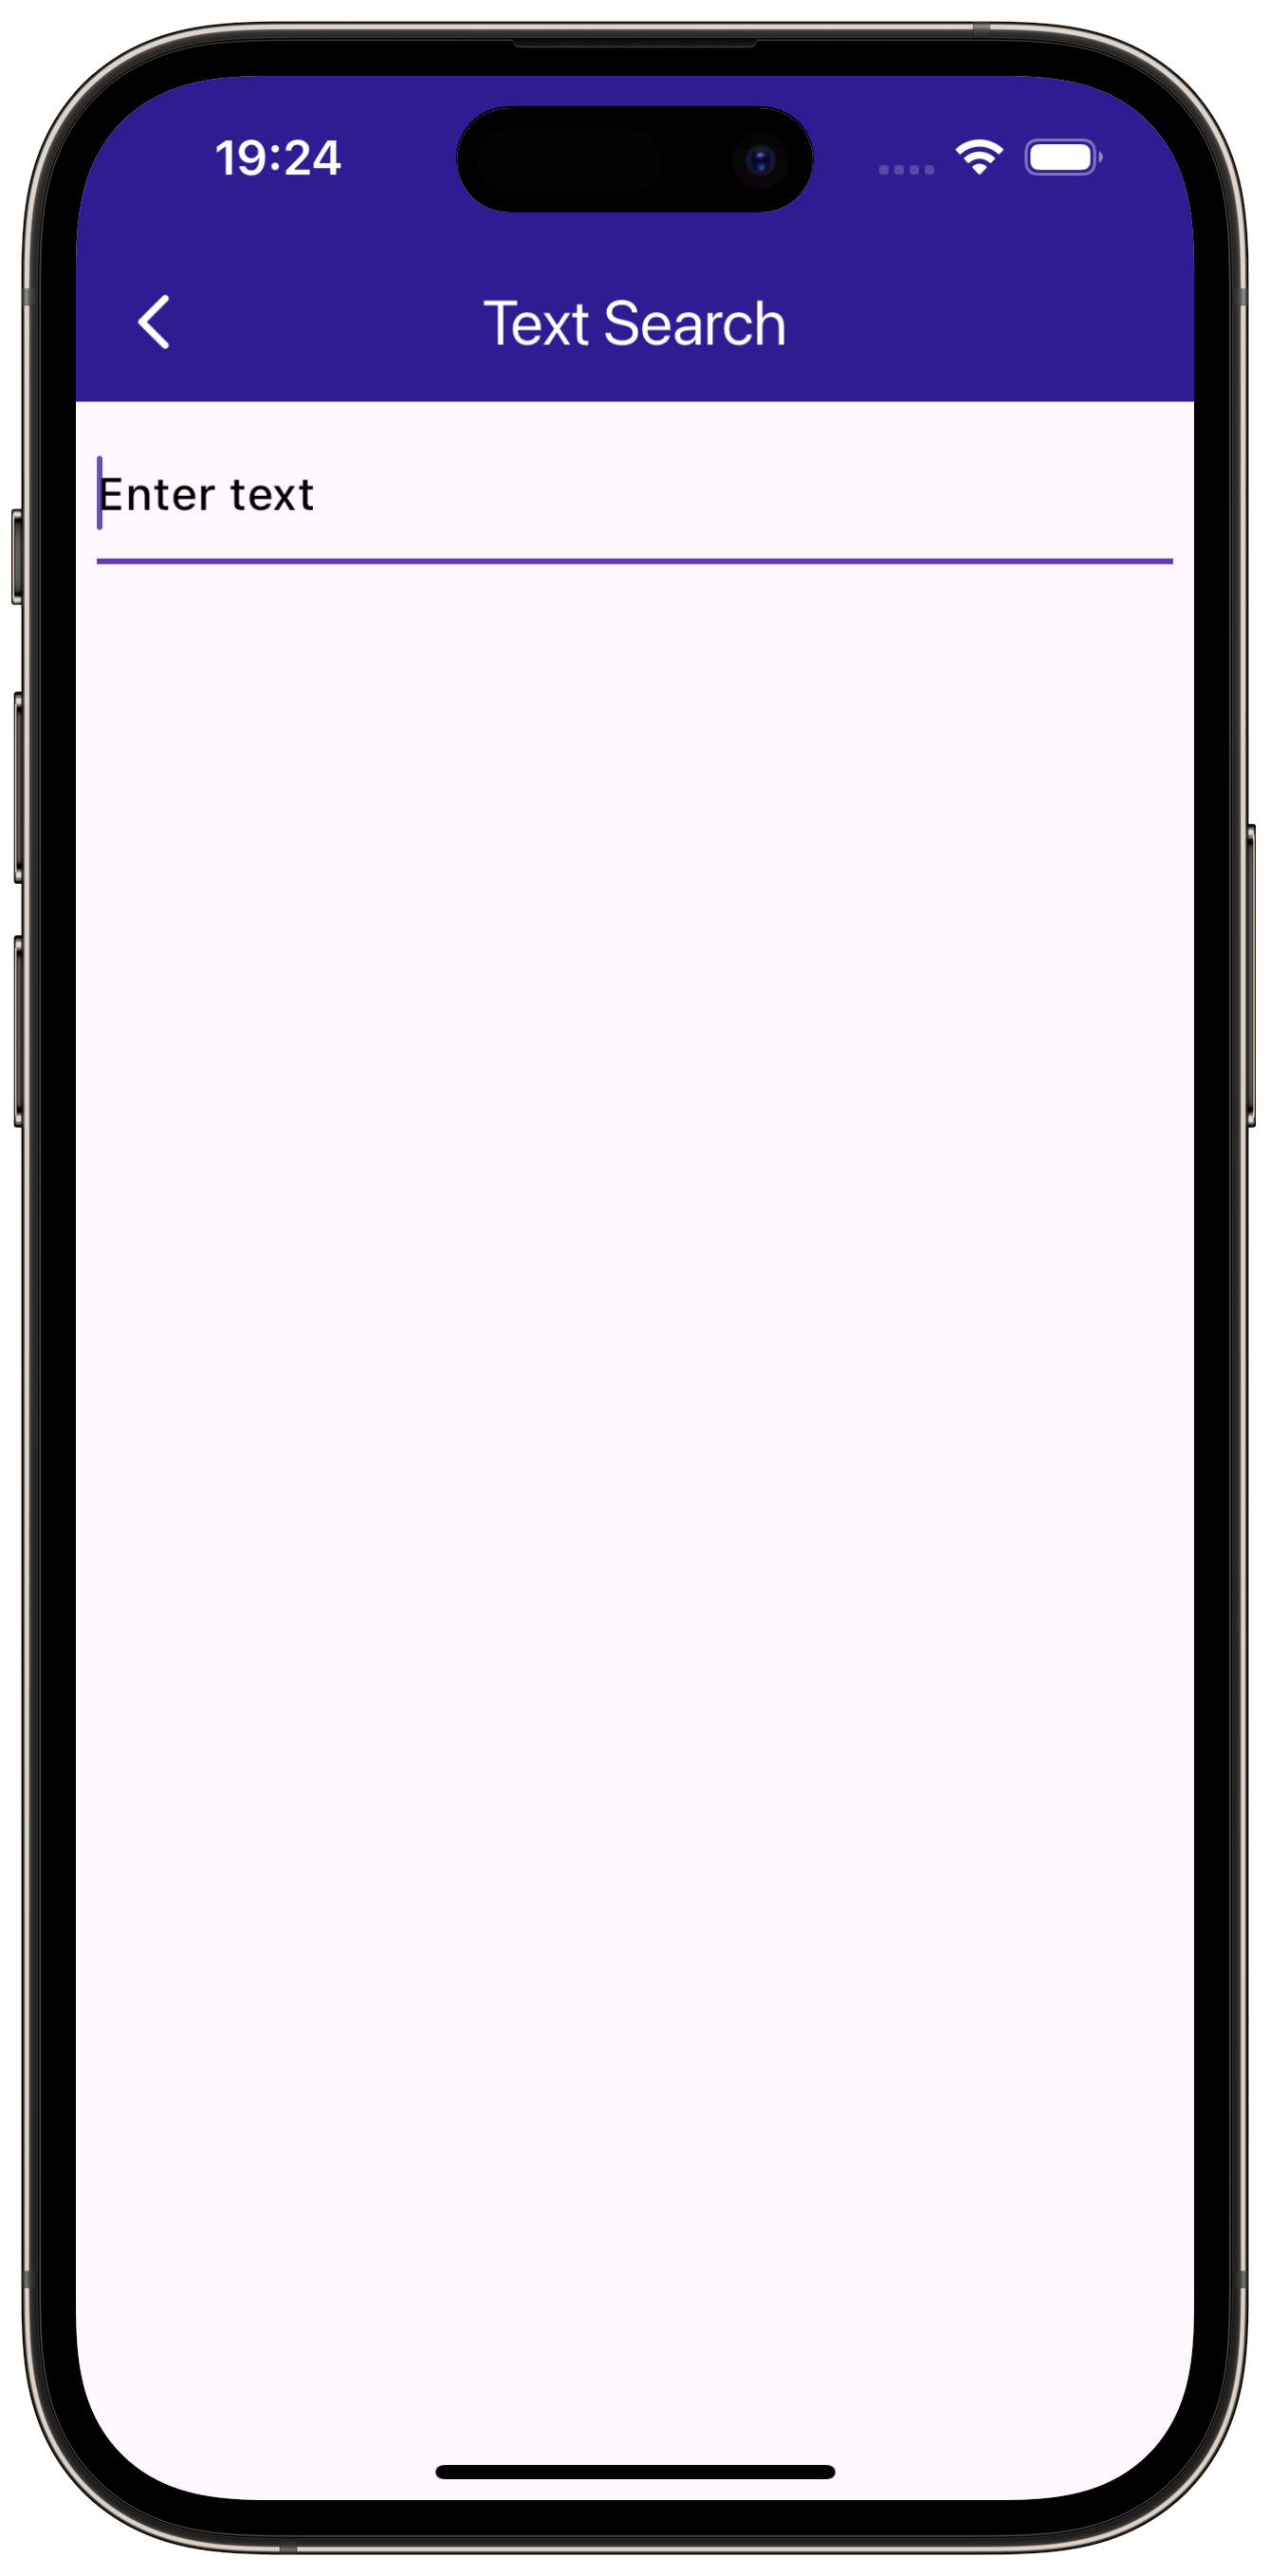
As text is typed in the text field by the user, the _onSearchSubmitted() function is
called, which creates a preferences instance and then the search() function is called.
The coordinates of the current location displayed on the map widget.coordinates
are used for comparison, to compute the distance to the positions of the search results.
// Search method. Text and coordinates parameters are mandatory, preferences are optional.
Future<void> search(String text, Coordinates coordinates, {SearchPreferences? preferences}) async {
  Completer<List<Landmark>> completer = Completer<List<Landmark>>();

// Calling the search method from the sdk.
// (err, results) - is a callback function that calls when the computing is done.
// err is an error code, results is a list of landmarks
  SearchService.search(text, coordinates, preferences: preferences, (err, results) async {
    // If there is an error or there aren't any results, the method will return an empty list.
    if (err != GemError.success || results == null) {
      completer.complete([]);
      return;
    }
    if (!completer.isCompleted) completer.complete(results);
  });
  final result = await completer.future;
  setState(() {
    landmarks = result;
  });
}
The search() function calls the SearchService.search(), obtains a list of landmarks
in results, which are then displayed as a text list. Tapping on a result causes the map
to be centered on the position of that search result.
This is done in the method that calls SearchPage() above.
_mapController.activateHighlight([result], renderSettings: RenderSettings());_mapController.centerOnCoordinates(result.coordinates);