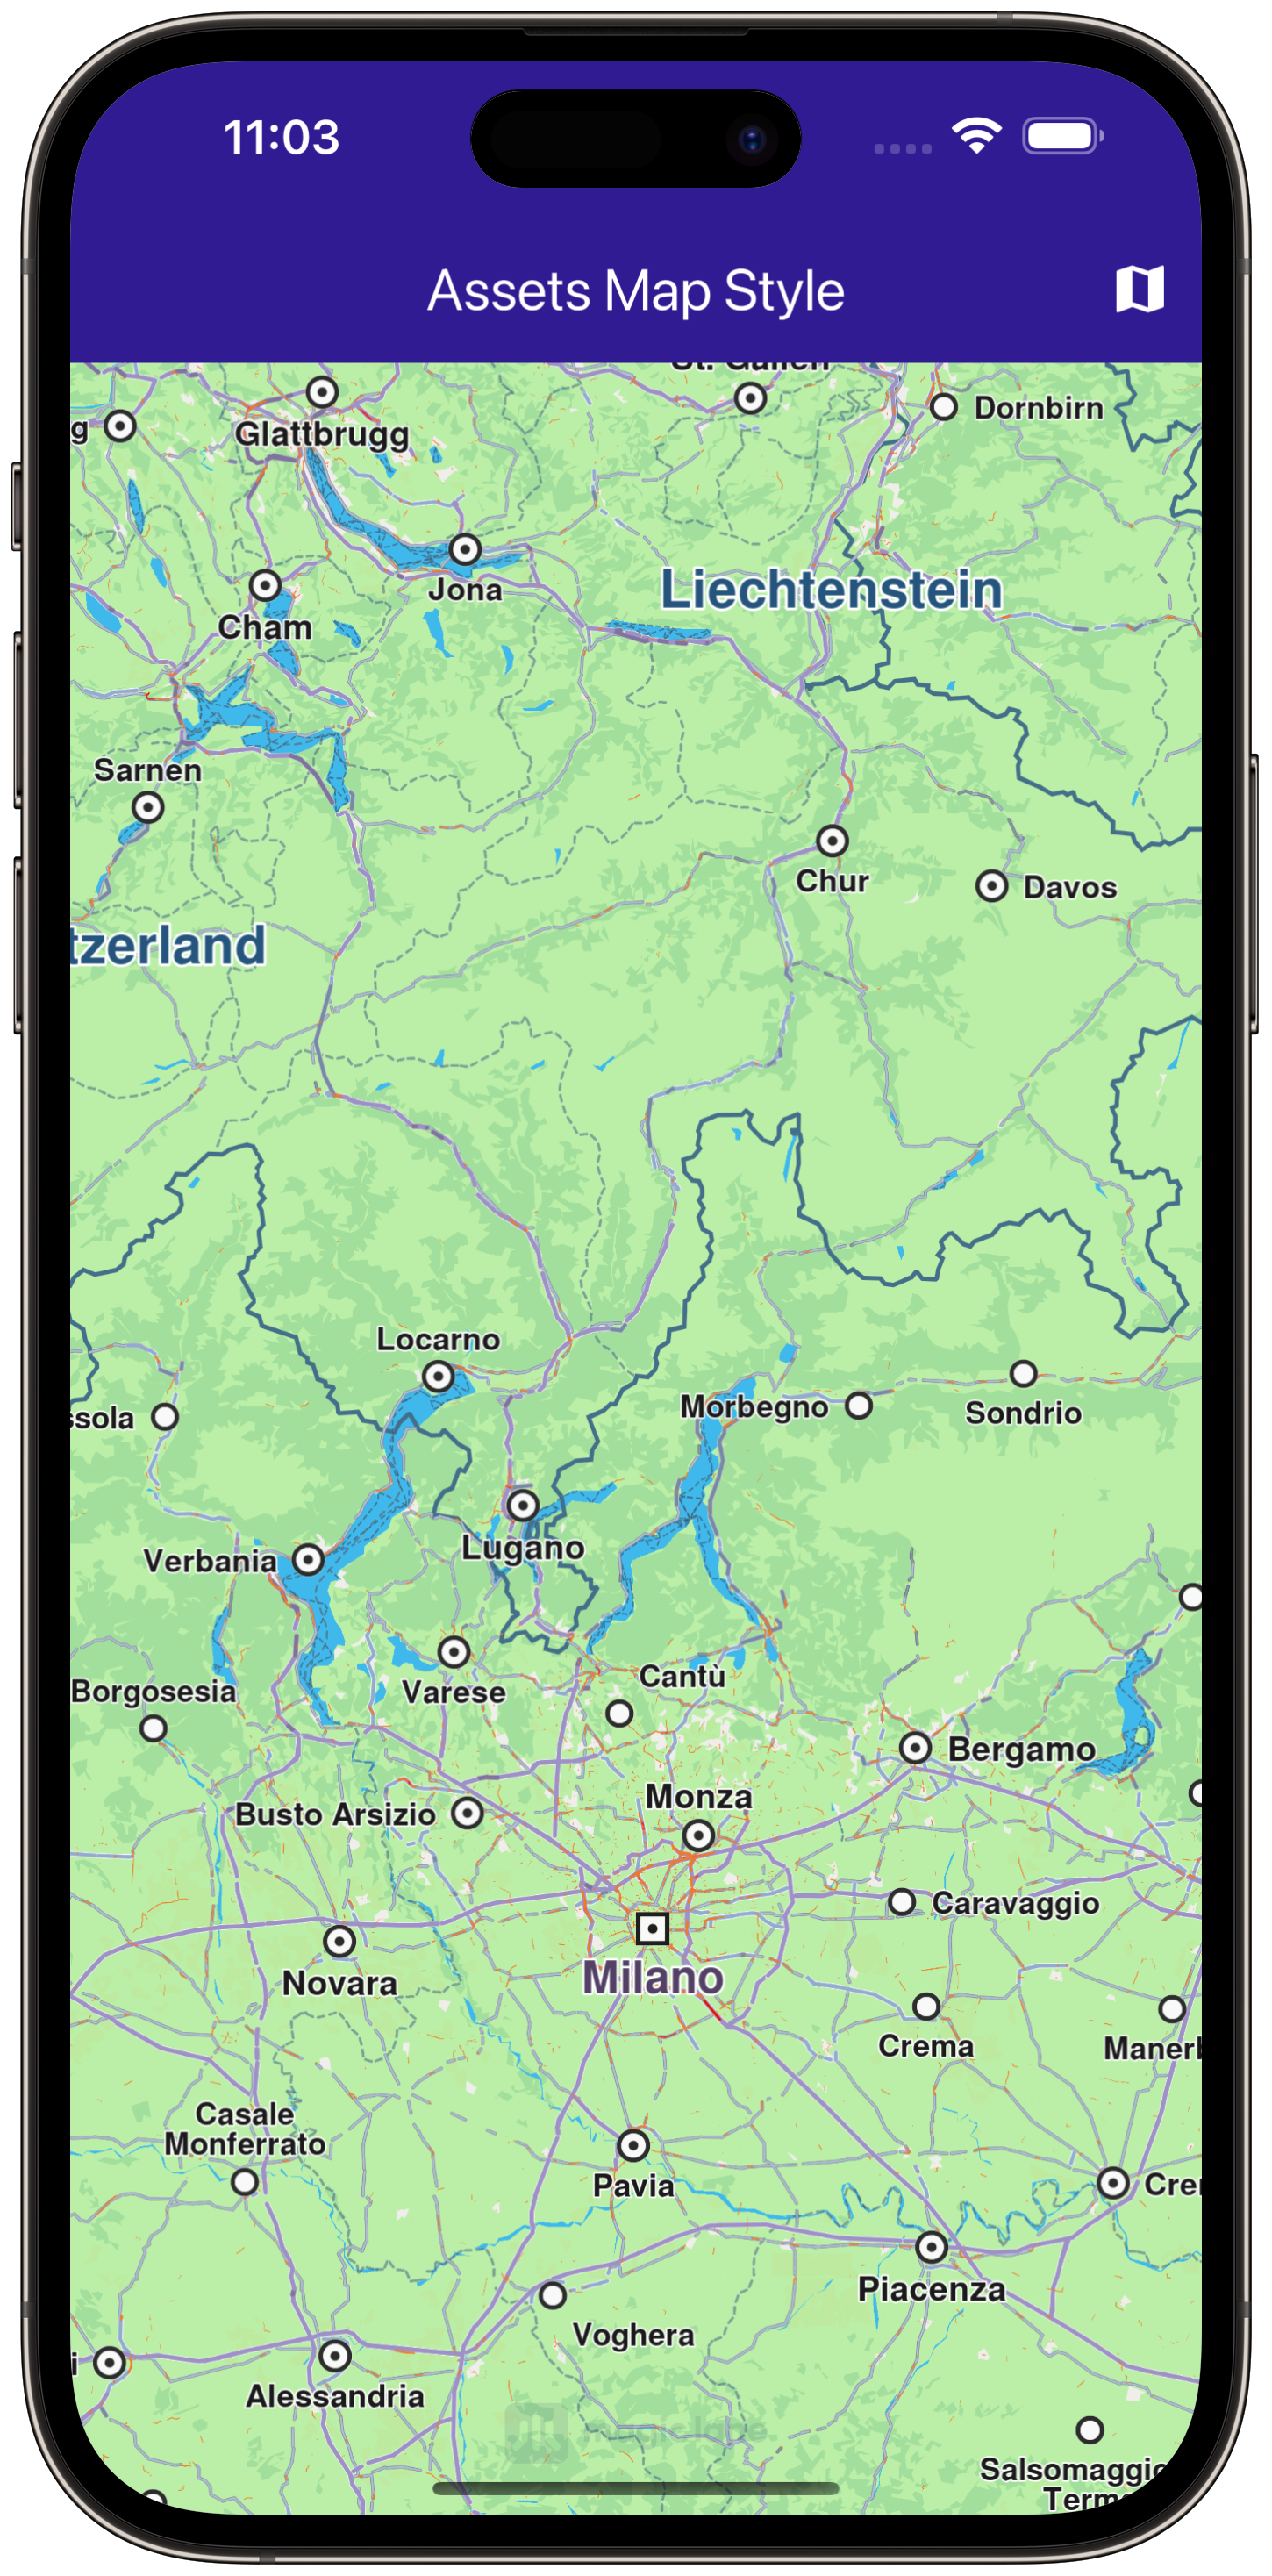
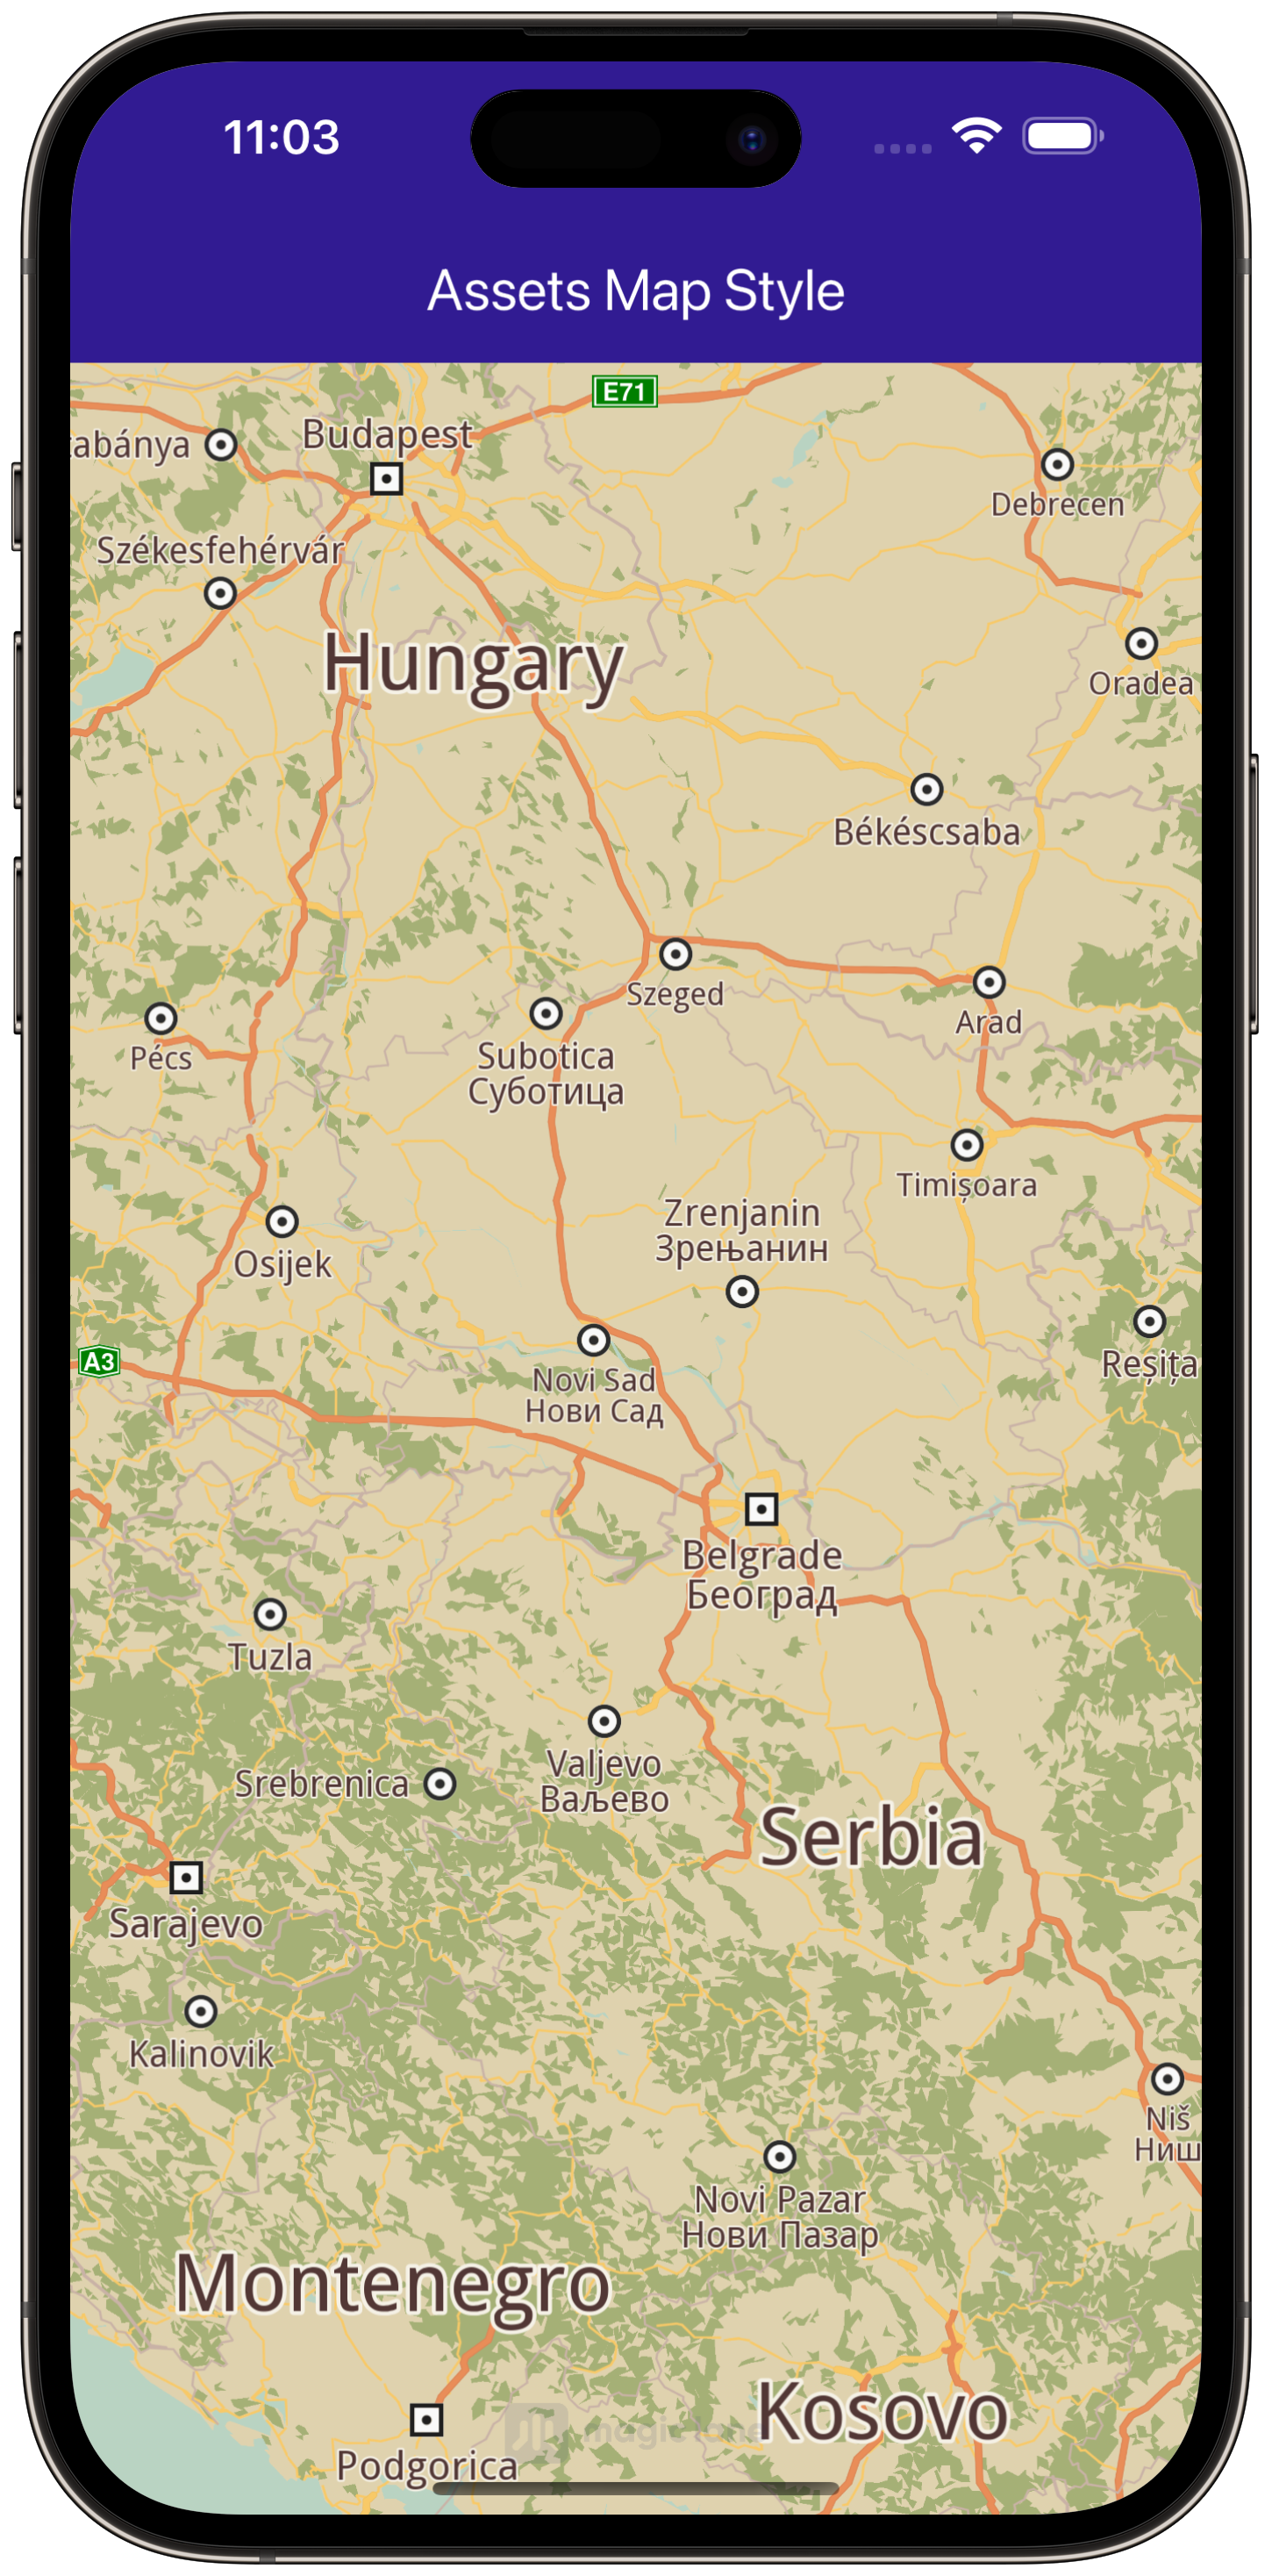
Assets Map Style
|
|
Setup
Prerequisites
Build and Run
Navigate to the project folder for this example to build and run the application.
Note - the gem_kit directory containing the Maps SDK for Flutter
should be in the plugins directory of the example, e.g.
example_pathname/plugins/gem_kit - see the environment setup guide above.
Run: flutter pub get
Configure the native parts:
First, verify that the ANDROID_SDK_ROOT environment variable
is set to the root path of your android SDK.
In android/build.gradle add the maven block as shown,
within the allprojects block, for both debug and release builds:
allprojects {
    repositories {
        google()
        mavenCentral()
        maven {
           url "${rootDir}/../plugins/gem_kit/android/build"
        }
    }
}
in android/app/build.gradle
within the android block, in the defaultConfig block,
the android SDK version minSdk must be set as shown below.
Additionally, for release builds, in android/app/build.gradle,
within the android block, add the buildTypes block as shown:
Replace example_pathname with the actual project pathname
android {
    defaultConfig {
        applicationId "com.magiclane.gem_kit.examples.example_pathname"
        minSdk 21
        targetSdk flutter.targetSdk
        versionCode flutterVersionCode.toInteger()
        versionName flutterVersionName
    }
    buildTypes {
        release {
            minifyEnabled false
            shrinkResources false

            // TODO: Add your own signing config for the release build.
            // Signing with the debug keys for now, so `flutter run --release` works.
            signingConfig signingConfigs.debug
        }
    }
}
Then run the project:
flutter run --debugorflutter run --release
App entry and initialization
const projectApiToken = String.fromEnvironment('GEM_TOKEN');

void main() {
  runApp(const MyApp());
}
This code initializes the projectApiToken with the required authorization token and launches the app.
Add style to project
In the root directory of your project, create a new folder named assets. Specify the path to the assets folder in the pubspec.yaml file. Modify the file as follows:
  flutter:
uses-material-design: true

assets:
  - assets/
Place a .style file inside the assets directory.
How It Works
The example app demonstrates the following features:
Main App Setup: Initializes GemKit and displays a map view with an AppBar.Map Styling: The user taps an icon to apply a style, loaded from a file in the app assets folder.Loading Feedback: Displays a loading message until the style is fully applied.
Loading and Applying Map Styles
This code loads the .style file as bytes, applies it to the map with a smooth transition, and centers the map on specified coordinates.
Future<void> _applyStyle() async {
  _showSnackBar(context, message: "The map style is loading.");

  await Future<void>.delayed(Duration(milliseconds: 250));
  final styleData = await _loadStyle();

  _mapController.preferences.setMapStyleByBuffer(styleData, smoothTransition: true);

  setState(() {
    _isStyleLoaded = true;
  });

  ScaffoldMessenger.of(context).hideCurrentSnackBar();
  _mapController.centerOnCoordinates(Coordinates(latitude: 45, longitude: 20), zoomLevel: 25);
}
Loading the Style File
This method reads the .style file from assets and returns the data as Uint8List bytes.
Future<Uint8List> _loadStyle() async {
  final data = await rootBundle.load('assets/Basic_1_Oldtime-1_21_656.style');
  return data.buffer.asUint8List();
}


