GPX Route
|
|||
Setup
Prerequisites
Build and Run
Go to the gpx_route directory within the Flutter examples directory. This is the name of this example project.
Note - the gem_kit directory containing the Maps SDK for Flutter
should be in the plugins directory of the example, e.g.
example_pathname/plugins/gem_kit - see the environment setup guide above.
Run: flutter pub get
Configure the native parts:
First, verify that the ANDROID_SDK_ROOT environment variable
is set to the root path of your android SDK.
In android/build.gradle add the maven block as shown,
within the allprojects block, for both debug and release builds:
allprojects {
    repositories {
        google()
        mavenCentral()
        maven {
           url "${rootDir}/../plugins/gem_kit/android/build"
        }
    }
}
in android/app/build.gradle
within the android block, in the defaultConfig block,
the android SDK version minSdk must be set as shown below.
Additionally, for release builds, in android/app/build.gradle,
within the android block, add the buildTypes block as shown:
Replace example_pathname with the actual project pathname
android {
    defaultConfig {
        applicationId "com.magiclane.gem_kit.examples.example_pathname"
        minSdk 21
        targetSdk flutter.targetSdk
        versionCode flutterVersionCode.toInteger()
        versionName flutterVersionName
    }
    buildTypes {
        release {
            minifyEnabled false
            shrinkResources false

            // TODO: Add your own signing config for the release build.
            // Signing with the debug keys for now, so `flutter run --release` works.
            signingConfig signingConfigs.debug
        }
    }
}
Then run the project:
flutter run --debugorflutter run --release
App entry and initialization
const projectApiToken = String.fromEnvironment('GEM_TOKEN');

void main() {
  runApp(const MyApp());
}
This code initializes the projectApiToken with the required authorization token and launches the app.
How It Works
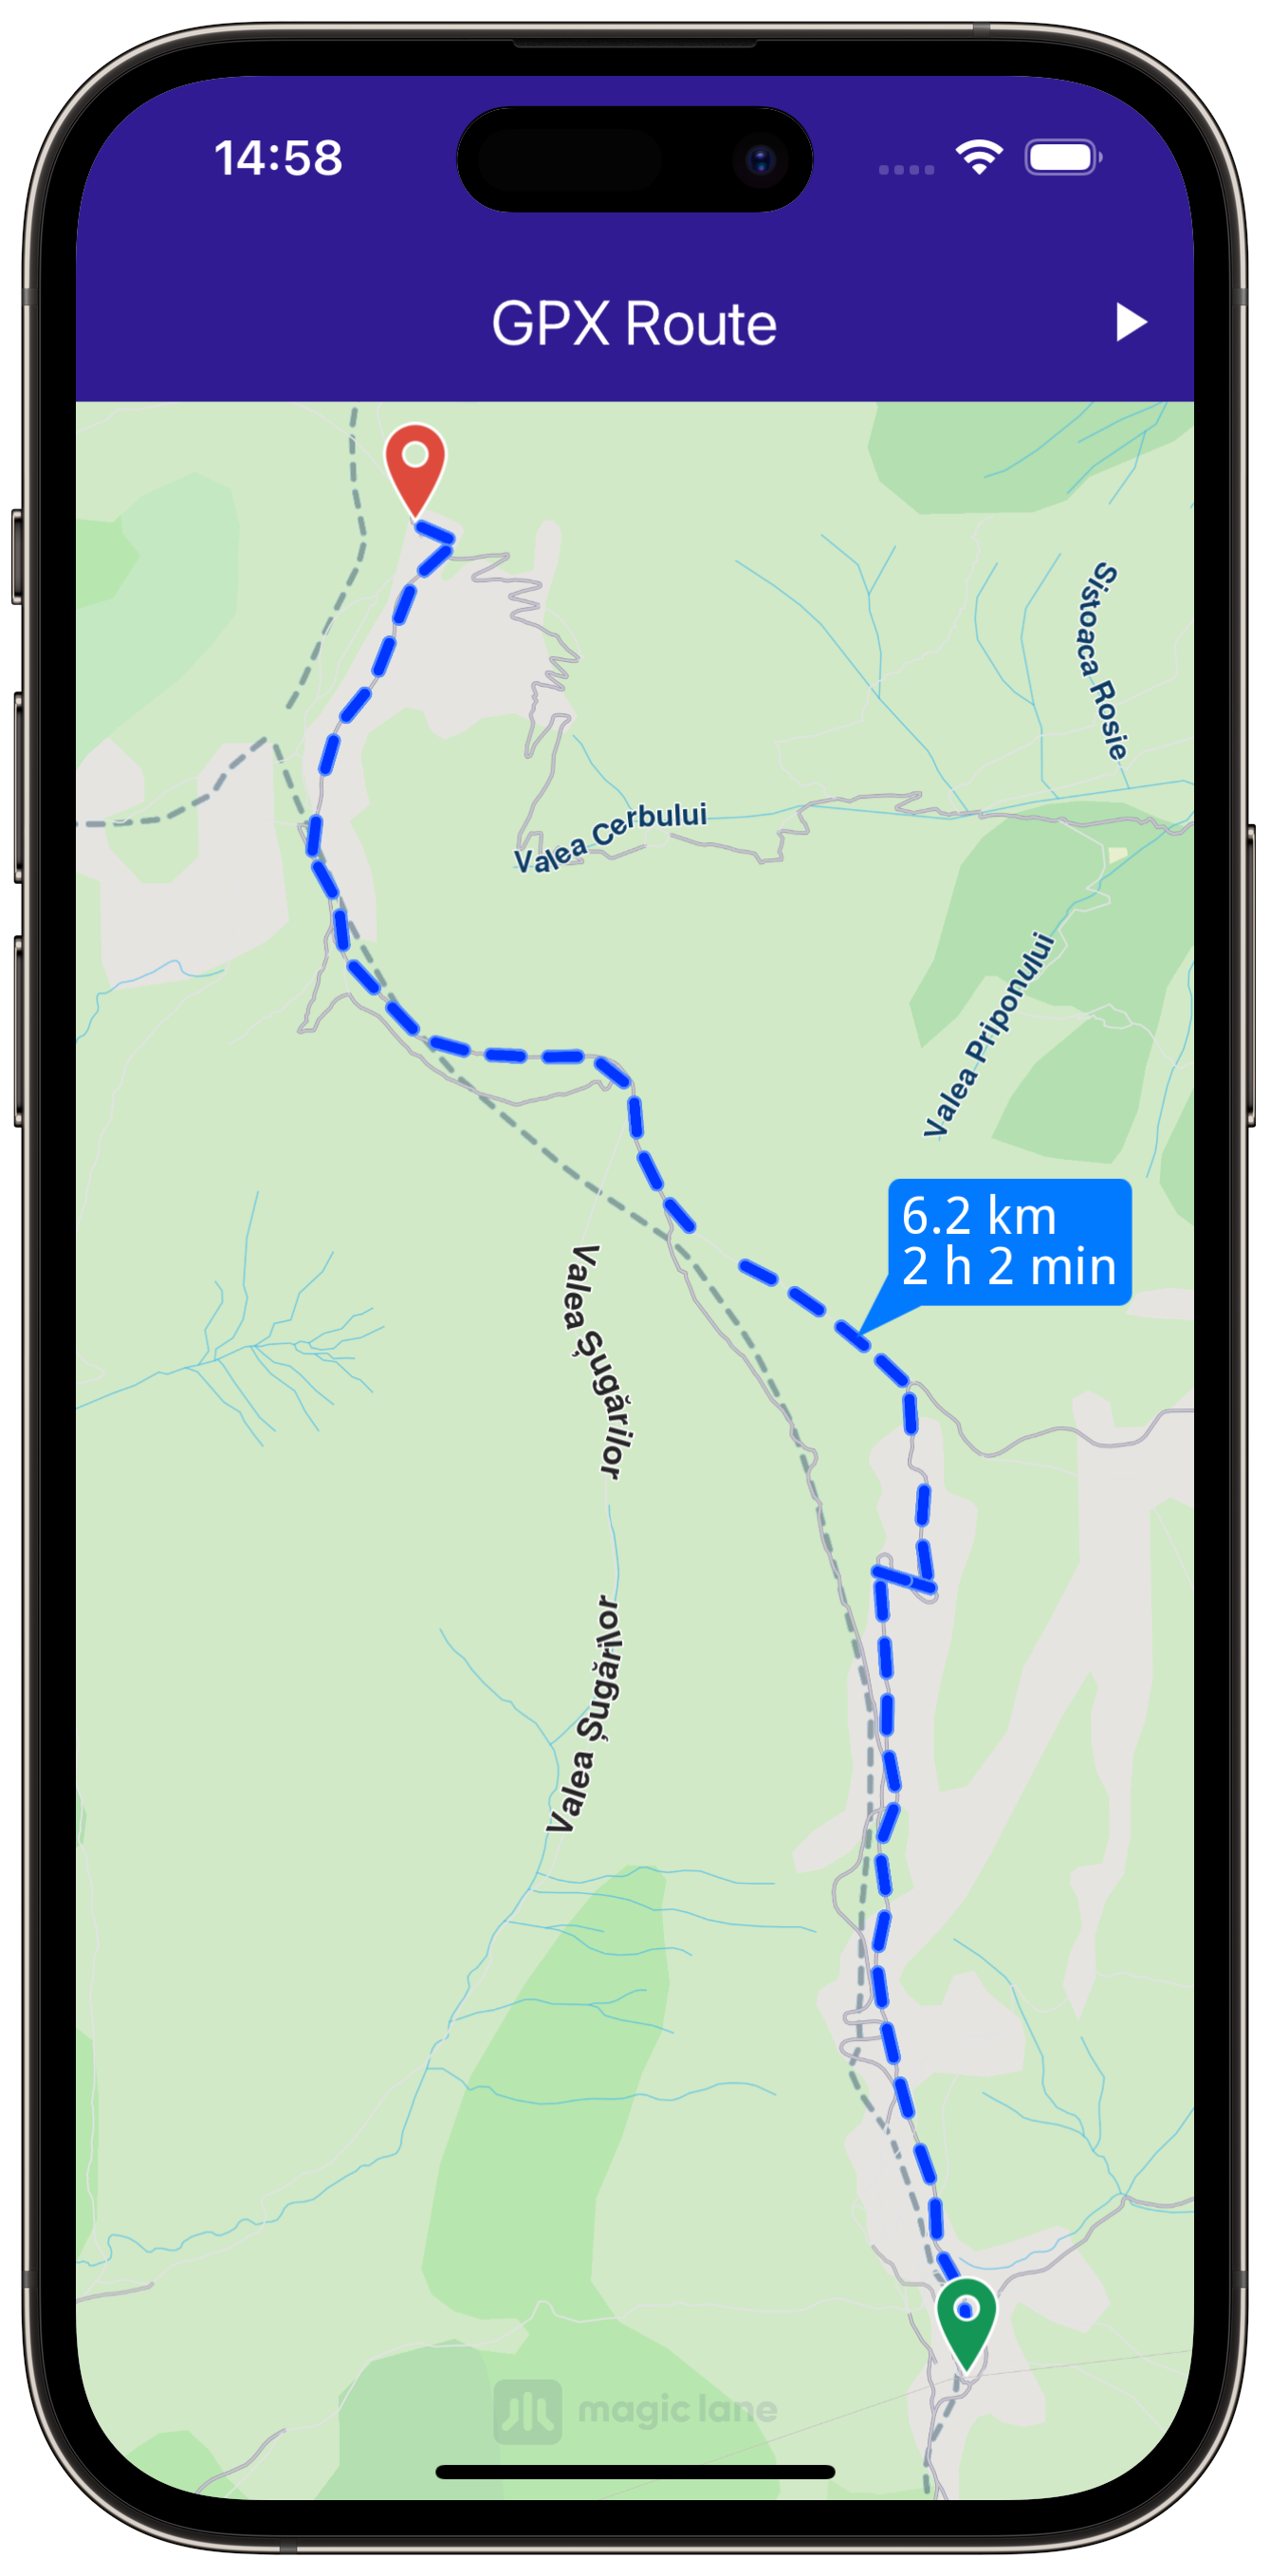
The example app demonstrates the following features:
Import GPX data to calculate and display routes.
Render the calculated route on the map and center the camera to fit the entire route.
Simulate navigation along the route.
Display notifications and format route labels.
|
|||
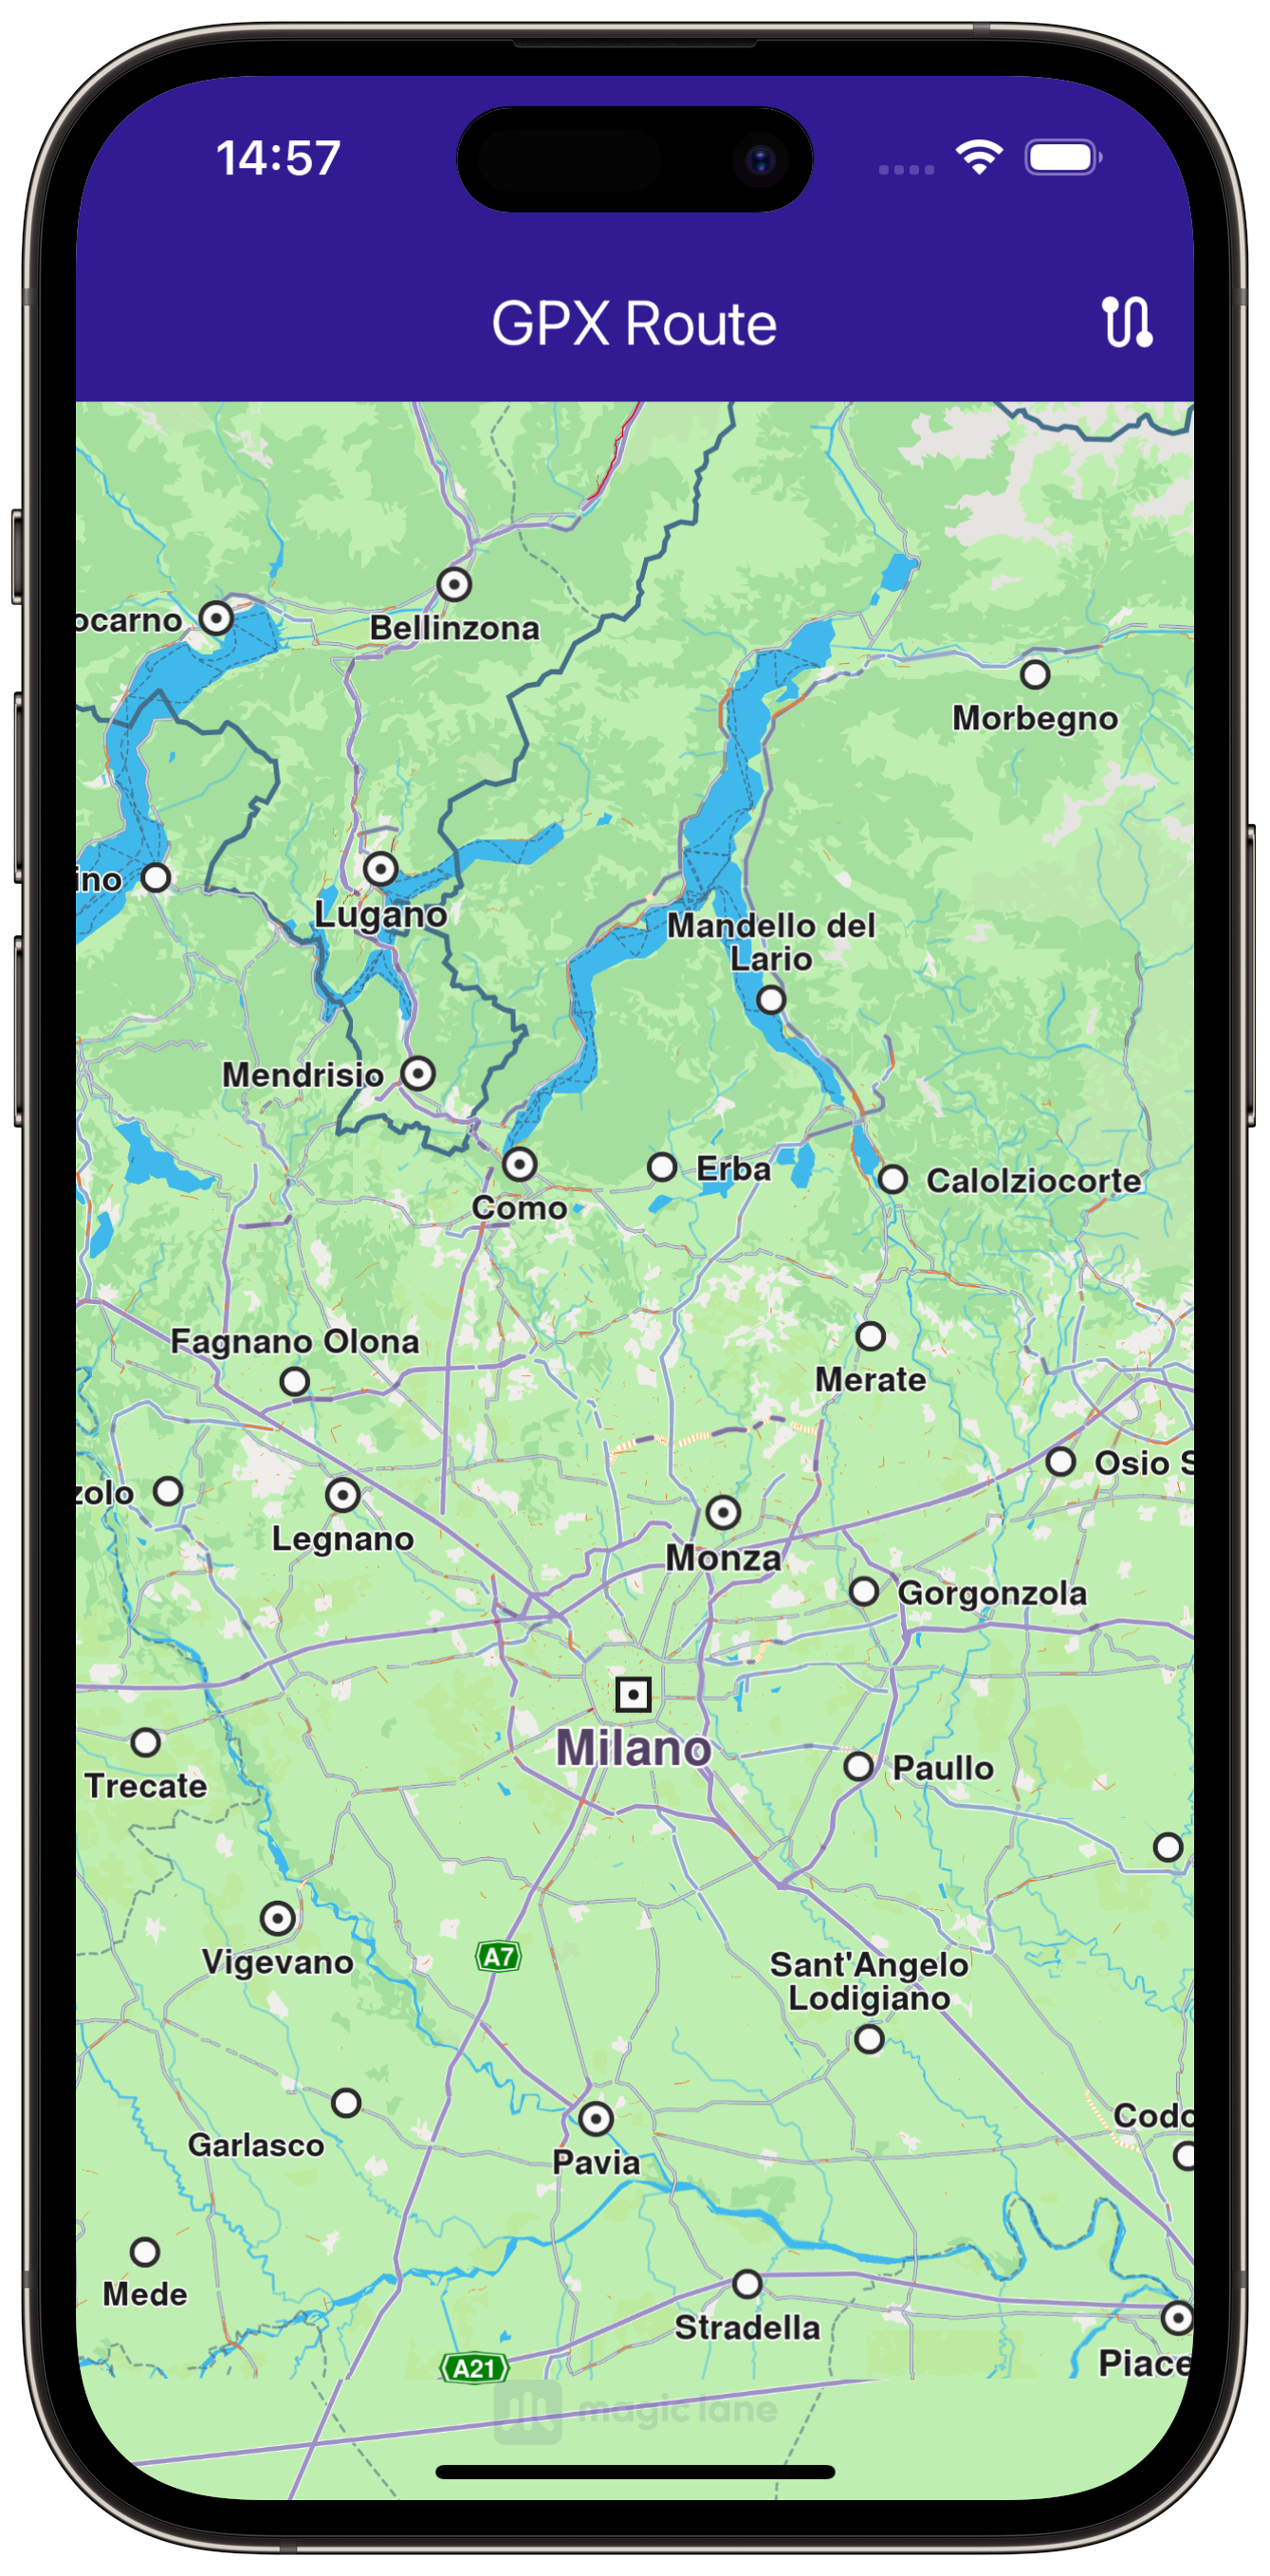
Map Initialization
The following code initializes the map when it is ready to be used:
void _onMapCreated(GemMapController controller) {
  // Save controller for further usage.
  _mapController = controller;
}
This callback function is called when the interactive map is initialized and ready to use. The map controller is stored for later use.
Copying the GPX File
This function copies the recorded_route.gpx file from the assets directory to the app’s documents directory:
Future<void> _copyGpxToAppDocsDir() async {
  final docDirectory = await getApplicationDocumentsDirectory();
  final gpxFile = File('${docDirectory.path}/recorded_route.gpx');
  final imageBytes = await rootBundle.load('assets/recorded_route.gpx');
  final buffer = imageBytes.buffer;
  await gpxFile.writeAsBytes(
    buffer.asUint8List(imageBytes.offsetInBytes, imageBytes.lengthInBytes),
  );
}
The function ensures that the GPX file is available in the app’s documents directory, ready for use during runtime.
Importing GPX Data and Calculating Routes
This function reads GPX data from the file, calculates the routes, and displays them on the map:
Future<void> _importGPX() async {
  _showSnackBar(context, message: 'The route is calculating.');

  final docDirectory = await getApplicationDocumentsDirectory();
  final gpxFile = File('${docDirectory.path}/recorded_route.gpx');

  if (!await gpxFile.exists()) {
    print('GPX file does not exist (${gpxFile.path})');
    return;
  }

  final bytes = await gpxFile.readAsBytes();
  final pathData = Uint8List.fromList(bytes);
  final gemPath = Path.create(data: pathData, format: 0);
  final landmarkList = gemPath.toLandmarkList();

  print("GPX Landmarklist size: ${landmarkList.length}");

  final routePreferences =
      RoutePreferences(transportMode: RouteTransportMode.bicycle);

  RoutingService.calculateRoute(
    landmarkList,
    routePreferences,
    (err, routes) {
      ScaffoldMessenger.of(context).clearSnackBars();

      if (err == GemError.success) {
        final routesMap = _mapController.preferences.routes;

        for (final route in routes!) {
          routesMap.add(route, route == routes.first, label: route.getMapLabel());
        }

        _mapController.centerOnRoutes(routes: routes);

        setState(() {
          _areRoutesBuilt = true;
        });
      }
    },
  );
  _isGpxDataLoaded = true;
}
Starting and Stopping the Simulation
|
|||
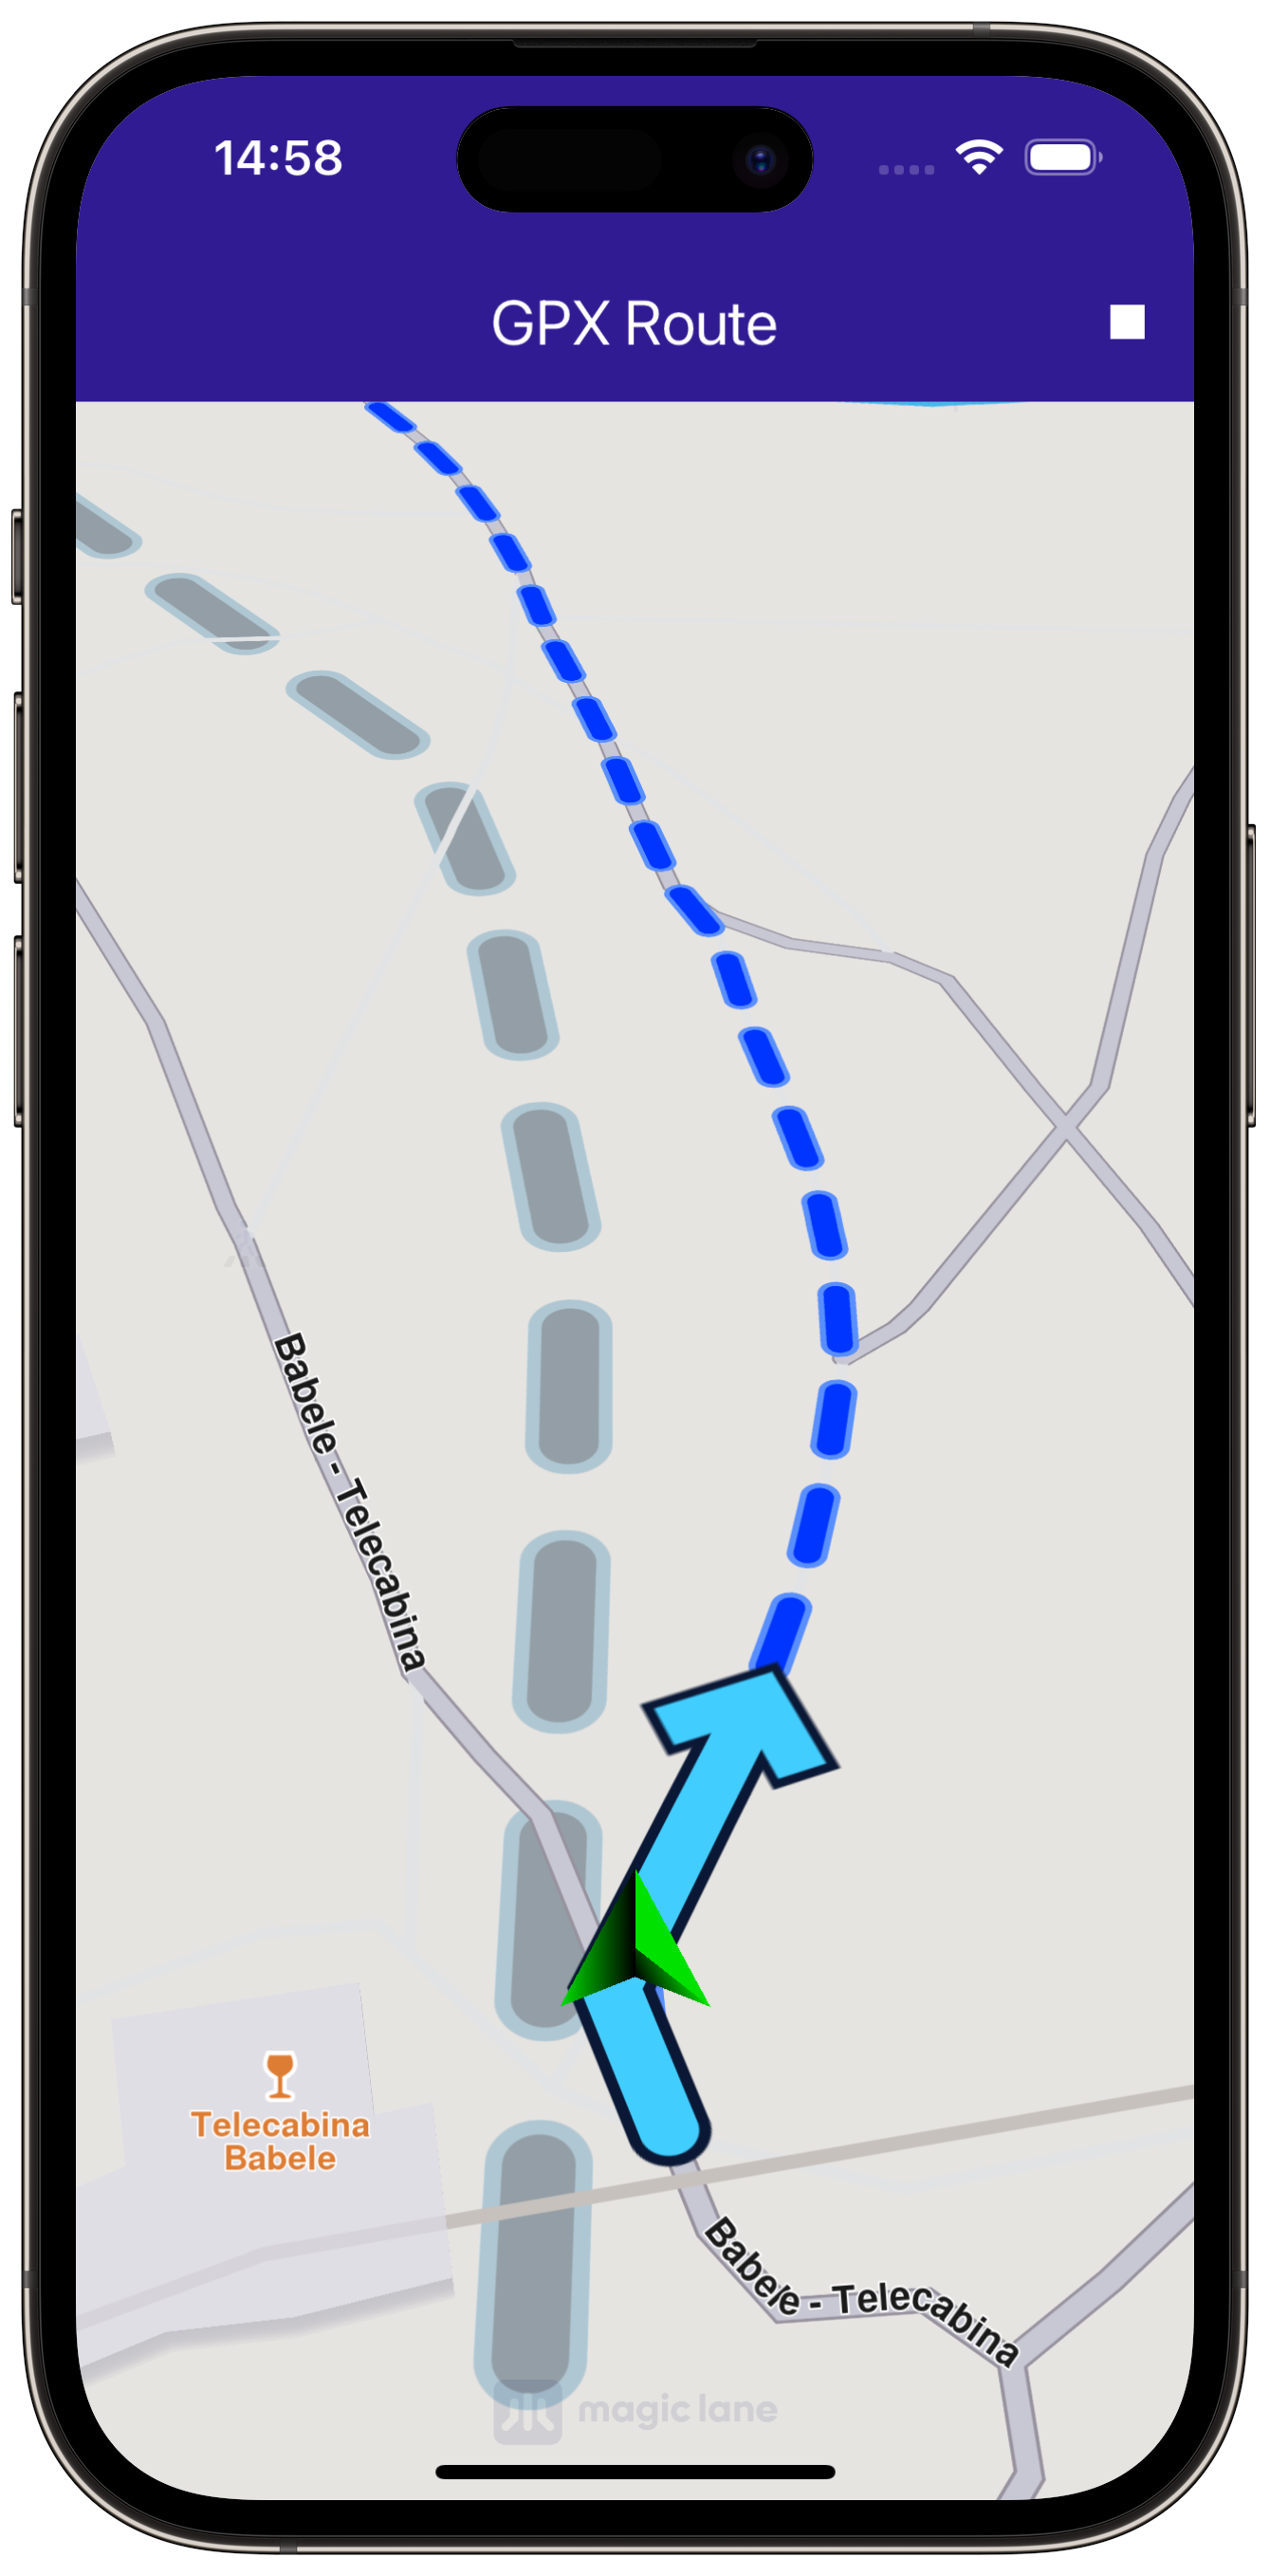
The simulation can be started or stopped using the following functions:
void _startSimulation() {
  if (_isSimulationActive) return;
  if (!_isGpxDataLoaded) return;

  final routes = _mapController.preferences.routes;

  _navigationHandler = NavigationService.startSimulation(
    routes.mainRoute,
    (eventType, instruction) {
      // Navigation instruction callback.
    },
    speedMultiplier: 2,
  );

  _mapController.startFollowingPosition();

  setState(() => _isSimulationActive = true);
}

void _stopSimulation() {
  _mapController.preferences.routes.clear();

  setState(() => _areRoutesBuilt = false);

  if (_isSimulationActive) {
    NavigationService.cancelNavigation(_navigationHandler!);
    _navigationHandler = null;

    setState(() => _isSimulationActive = false);
  }
}
_startSimulation function initiates the navigation simulation along the main route, with the camera following the simulated position. The _stopSimulation function stops the simulation and clears the routes from the map.Utility Functions
Utility functions are also included to display messages and format route labels:
void _showSnackBar(BuildContext context,
    {required String message, Duration duration = const Duration(hours: 1)}) {
  final snackBar = SnackBar(
    content: Text(message),
    duration: duration,
  );

  ScaffoldMessenger.of(context).showSnackBar(snackBar);
}
extension RouteExtension on Route {
  String getMapLabel() {
    final totalDistance = getTimeDistance().unrestrictedDistanceM +
        getTimeDistance().restrictedDistanceM;
    final totalDuration =
        getTimeDistance().unrestrictedTimeS + getTimeDistance().restrictedTimeS;

    return '${_convertDistance(totalDistance)} \n${_convertDuration(totalDuration)}';
  }

  String _convertDistance(int meters) {
    if (meters >= 1000) {
      double kilometers = meters / 1000;
      return '${kilometers.toStringAsFixed(1)} km';
    } else {
      return '${meters.toString()} m';
    }
  }

  String _convertDuration(int seconds) {
    int hours = seconds ~/ 3600;
    int minutes = (seconds % 3600) ~/ 60;

    String hoursText = (hours > 0) ? '$hours h ' : '';
    String minutesText = '$minutes min';

    return hoursText + minutesText;
  }
}
The _showSnackBar method displays messages during route calculation. The RouteExtension is an extension that formats route labels to display the total distance and duration.