Center Coordinates
|
|||
Setup
Prerequisites
Build and run
Go to the center_coordinates directory,
within the flutter examples directory - that is the name of this example project.
Note - the gem_kit directory containing the Maps SDK for Flutter
should be in the plugins directory of the example, e.g.
example_pathname/plugins/gem_kit - see the environment setup guide above.
Run: flutter pub get
Configure the native parts:
First, verify that the ANDROID_SDK_ROOT environment variable
is set to the root path of your android SDK.
In android/build.gradle add the maven block as shown,
within the allprojects block, for both debug and release builds:
allprojects {
    repositories {
        google()
        mavenCentral()
        maven {
           url "${rootDir}/../plugins/gem_kit/android/build"
        }
    }
}
in android/app/build.gradle
within the android block, in the defaultConfig block,
the android SDK version minSdk must be set as shown below.
Additionally, for release builds, in android/app/build.gradle,
within the android block, add the buildTypes block as shown:
Replace example_pathname with the actual project pathname
android {
    defaultConfig {
        applicationId "com.magiclane.gem_kit.examples.example_pathname"
        minSdk 21
        targetSdk flutter.targetSdk
        versionCode flutterVersionCode.toInteger()
        versionName flutterVersionName
    }
    buildTypes {
        release {
            minifyEnabled false
            shrinkResources false

            // TODO: Add your own signing config for the release build.
            // Signing with the debug keys for now, so `flutter run --release` works.
            signingConfig signingConfigs.debug
        }
    }
}
Then run the project:
flutter run --debugorflutter run --release
App entry and initialization
const projectApiToken = String.fromEnvironment('GEM_TOKEN');

void main() {
  runApp(const MyApp());
}
This code initializes the projectApiToken with the required authorization token and launches the app.
How it works
The example app demonstrates the following features:
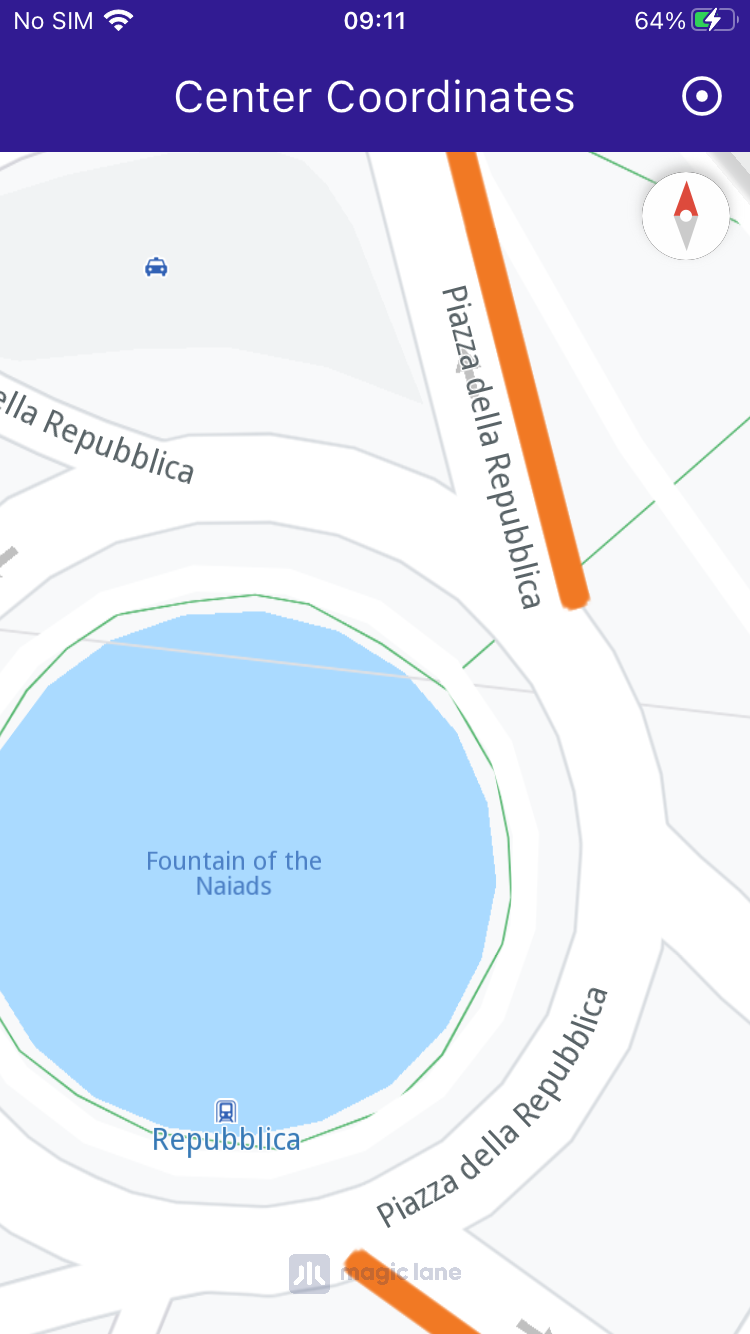
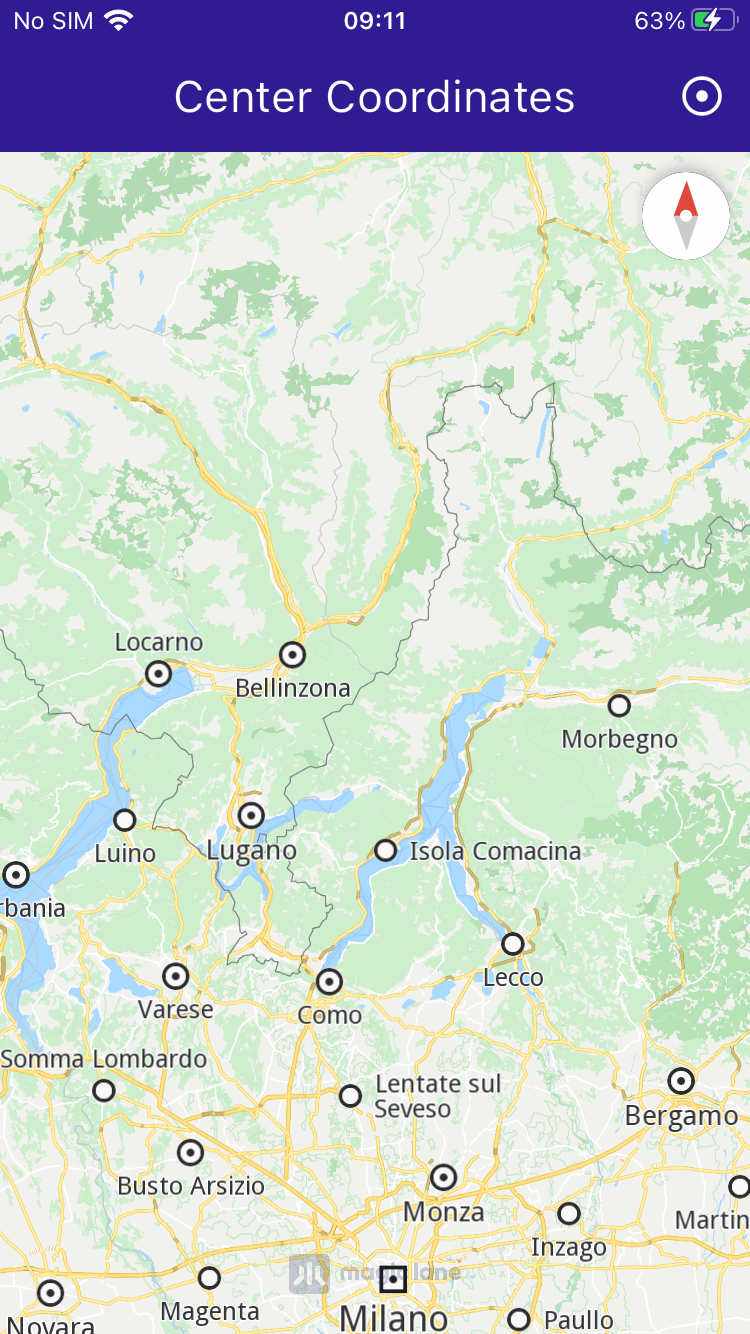
Center the map on predefined coordinates.
Optionally use an animation to smoothly transition the map view.
|
|||
UI and Map Integration
class MyApp extends StatelessWidget {
  const MyApp({super.key});

  @override
  Widget build(BuildContext context) {
    return const MaterialApp(
      debugShowCheckedModeBanner: false,
      title: 'Center Coordinates',
      home: MyHomePage(),
    );
  }
}

class MyHomePage extends StatefulWidget {
  const MyHomePage({super.key});

  @override
  State<MyHomePage> createState() => _MyHomePageState();
}

class _MyHomePageState extends State<MyHomePage> {
  late GemMapController _mapController;

  @override
  void dispose() {
    GemKit.release();
    super.dispose();
  }

  @override
  Widget build(BuildContext context) {
    return Scaffold(
      appBar: AppBar(
        backgroundColor: Colors.deepPurple[900],
        title: const Text('Center Coordinates',
            style: TextStyle(color: Colors.white)),
        actions: [
          IconButton(
              onPressed: _onCenterCoordinatesButtonPressed,
              icon: const Icon(
                Icons.adjust,
                color: Colors.white,
              ))
        ],
      ),
      body: GemMap(onMapCreated: _onMapCreated, appAuthorization: projectApiToken),
    );
  }
This code sets up the basic structure of the app, including the map and the app bar. It also provides a button in the app bar for centering the map on specific coordinates.
Centering the Map
// The callback for when map is ready to use.
void _onMapCreated(GemMapController controller) async {
  // Save controller for further usage.
  _mapController = controller;
}

void _onCenterCoordinatesButtonPressed() {
  // Predefined coordinates for Rome, Italy.
  final targetCoordinates =
      Coordinates(latitude: 41.902782, longitude: 12.496366);

  // Create an animation (optional).
  final animation = GemAnimation(type: AnimationType.linear);

  // Use the map controller to center on coordinates.
  _mapController.centerOnCoordinates(targetCoordinates, animation: animation);
}
This code handles centering the map on the predefined coordinates for Rome, Italy. The GemMapController is used to perform this action, and an optional animation is provided for a smooth transition.


