Multiview Map
|
|||
Setup
Prerequisites
Build and Run
Go to the multiview_map directory within the Flutter examples directory - that is the name of this example project.
Note - the gem_kit directory containing the Maps SDK for Flutter
should be in the plugins directory of the example, e.g.
example_pathname/plugins/gem_kit - see the environment setup guide above.
Run: flutter pub get
Configure the native parts:
First, verify that the ANDROID_SDK_ROOT environment variable
is set to the root path of your android SDK.
In android/build.gradle add the maven block as shown,
within the allprojects block, for both debug and release builds:
allprojects {
    repositories {
        google()
        mavenCentral()
        maven {
           url "${rootDir}/../plugins/gem_kit/android/build"
        }
    }
}
in android/app/build.gradle
within the android block, in the defaultConfig block,
the android SDK version minSdk must be set as shown below.
Additionally, for release builds, in android/app/build.gradle,
within the android block, add the buildTypes block as shown:
Replace example_pathname with the actual project pathname
android {
    defaultConfig {
        applicationId "com.magiclane.gem_kit.examples.example_pathname"
        minSdk 21
        targetSdk flutter.targetSdk
        versionCode flutterVersionCode.toInteger()
        versionName flutterVersionName
    }
    buildTypes {
        release {
            minifyEnabled false
            shrinkResources false

            // TODO: Add your own signing config for the release build.
            // Signing with the debug keys for now, so `flutter run --release` works.
            signingConfig signingConfigs.debug
        }
    }
}
Then run the project:
flutter run --debugorflutter run --release
App entry and initialization
const projectApiToken = String.fromEnvironment('GEM_TOKEN');

void main() {
  runApp(const MyApp());
}
This code initializes the projectApiToken with the required authorization token and launches the app.
How It Works
This example demonstrates the following features:
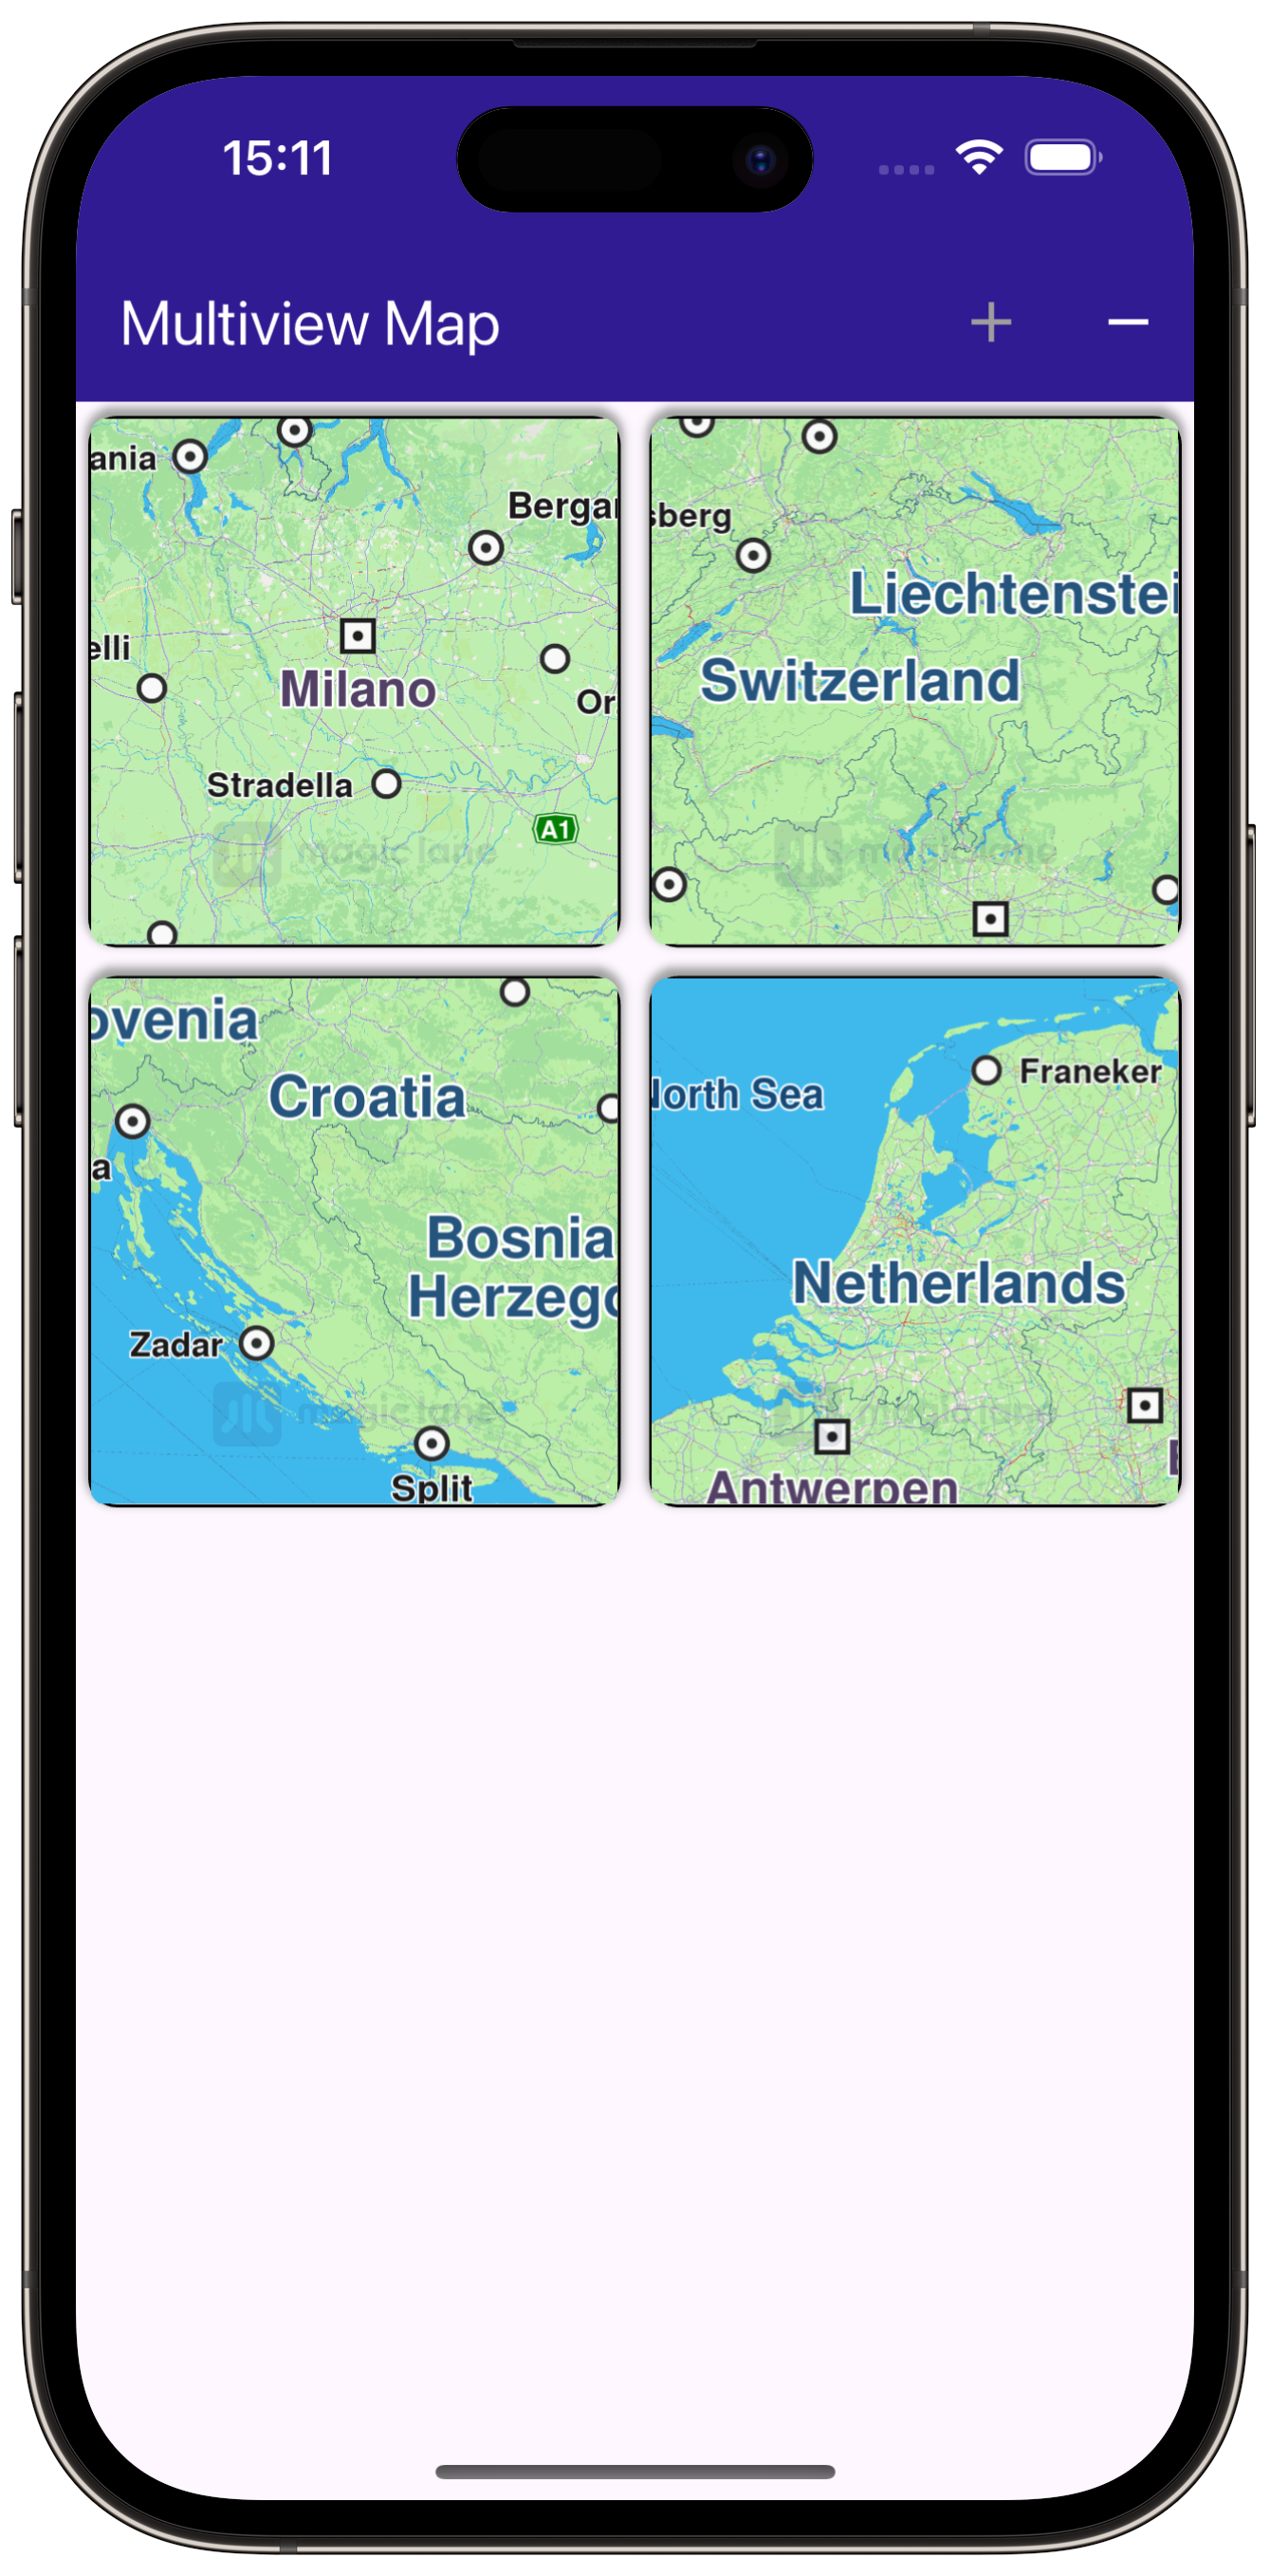
Display multiple map views in a grid layout, each independently interactive with features like panning and zooming.
|
|||
Creating the Grid of Maps
// Arrange MapViews in a grid with fixed number of elements on row
body: GridView.builder(
    physics: const NeverScrollableScrollPhysics(),
    gridDelegate: const SliverGridDelegateWithFixedCrossAxisCount(crossAxisCount: 2),
    itemCount: _mapViewsCount,
    itemBuilder: (context, index) {
      return Container(
          clipBehavior: Clip.hardEdge,
          decoration: BoxDecoration(
              border: Border.all(color: Colors.black, width: 1),
              borderRadius: BorderRadius.circular(10),
              boxShadow: const [
                BoxShadow(color: Colors.grey, offset: Offset(0, -2), spreadRadius: 1, blurRadius: 2)
              ]),
          margin: const EdgeInsets.all(5),
          child: const GemMap());
    }));
A GridView is used to create a grid with a maximum of 2 map views per row. Each map view is created by GemMap() and enclosed in a Container as a grid element.
Managing the Number of Map Views
void _addViewButtonPressed() => setState(() {
    if (_mapViewsCount < 4) {
      _mapViewsCount += 1;
    }
  });

void _removeViewButtonPressed() => setState(() {
    if (_mapViewsCount > 0) {
      _mapViewsCount -= 1;
    }
  });
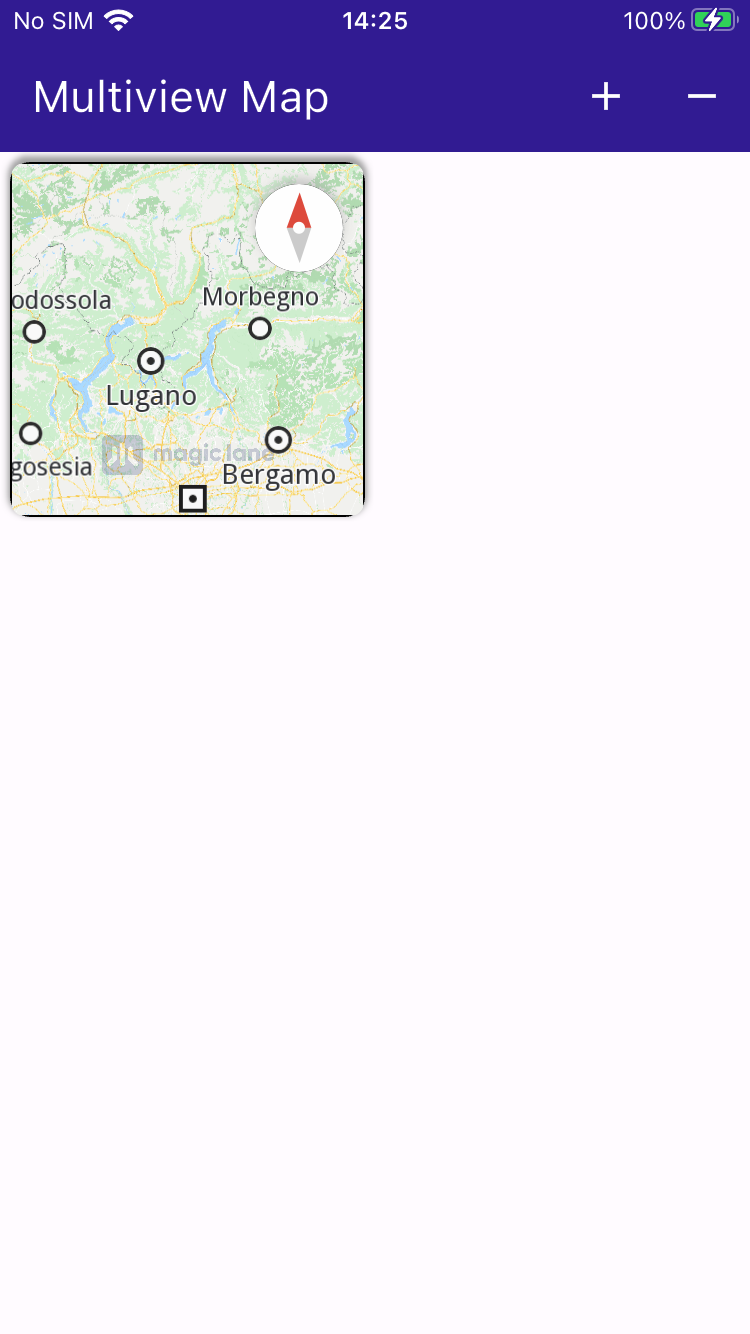
The number of interactive map views (initially zero) to display is stored in _mapViewsCount and can be increased or decreased interactively by the user using the functions shown above.
Each map is a separate view and can be panned/zoomed independently of the others.