Custom Position Icon
|
|||
Setup
Prerequisites
Build and Run
Navigate to the custom_position_icon directory within the Flutter examples directory. This is the project folder for this example.
Note - the gem_kit directory containing the Maps SDK for Flutter
should be in the plugins directory of the example, e.g.
example_pathname/plugins/gem_kit - see the environment setup guide above.
Run: flutter pub get
Configure the native parts:
First, verify that the ANDROID_SDK_ROOT environment variable
is set to the root path of your android SDK.
In android/build.gradle add the maven block as shown,
within the allprojects block, for both debug and release builds:
allprojects {
    repositories {
        google()
        mavenCentral()
        maven {
           url "${rootDir}/../plugins/gem_kit/android/build"
        }
    }
}
in android/app/build.gradle
within the android block, in the defaultConfig block,
the android SDK version minSdk must be set as shown below.
Additionally, for release builds, in android/app/build.gradle,
within the android block, add the buildTypes block as shown:
Replace example_pathname with the actual project pathname
android {
    defaultConfig {
        applicationId "com.magiclane.gem_kit.examples.example_pathname"
        minSdk 21
        targetSdk flutter.targetSdk
        versionCode flutterVersionCode.toInteger()
        versionName flutterVersionName
    }
    buildTypes {
        release {
            minifyEnabled false
            shrinkResources false

            // TODO: Add your own signing config for the release build.
            // Signing with the debug keys for now, so `flutter run --release` works.
            signingConfig signingConfigs.debug
        }
    }
}
Then run the project:
flutter run --debugorflutter run --release
App entry and initialization
const projectApiToken = String.fromEnvironment('GEM_TOKEN');

void main() {
  runApp(const MyApp());
}
This code initializes the projectApiToken with the required authorization token and launches the app.
Saving Assets
Before running the app, ensure that you save the necessary files (such as the custom icon or 3D object) into the assets directory. For example:
Save your custom icon image (e.g.,
navArrow.png) in theassetsfolder.
Update your pubspec.yaml file to include these assets:
flutter:
  assets:
    - assets/
This ensures that the assets are correctly loaded and available when the app runs.
How It Works
The example app demonstrates the following features:
Display a custom icon for the position tracker on the map.
Handle user interaction to start following the current position.
|
|||
Note - the gem_kit directory containing the Maps SDK for Flutter
should be in the plugins directory of the example, e.g.
example_pathname/plugins/gem_kit - see the environment setup guide above.
Run: flutter pub get
Configure the native parts:
First, verify that the ANDROID_SDK_ROOT environment variable
is set to the root path of your android SDK.
In android/build.gradle add the maven block as shown,
within the allprojects block, for both debug and release builds:
allprojects {
    repositories {
        google()
        mavenCentral()
        maven {
           url "${rootDir}/../plugins/gem_kit/android/build"
        }
    }
}
in android/app/build.gradle
within the android block, in the defaultConfig block,
the android SDK version minSdk must be set as shown below.
Additionally, for release builds, in android/app/build.gradle,
within the android block, add the buildTypes block as shown:
Replace example_pathname with the actual project pathname
android {
    defaultConfig {
        applicationId "com.magiclane.gem_kit.examples.example_pathname"
        minSdk 21
        targetSdk flutter.targetSdk
        versionCode flutterVersionCode.toInteger()
        versionName flutterVersionName
    }
    buildTypes {
        release {
            minifyEnabled false
            shrinkResources false

            // TODO: Add your own signing config for the release build.
            // Signing with the debug keys for now, so `flutter run --release` works.
            signingConfig signingConfigs.debug
        }
    }
}
Then run the project:
flutter run --debugorflutter run --release
|
|||

UI and Map Interaction
class MyApp extends StatelessWidget {
  const MyApp({super.key});

  @override
  Widget build(BuildContext context) {
    return const MaterialApp(
      title: 'Custom Position Icon',
      debugShowCheckedModeBanner: false,
      home: MyHomePage(),
    );
  }
}

class MyHomePage extends StatefulWidget {
  const MyHomePage({super.key});

  @override
  State<MyHomePage> createState() => _MyHomePageState();
}

class _MyHomePageState extends State<MyHomePage> {
  late GemMapController _mapController;

  PermissionStatus _locationPermissionStatus = PermissionStatus.denied;
  bool _hasLiveDataSource = false;

  @override
  void dispose() {
    GemKit.release();
    super.dispose();
  }

  @override
  Widget build(BuildContext context) {
    return Scaffold(
      appBar: AppBar(
        backgroundColor: Colors.deepPurple[900],
        title: const Text('Custom Position Icon', style: TextStyle(color: Colors.white)),
        actions: [
          IconButton(
            onPressed: _onFollowPositionButtonPressed,
            icon: const Icon(
              Icons.location_searching_sharp,
              color: Colors.white,
            ),
          ),
        ],
      ),
      body: GemMap(onMapCreated: _onMapCreated, appAuthorization: projectApiToken),
    );
  }
This code defines the main UI elements, including the map and an app bar with a button to follow the current position.
|
|||
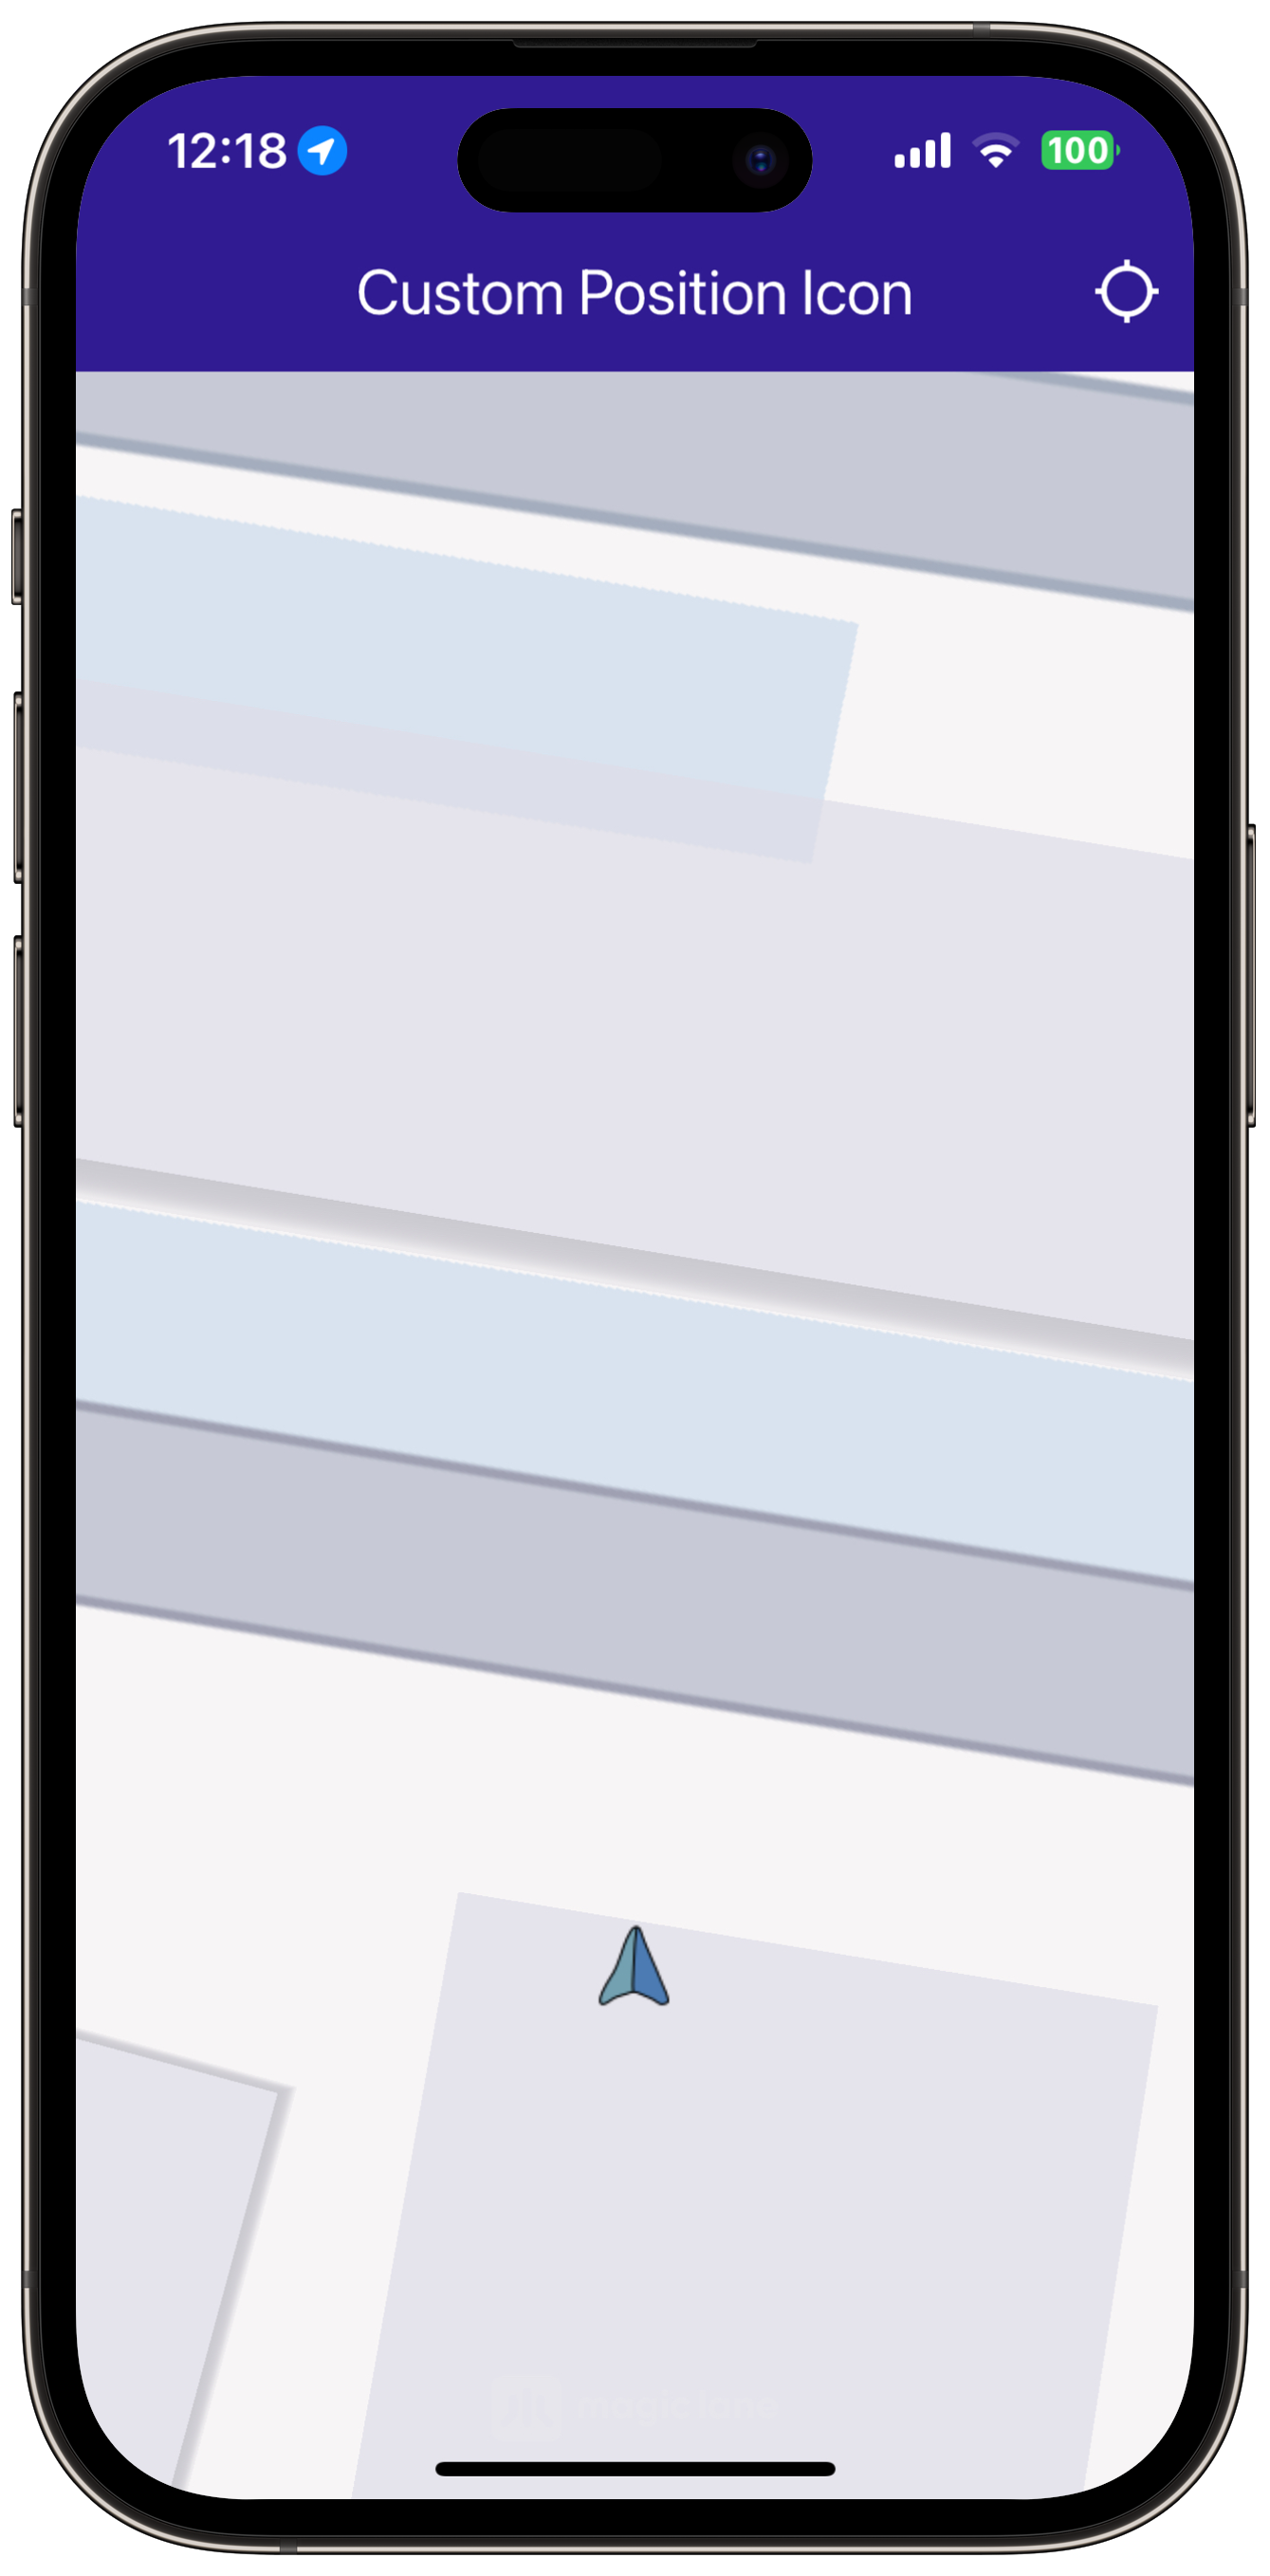
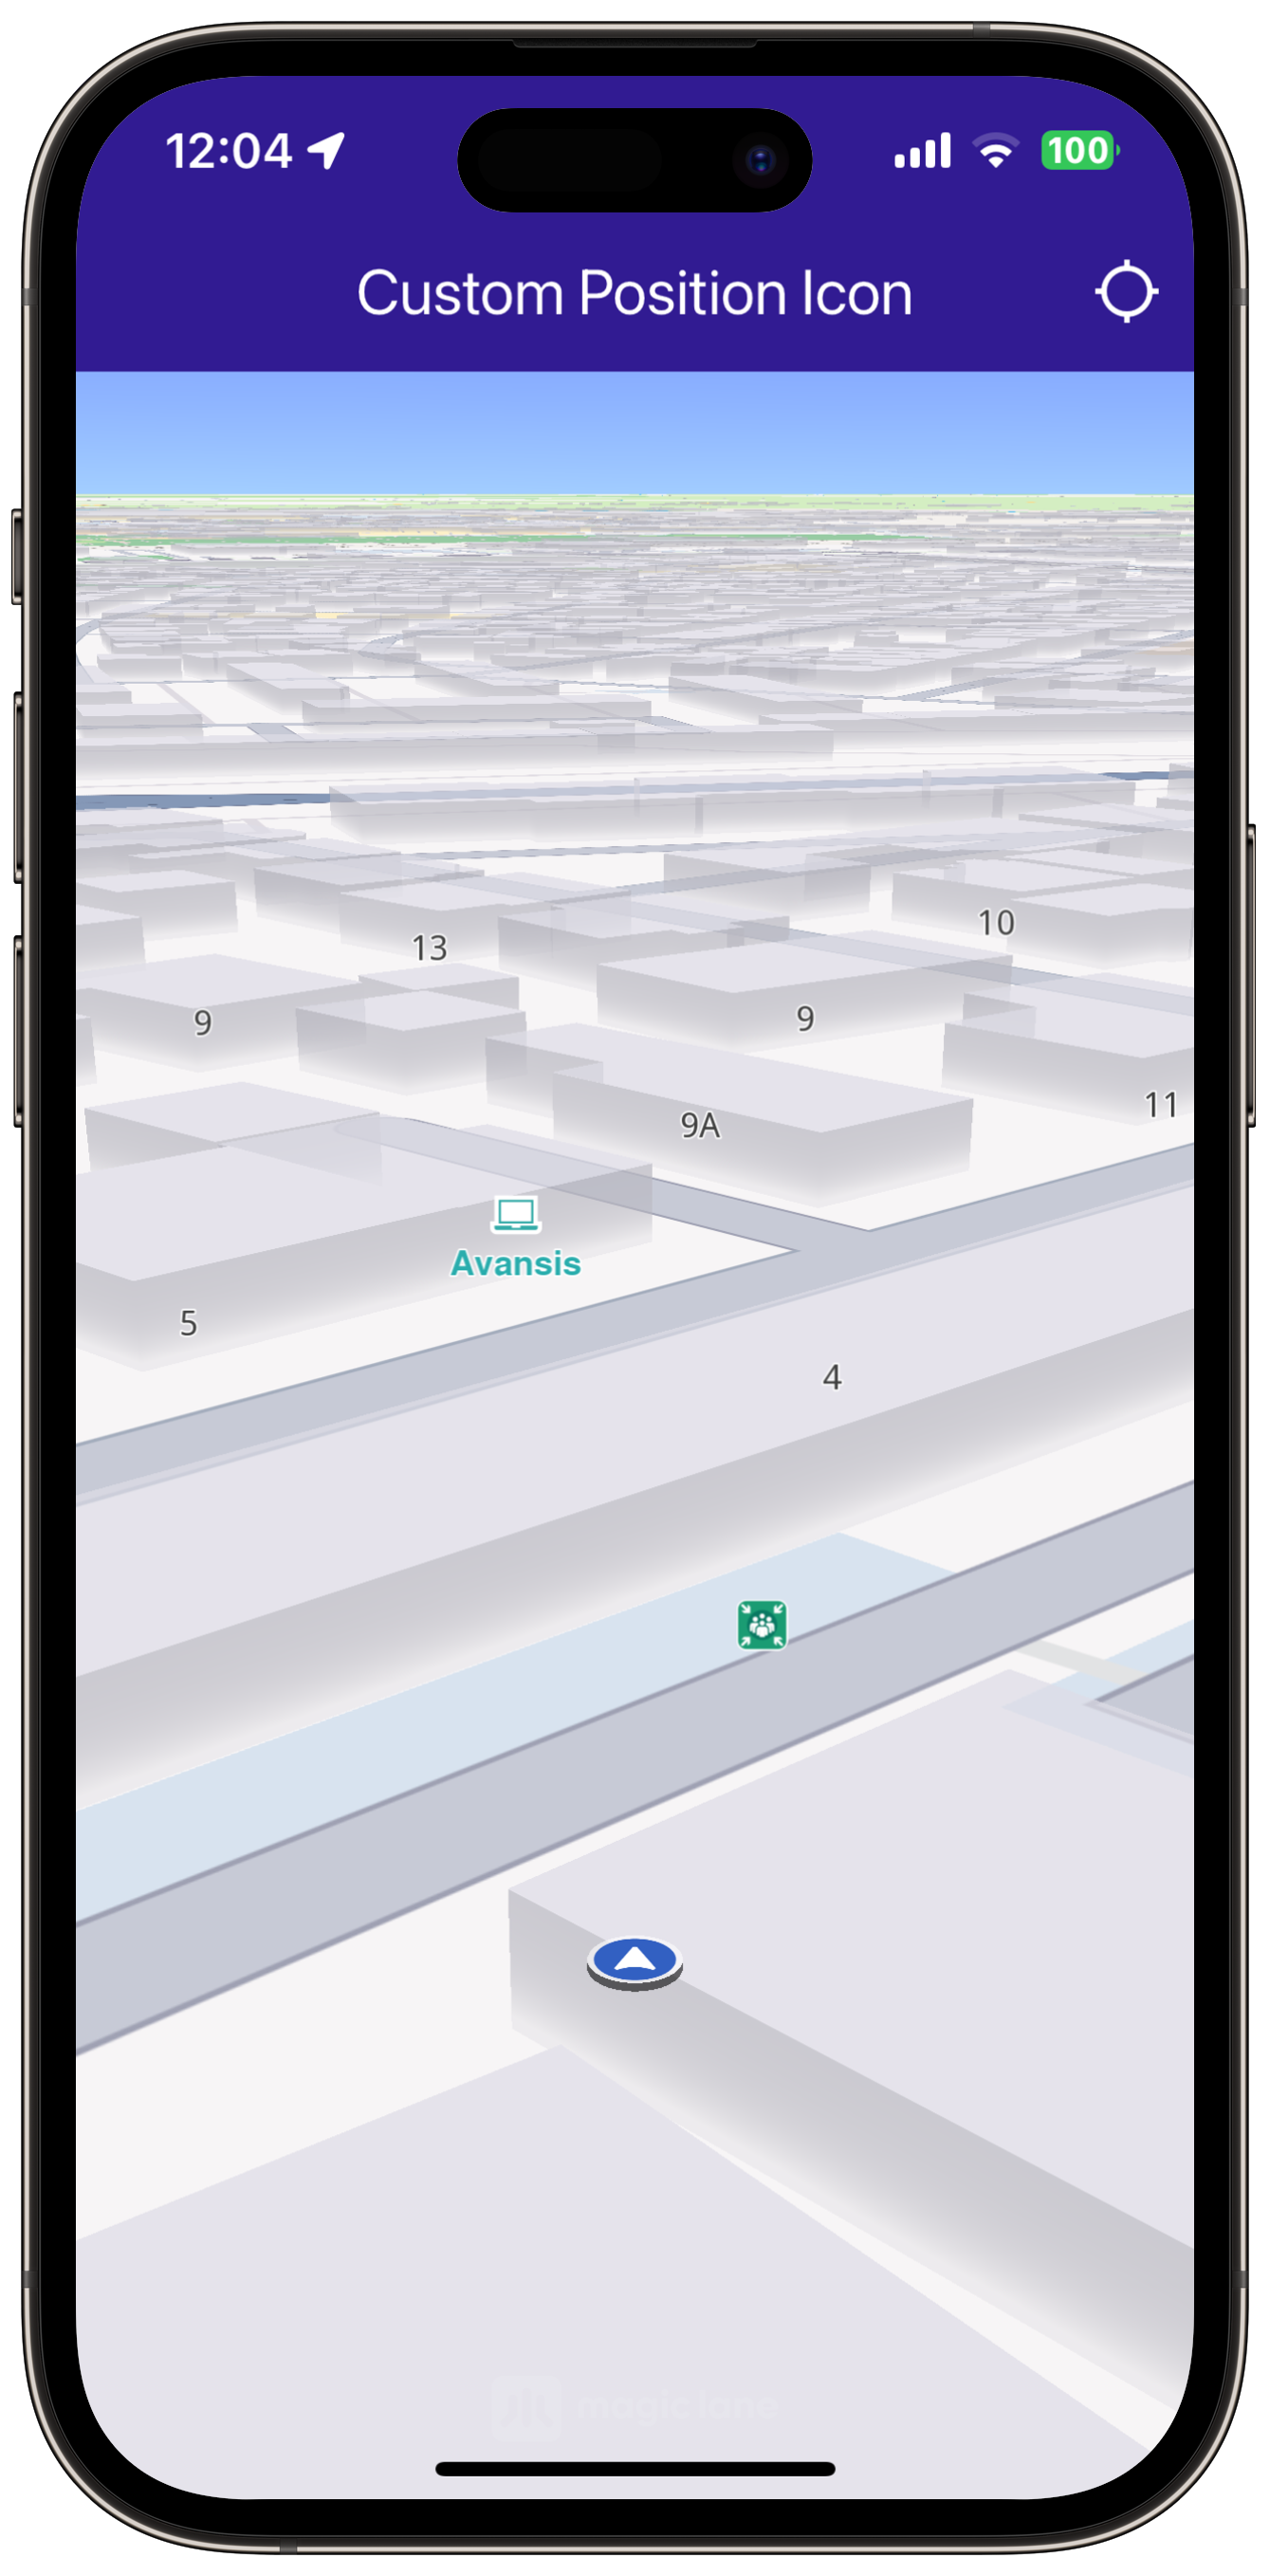
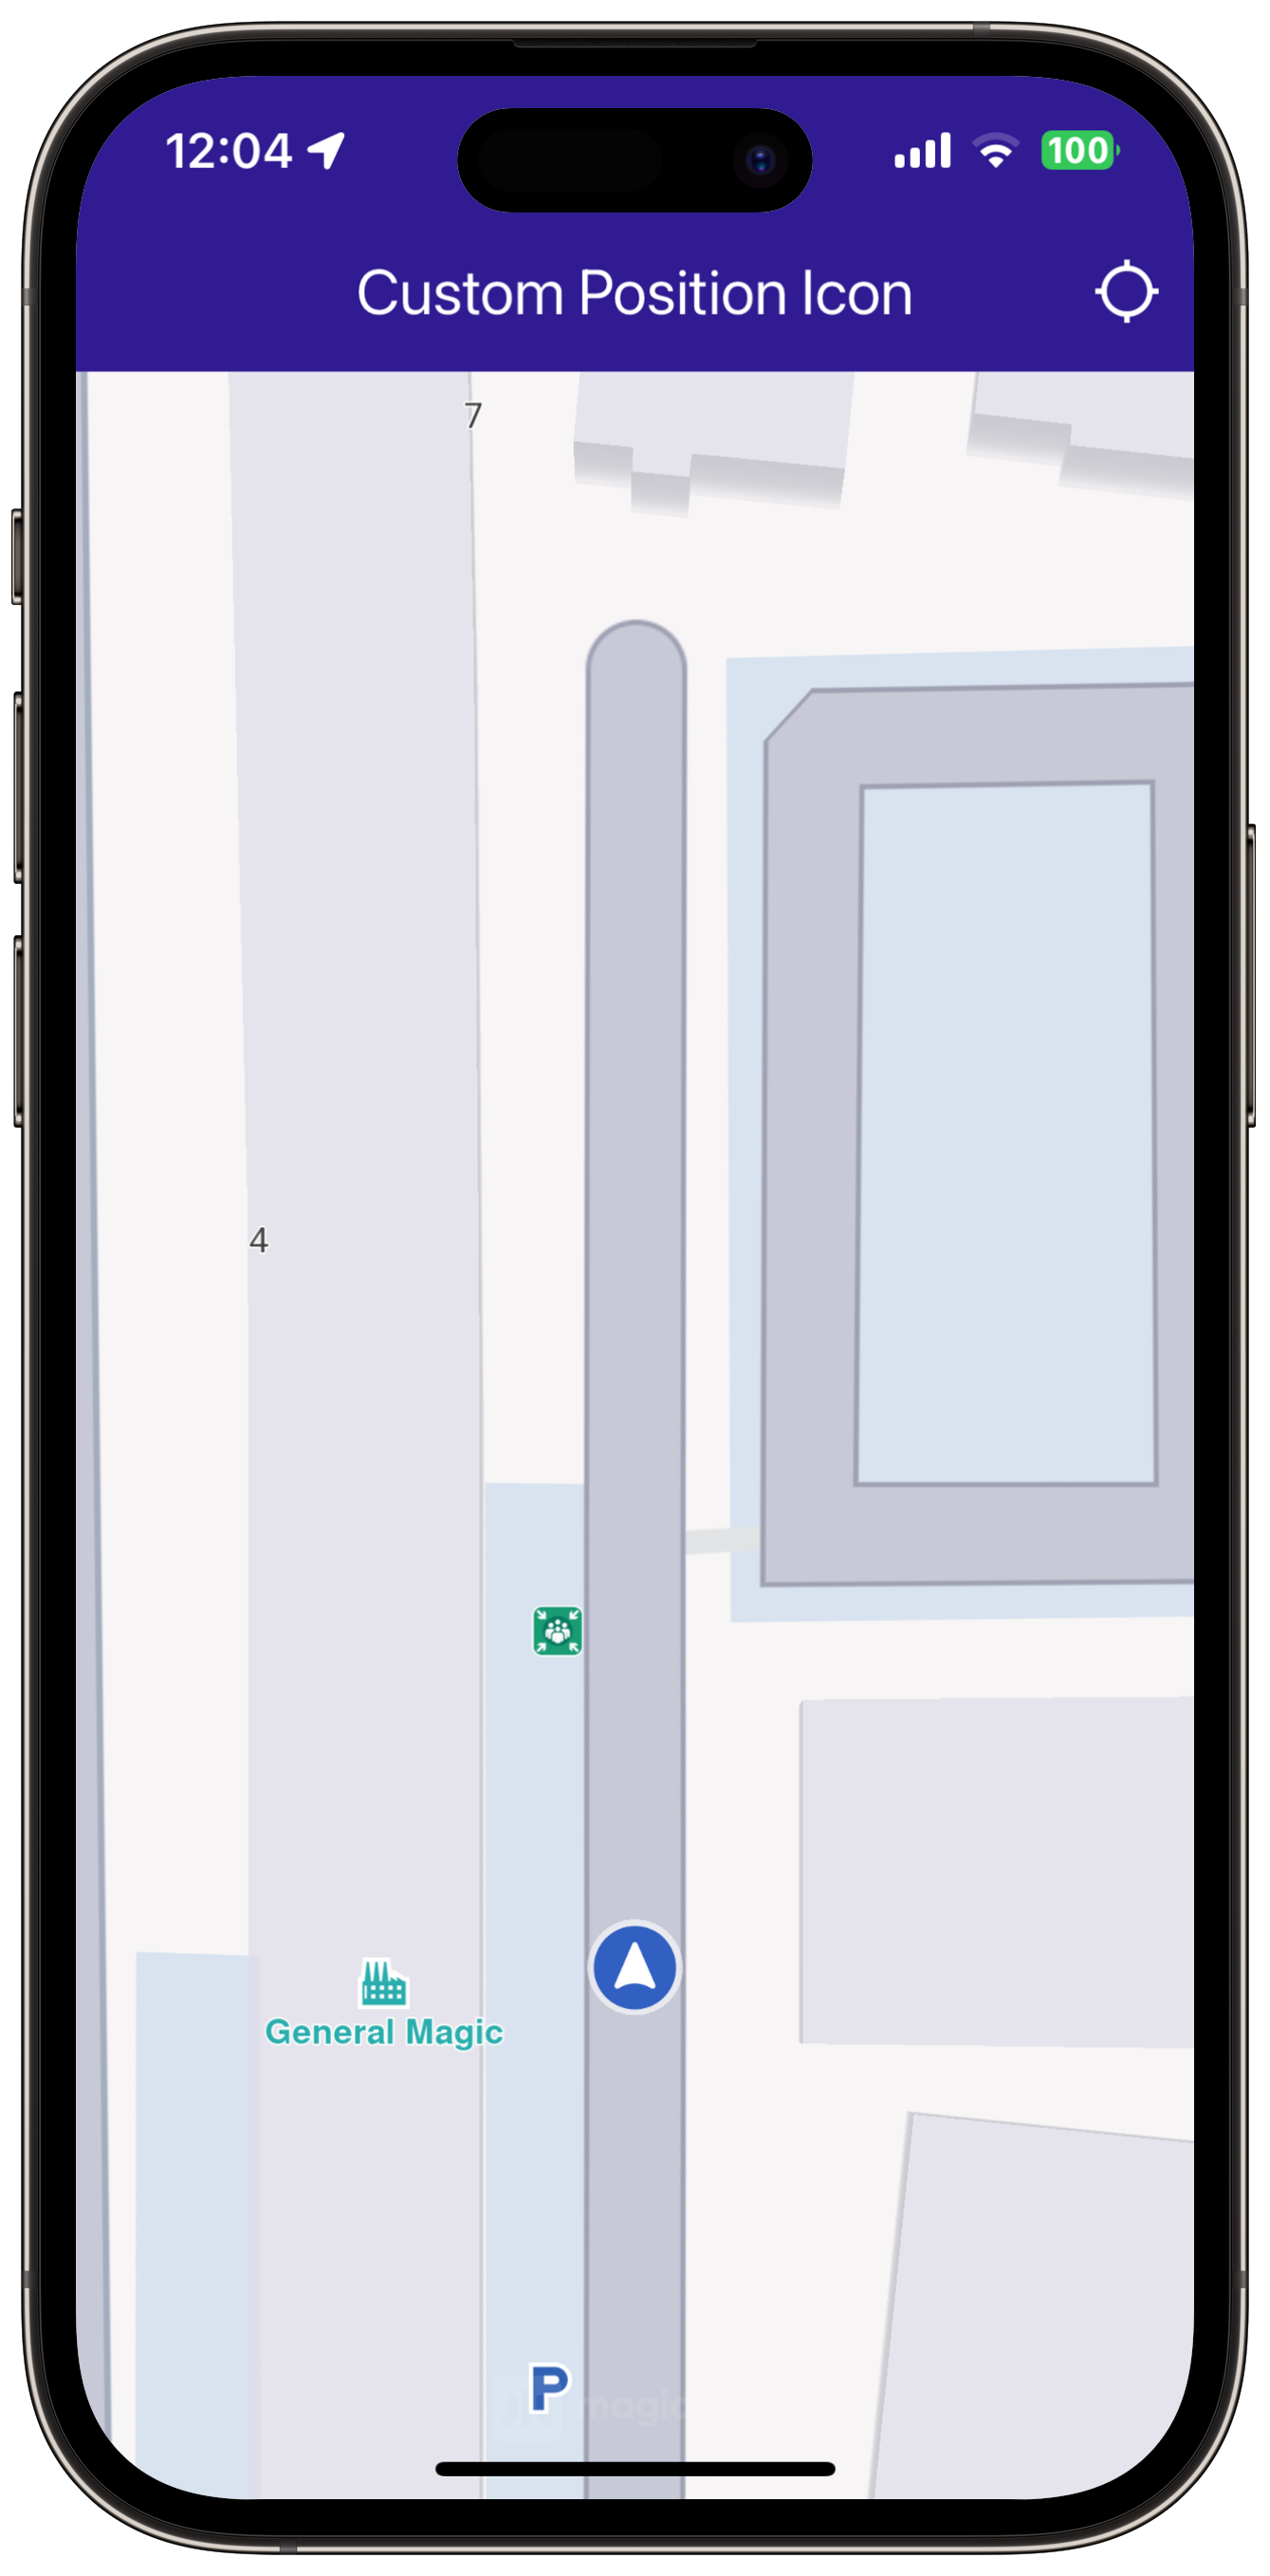
Map Creation and Custom Position Tracker Icon
// The callback for when map is ready to use.
void _onMapCreated(GemMapController controller) async {
  // Save controller for further usage.
  _mapController = controller;

  // You can upload a custom icon for the position tracker, it can also be a 3D object as "quad.glb" file in the assets, or use a texture.
  //final bytes = await loadAsUint8List('assets/quad.glb');
  final bytes = await loadAsUint8List('assets/navArrow.png');
  setPositionTrackerImage(bytes, scale: 0.5);
}
This method initializes the map controller, loads a custom icon for the position tracker from the assets, and applies it with a specified scale.
Handling Position Tracking
void _onFollowPositionButtonPressed() async {
  if (kIsWeb) {
    // On web platform permission are handled differently than other platforms.
    // The SDK handles the request of permission for location.
    _locationPermissionStatus = PermissionStatus.granted;
  } else {
    // For Android & iOS platforms, permission_handler package is used to ask for permissions.
    _locationPermissionStatus = await Permission.locationWhenInUse.request();
  }

  if (_locationPermissionStatus == PermissionStatus.granted) {
    // After the permission was granted, we can set the live data source (in most cases the GPS).
    // The data source should be set only once, otherwise we'll get -5 error.
    if (!_hasLiveDataSource) {
      PositionService.instance.setLiveDataSource();
      _hasLiveDataSource = true;
    }

    // Optionally, we can set an animation
    final animation = GemAnimation(type: AnimationType.linear);

    // Calling the start following position SDK method.
    _mapController.startFollowingPosition(animation: animation);

    setState(() {});
  }
}
This method handles user interaction to request location permissions, sets the live data source, and starts following the current position on the map.
Utility Functions
// Helper function to load an asset as byte array.
Future<Uint8List> loadAsUint8List(String filename) async {
  final fileData = await rootBundle.load(filename);
  return fileData.buffer.asUint8List();
}

// Method that sets the custom icon for the position tracker.
void setPositionTrackerImage(Uint8List imageData, {double scale = 1.0}) {
  try {
    MapSceneObject.customizeDefPositionTracker(imageData, SceneObjectFileFormat.tex);
    final positionTracker = MapSceneObject.getDefPositionTracker();

    positionTracker.scale = scale;
  } catch (e) {
    throw (e.toString());
  }
}
The setPositionTrackerImage method is crucial as it allows you to customize the position tracker icon with any image or 3D object. Ensure the image is correctly loaded from assets and properly scaled to fit your application’s design.