Search Location
gem_kit package in a Flutter application.
|
|||
Setup
Prerequisites
Build and Run
Go to the search_location directory within the Flutter examples directory.
|
|||
Note - the gem_kit directory containing the Maps SDK for Flutter
should be in the plugins directory of the example, e.g.
example_pathname/plugins/gem_kit - see the environment setup guide above.
Run: flutter pub get
Configure the native parts:
First, verify that the ANDROID_SDK_ROOT environment variable
is set to the root path of your android SDK.
In android/build.gradle add the maven block as shown,
within the allprojects block, for both debug and release builds:
allprojects {
    repositories {
        google()
        mavenCentral()
        maven {
           url "${rootDir}/../plugins/gem_kit/android/build"
        }
    }
}
in android/app/build.gradle
within the android block, in the defaultConfig block,
the android SDK version minSdk must be set as shown below.
Additionally, for release builds, in android/app/build.gradle,
within the android block, add the buildTypes block as shown:
Replace example_pathname with the actual project pathname
android {
    defaultConfig {
        applicationId "com.magiclane.gem_kit.examples.example_pathname"
        minSdk 21
        targetSdk flutter.targetSdk
        versionCode flutterVersionCode.toInteger()
        versionName flutterVersionName
    }
    buildTypes {
        release {
            minifyEnabled false
            shrinkResources false

            // TODO: Add your own signing config for the release build.
            // Signing with the debug keys for now, so `flutter run --release` works.
            signingConfig signingConfigs.debug
        }
    }
}
Then run the project:
flutter run --debugorflutter run --release
Import Necessary Packages
First, import the required packages in your Dart code.
import 'package:gem_kit/core.dart';
import 'package:gem_kit/map.dart';
import 'package:flutter/material.dart';
App entry and initialization
const projectApiToken = String.fromEnvironment('GEM_TOKEN');

void main() {
  runApp(const MyApp());
}
This code initializes the projectApiToken with the required authorization token and launches the app.
How It Works
This example demonstrates the following features:
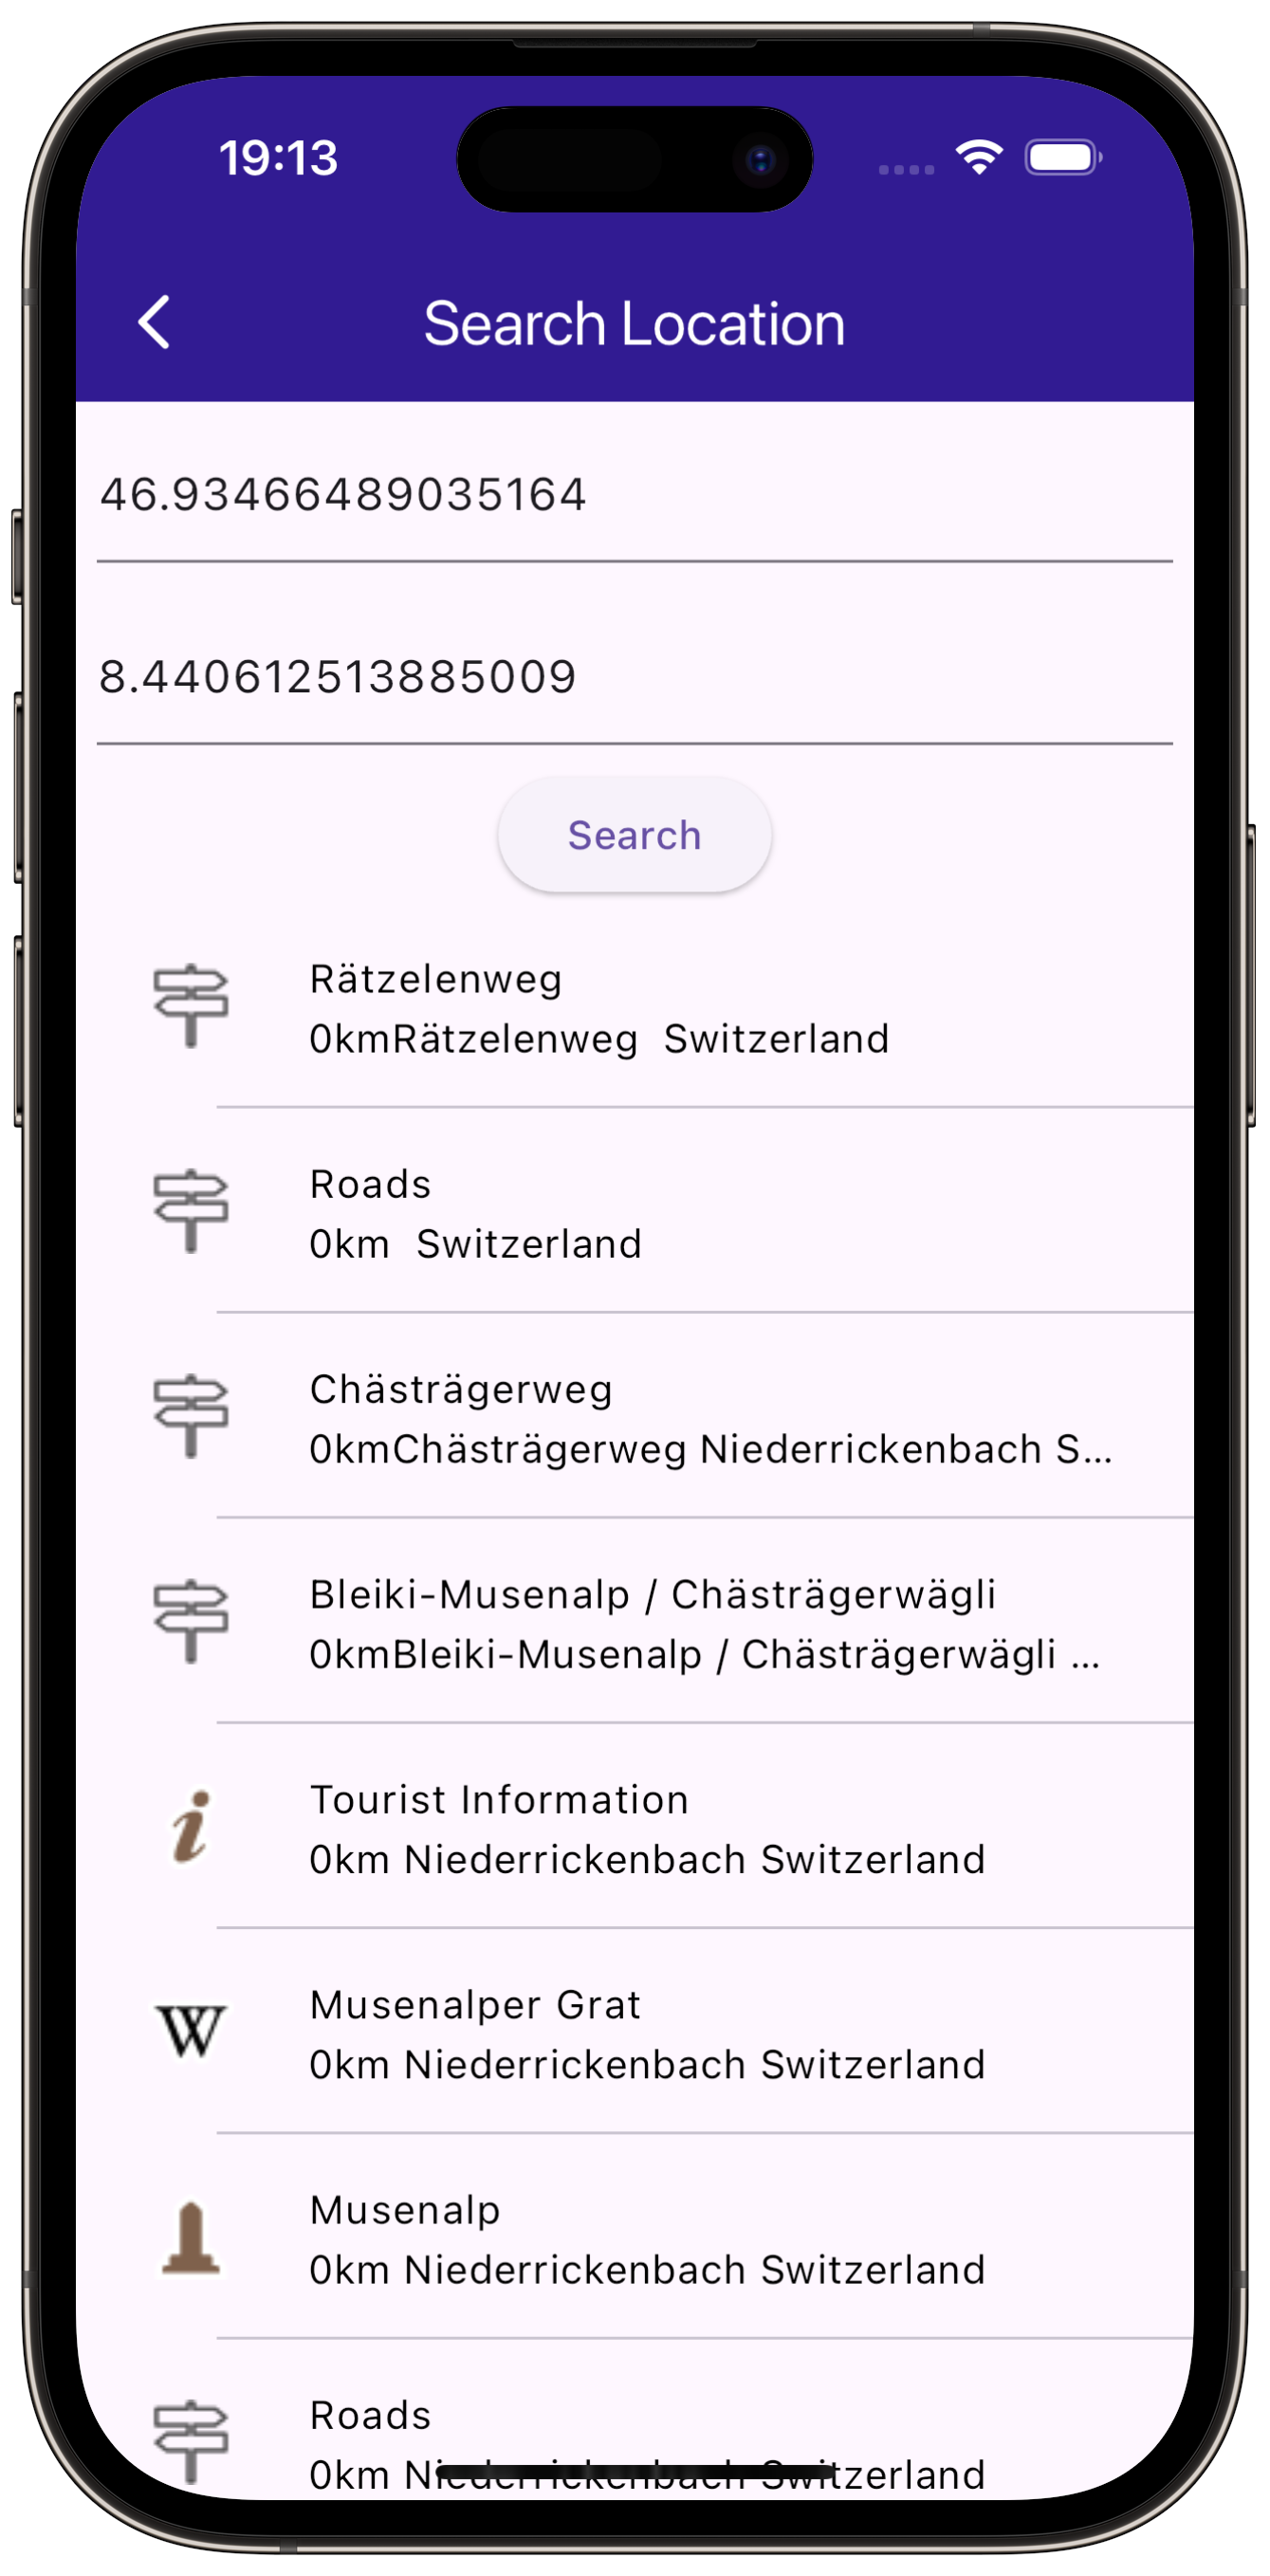
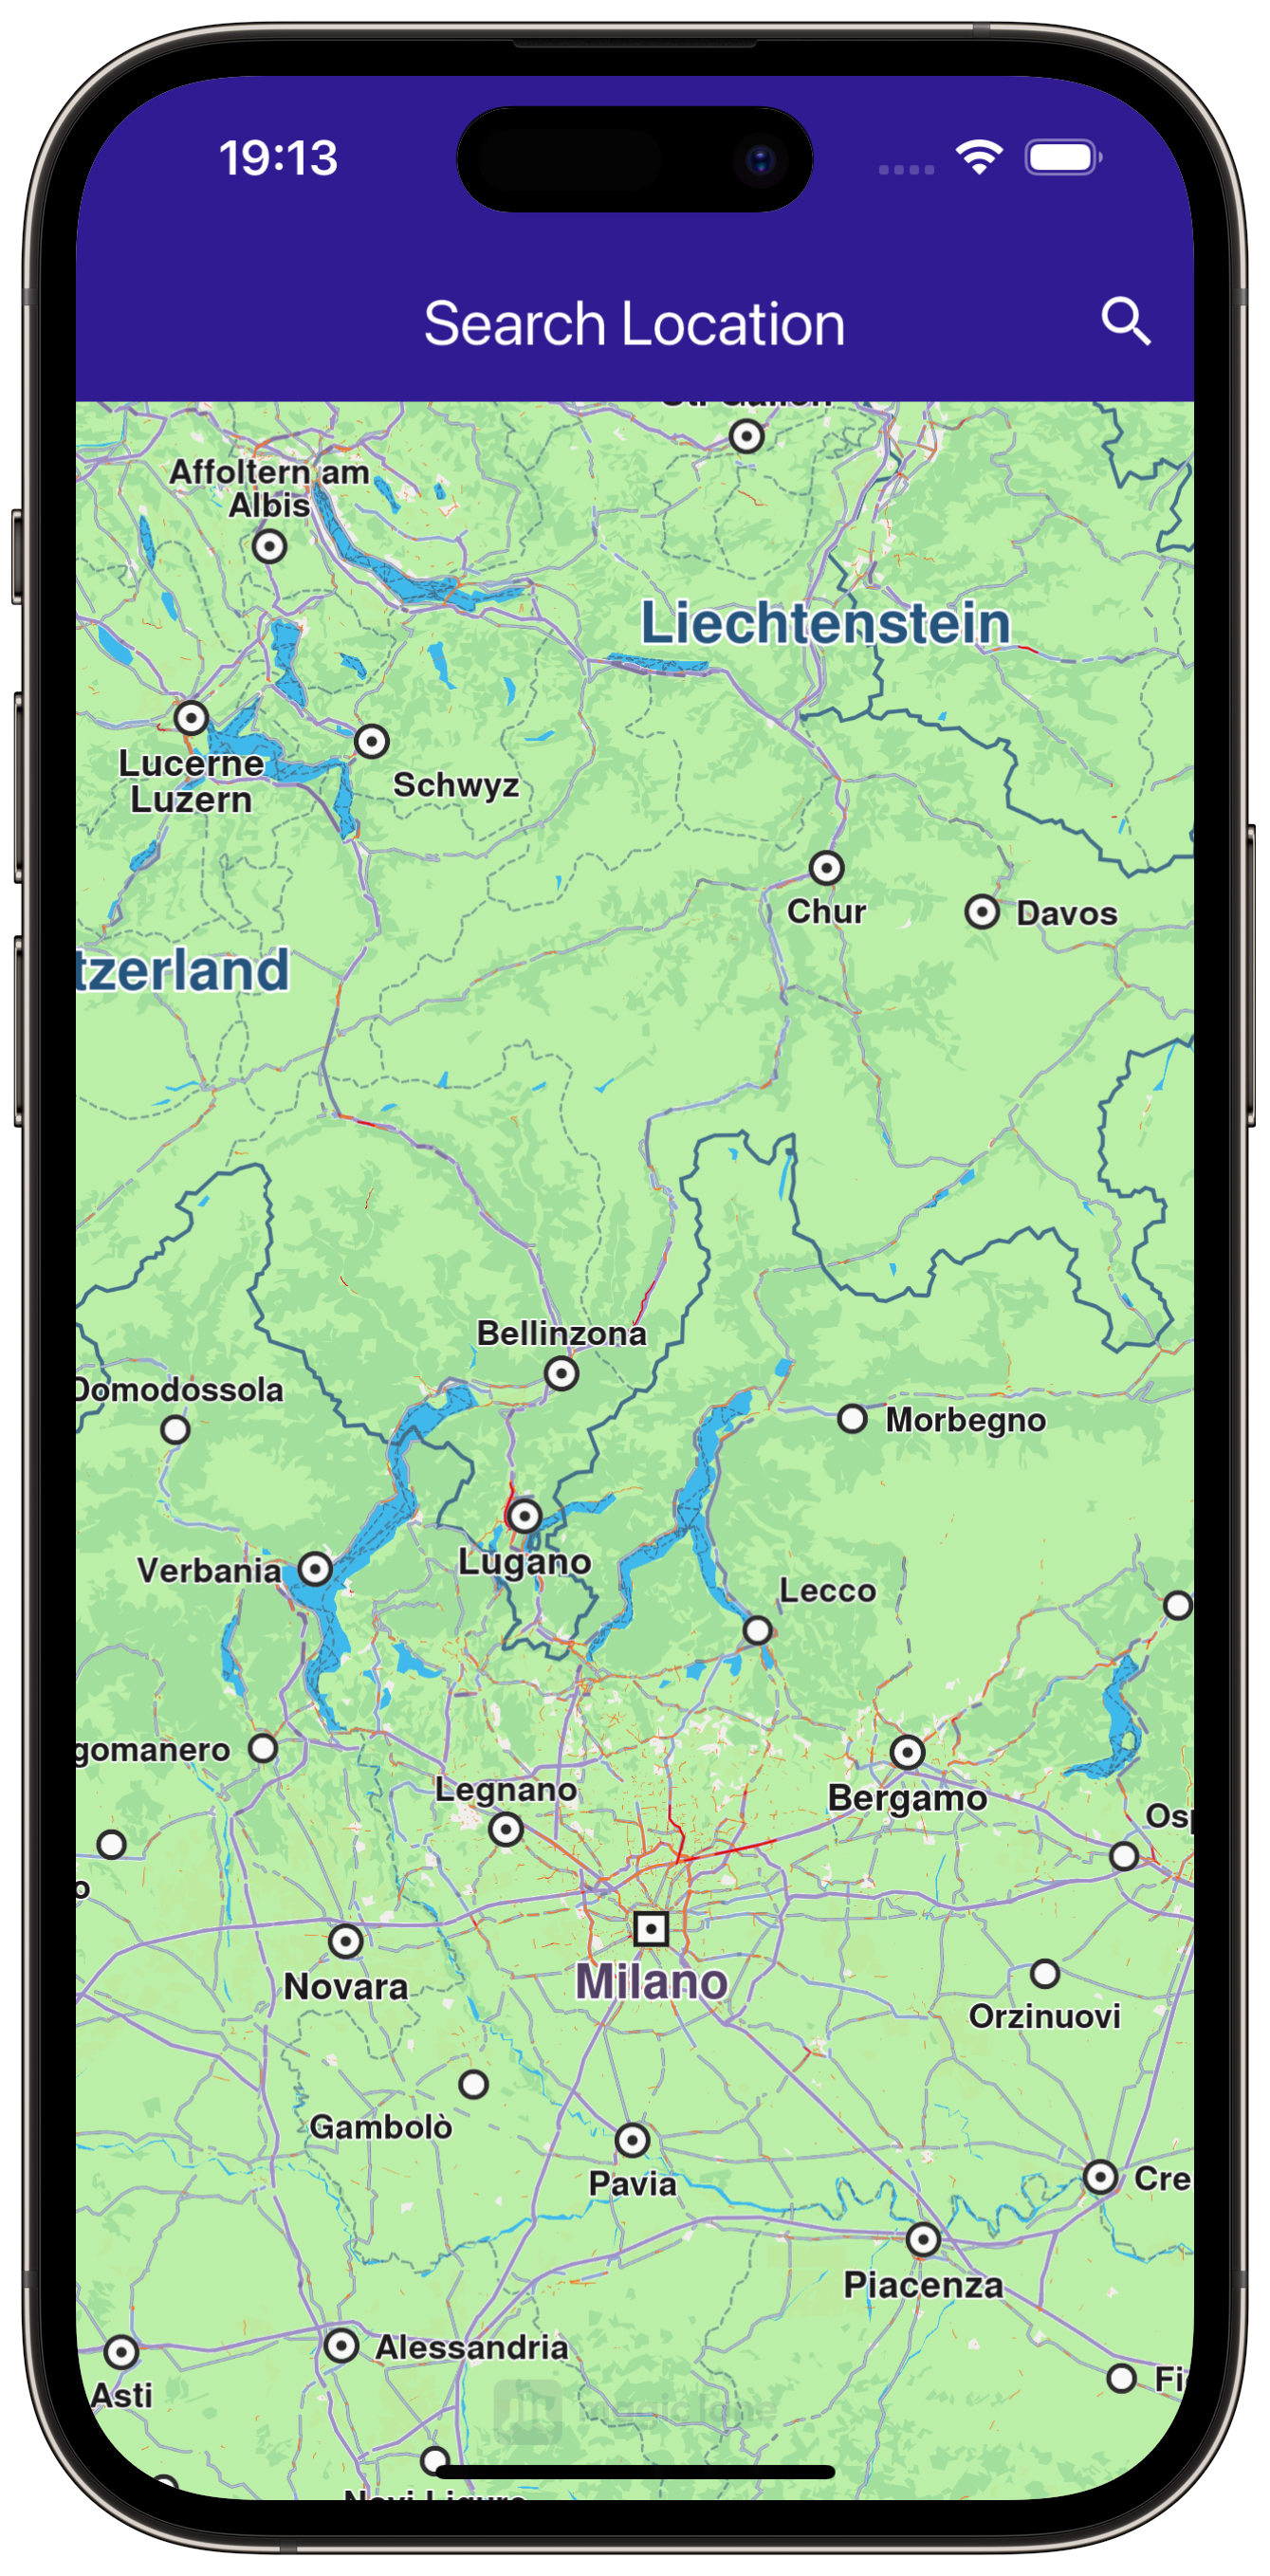
Search for landmarks around a specific location using latitude and longitude coordinates.
|
|||
Build the Main Application
Define the main application widget, MyApp.
class MyApp extends StatelessWidget {
  const MyApp({super.key});

  @override
  Widget build(BuildContext context) {
    return const MaterialApp(
      debugShowCheckedModeBanner: false,
      title: 'Search Location',
      home: MyHomePage(),
    );
  }
}
Handle Map and Search Functionality
Create the stateful widget, MyHomePage, which will handle the map and search functionality.
class MyHomePage extends StatefulWidget {
  const MyHomePage({super.key});

  @override
  State<MyHomePage> createState() => _MyHomePageState();
}
Define State Variables and Methods
Within _MyHomePageState, define the necessary state variables and methods to manage the map and perform searches.
class _MyHomePageState extends State<MyHomePage> {
  late GemMapController _mapController;

  @override
  void dispose() {
    GemKit.release();
    super.dispose();
  }

  @override
  Widget build(BuildContext context) {
    return Scaffold(
      appBar: AppBar(
        backgroundColor: Colors.deepPurple[900],
        title: const Text("Search Location", style: TextStyle(color: Colors.white)),
        actions: [
          IconButton(
            onPressed: () => _onSearchButtonPressed(context),
            icon: const Icon(Icons.search, color: Colors.white),
          ),
        ],
      ),
      body:
    );
  }

  void _onMapCreated(GemMapController controller) {
    _mapController = controller;
  }

  void _onSearchButtonPressed(BuildContext context) async {
    // Taking the coordinates at the center of the screen as reference coordinates for search.
    final x = MediaQuery.of(context).size.width / 2;
    final y = MediaQuery.of(context).size.height / 2;
    final mapCoords = _mapController.transformScreenToWgs(XyType(x: x.toInt(), y: y.toInt()));

    // Navigating to search screen. The result will be the selected search result (Landmark)
    final result = await Navigator.of(context).push(MaterialPageRoute<dynamic>(
      builder: (context) => SearchPage(coordinates: mapCoords!),
    ));

    if (result is Landmark) {
      // Activating the highlight
      _mapController.activateHighlight([result], renderSettings: RenderSettings());
      // Centering the map on the desired coordinates
      _mapController.centerOnCoordinates(result.coordinates);
    }
  }
}
Define Search Functionality
Implement the SearchPage widget that allows users to search for landmarks.
class SearchPage extends StatefulWidget {
  final Coordinates coordinates;

  const SearchPage({super.key, required this.coordinates});

  @override
  State<SearchPage> createState() => _SearchPageState();
}

class _SearchPageState extends State<SearchPage> {
  List<Landmark> landmarks = [];
  final TextEditingController _tecLatitude = TextEditingController();
  final TextEditingController _tecLongitude = TextEditingController();

  @override
  void initState() {
    super.initState();

    // Set initial coordinates to the center of the map
    _tecLatitude.text = widget.coordinates.latitude.toString();
    _tecLongitude.text = widget.coordinates.longitude.toString();
  }

  @override
  Widget build(BuildContext context) {
    return Scaffold(
      appBar: AppBar(
        automaticallyImplyLeading: true,
        title: const Text("Search Location"),
        backgroundColor: Colors.deepPurple[900],
        foregroundColor: Colors.white,
      ),
      body: Column(
        children: [
          Padding(
            padding: const EdgeInsets.all(8.0),
            child: TextField(
              controller: _tecLatitude,
              cursorColor: Colors.deepPurple[900],
              decoration: const InputDecoration(
                hintText: 'Latitude',
                hintStyle: TextStyle(color: Colors.black),
                focusedBorder: UnderlineInputBorder(
                  borderSide: BorderSide(color: Colors.deepPurple, width: 2.0),
                ),
              ),
            ),
          ),
          Padding(
            padding: const EdgeInsets.all(8.0),
            child: TextField(
              controller: _tecLongitude,
              cursorColor: Colors.deepPurple[900],
              decoration: const InputDecoration(
                hintText: 'Longitude',
                hintStyle: TextStyle(color: Colors.black),
                focusedBorder: UnderlineInputBorder(
                  borderSide: BorderSide(color: Colors.deepPurple, width: 2.0),
                ),
              ),
            ),
          ),
          ElevatedButton(onPressed: _onSearchSubmitted, child: const Text("Search")),
          Expanded(
            child: ListView.separated(
              padding: EdgeInsets.zero,
              itemCount: landmarks.length,
              controller: ScrollController(),
              separatorBuilder: (context, index) => const Divider(
                indent: 50,
                height: 0,
              ),
              itemBuilder: (context, index) {
                final lmk = landmarks.elementAt(index);
                return SearchResultItem(landmark: lmk);
              },
            ),
          ),
        ],
      ),
    );
  }

  void _onSearchSubmitted() {
    final latitude = double.tryParse(_tecLatitude.text);
    final longitude = double.tryParse(_tecLongitude.text);

    if (latitude == null || longitude == null) {
      print("Invalid values for the reference coordinate.");
      return;
    }

    Coordinates coords = Coordinates(latitude: latitude, longitude: longitude);
    SearchPreferences preferences = SearchPreferences(maxMatches: 40, allowFuzzyResults: true);

    search(coords, preferences: preferences);
  }

  late Completer<List<Landmark>> completer;

  // Search method
  Future<void> search(Coordinates coordinates, {SearchPreferences? preferences}) async {
    completer = Completer<List<Landmark>>();

    // Calling the search around position SDK method.
    SearchService.searchAroundPosition(coordinates, preferences: preferences, (err, results) async {
      if (err != GemError.success || results == null) {
        completer.complete([]);
        return;
      }

      if (!completer.isCompleted) completer.complete(results);
    });

    final result = await completer.future;

    setState(() {
      landmarks = result;
    });
  }
}
Class for the Search Results
Implement the SearchResultItem widget to display search results.
class SearchResultItem extends StatefulWidget {
  final Landmark landmark;

  const SearchResultItem({super.key, required this.landmark});

  @override
  State<SearchResultItem> createState() => _SearchResultItemState();
}

class _SearchResultItemState extends State<SearchResultItem> {
  @override
  Widget build(BuildContext context) {
    return ListTile(
      onTap: () => Navigator.of(context).pop(widget.landmark),
      leading: Container(
        padding: const EdgeInsets.all(8),
        width: 50,
        child: Image.memory(
          widget.landmark.getImage(),
        ),
      ),
      title: Text(
        widget.landmark.name,
        overflow: TextOverflow.fade,
        style: const TextStyle(color: Colors.black, fontSize: 14, fontWeight: FontWeight.w400),
        maxLines: 2,
      ),
      subtitle: Text(
        widget.landmark.getFormattedDistance() + widget.landmark.getAddress(),
        overflow: TextOverflow.ellipsis,
        style: const TextStyle(color: Colors.black, fontSize: 14, fontWeight: FontWeight.w400),
      ),
    );
  }
}
Define Extensions for Landmarks
Implement an extension to format the address and distance of landmarks.
extension LandmarkExtension on Landmark {
  String getAddress() {
    final addressInfo = address;
    final street = addressInfo.getField(AddressField.streetName);
    final city = addressInfo.getField(AddressField.city);
    final country = addressInfo.getField(AddressField.country);

    return '$street $city $country';
  }

  String getFormattedDistance() {
    String formattedDistance = '';

    double distance = (extraInfo.getByKey(PredefinedExtraInfoKey.gmSearchResultDistance) / 1000) as double;
    formattedDistance = "${distance.toStringAsFixed(0)} km";
    return formattedDistance;
  }
}


