Human Voices
|
|||
Setup
Prerequisites
Build and Run
Go to the human_voices directory within the Flutter examples directory. This is the directory name for this example project.
|
|||

Note - the gem_kit directory containing the Maps SDK for Flutter
should be in the plugins directory of the example, e.g.
example_pathname/plugins/gem_kit - see the environment setup guide above.
Run: flutter pub get
Configure the native parts:
First, verify that the ANDROID_SDK_ROOT environment variable
is set to the root path of your android SDK.
In android/build.gradle add the maven block as shown,
within the allprojects block, for both debug and release builds:
allprojects {
    repositories {
        google()
        mavenCentral()
        maven {
           url "${rootDir}/../plugins/gem_kit/android/build"
        }
    }
}
in android/app/build.gradle
within the android block, in the defaultConfig block,
the android SDK version minSdk must be set as shown below.
Additionally, for release builds, in android/app/build.gradle,
within the android block, add the buildTypes block as shown:
Replace example_pathname with the actual project pathname
android {
    defaultConfig {
        applicationId "com.magiclane.gem_kit.examples.example_pathname"
        minSdk 21
        targetSdk flutter.targetSdk
        versionCode flutterVersionCode.toInteger()
        versionName flutterVersionName
    }
    buildTypes {
        release {
            minifyEnabled false
            shrinkResources false

            // TODO: Add your own signing config for the release build.
            // Signing with the debug keys for now, so `flutter run --release` works.
            signingConfig signingConfigs.debug
        }
    }
}
Then run the project:
flutter run --debugorflutter run --release
App entry and initialization
const projectApiToken = String.fromEnvironment('GEM_TOKEN');

void main() {
  runApp(const MyApp());
}
This code initializes the projectApiToken with the required authorization token and launches the app.
How It Works
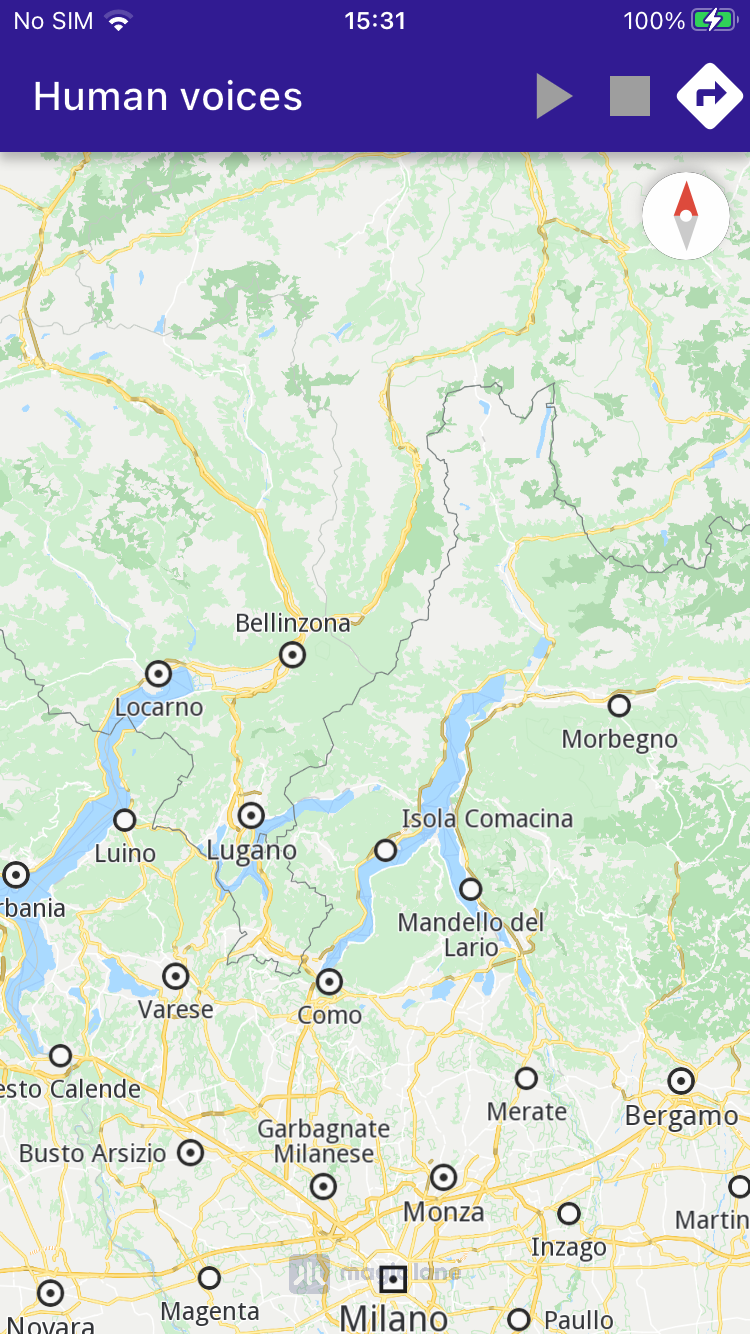
This example integrates several components to simulate navigation with voice instructions. Here’s a breakdown of the key functionalities:
Calculate routes based on user-defined landmarks and route preferences.
Simulate navigation along a calculated route with real-time text-to-speech (TTS) instructions.
Display and center routes on the map, with the camera following the simulated position.
|
|||
Route Calculation
The user can trigger route calculation, which involves defining landmarks and preferences, then using RoutingService.calculateRoute to compute the route.
:lineno-start: 1

void _onBuildRouteButtonPressed(BuildContext context) {
  _showSnackBar(context, message: 'The route is calculating.');

  // Define landmarks.
  final departureLandmark =
      Landmark.withLatLng(latitude: 48.87586, longitude: 2.30311);
  final intermediaryPointLandmark =
      Landmark.withLatLng(latitude: 48.87422, longitude: 2.29952);
  final destinationLandmark =
      Landmark.withLatLng(latitude: 48.87361, longitude: 2.29513);

  // Define the route preferences.
  final routePreferences = RoutePreferences();

  // Calculate the route.
  _routingHandler = RoutingService.calculateRoute(
      [departureLandmark, intermediaryPointLandmark, destinationLandmark],
      routePreferences, (err, routes) {
    _routingHandler = null;
    ScaffoldMessenger.of(context).clearSnackBars();

    if (err == GemError.success) {
      final routesMap = _mapController.preferences.routes;
      for (final route in routes!) {
        routesMap.add(route, route == routes.first,
            label: route.getMapLabel());
      }
      _mapController.centerOnRoutes(routes: routes);
      setState(() => _areRoutesBuilt = true);
    }
  });
}
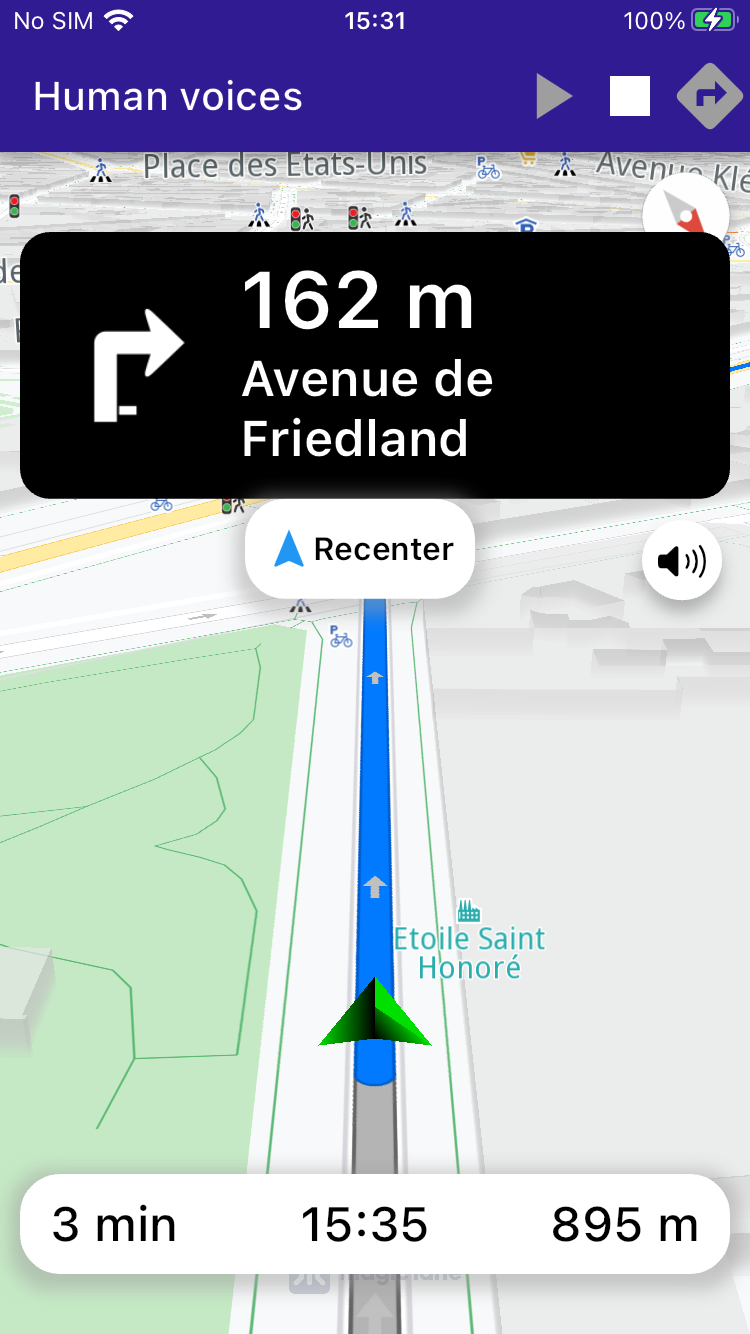
UI Components
The example includes custom UI components, such as NavigationInstructionPanel and NavigationBottomPanel, to display navigation instructions and other relevant details during the simulation.