Hello Map
|
|||
Setup
Prerequisites
Build and Run
Navigate to the hello_map directory within the Flutter examples directory. This is the directory name for this example project.
Note - the gem_kit directory containing the Maps SDK for Flutter
should be in the plugins directory of the example, e.g.
example_pathname/plugins/gem_kit - see the environment setup guide above.
Run: flutter pub get
Configure the native parts:
First, verify that the ANDROID_SDK_ROOT environment variable
is set to the root path of your android SDK.
In android/build.gradle add the maven block as shown,
within the allprojects block, for both debug and release builds:
allprojects {
    repositories {
        google()
        mavenCentral()
        maven {
           url "${rootDir}/../plugins/gem_kit/android/build"
        }
    }
}
in android/app/build.gradle
within the android block, in the defaultConfig block,
the android SDK version minSdk must be set as shown below.
Additionally, for release builds, in android/app/build.gradle,
within the android block, add the buildTypes block as shown:
Replace example_pathname with the actual project pathname
android {
    defaultConfig {
        applicationId "com.magiclane.gem_kit.examples.example_pathname"
        minSdk 21
        targetSdk flutter.targetSdk
        versionCode flutterVersionCode.toInteger()
        versionName flutterVersionName
    }
    buildTypes {
        release {
            minifyEnabled false
            shrinkResources false

            // TODO: Add your own signing config for the release build.
            // Signing with the debug keys for now, so `flutter run --release` works.
            signingConfig signingConfigs.debug
        }
    }
}
Then run the project:
flutter run --debugorflutter run --release
App entry and initialization
const projectApiToken = String.fromEnvironment('GEM_TOKEN');

void main() {
  runApp(const MyApp());
}
This code initializes the projectApiToken with the required authorization token and launches the app.
How It Works
The example app demonstrates the following feature:
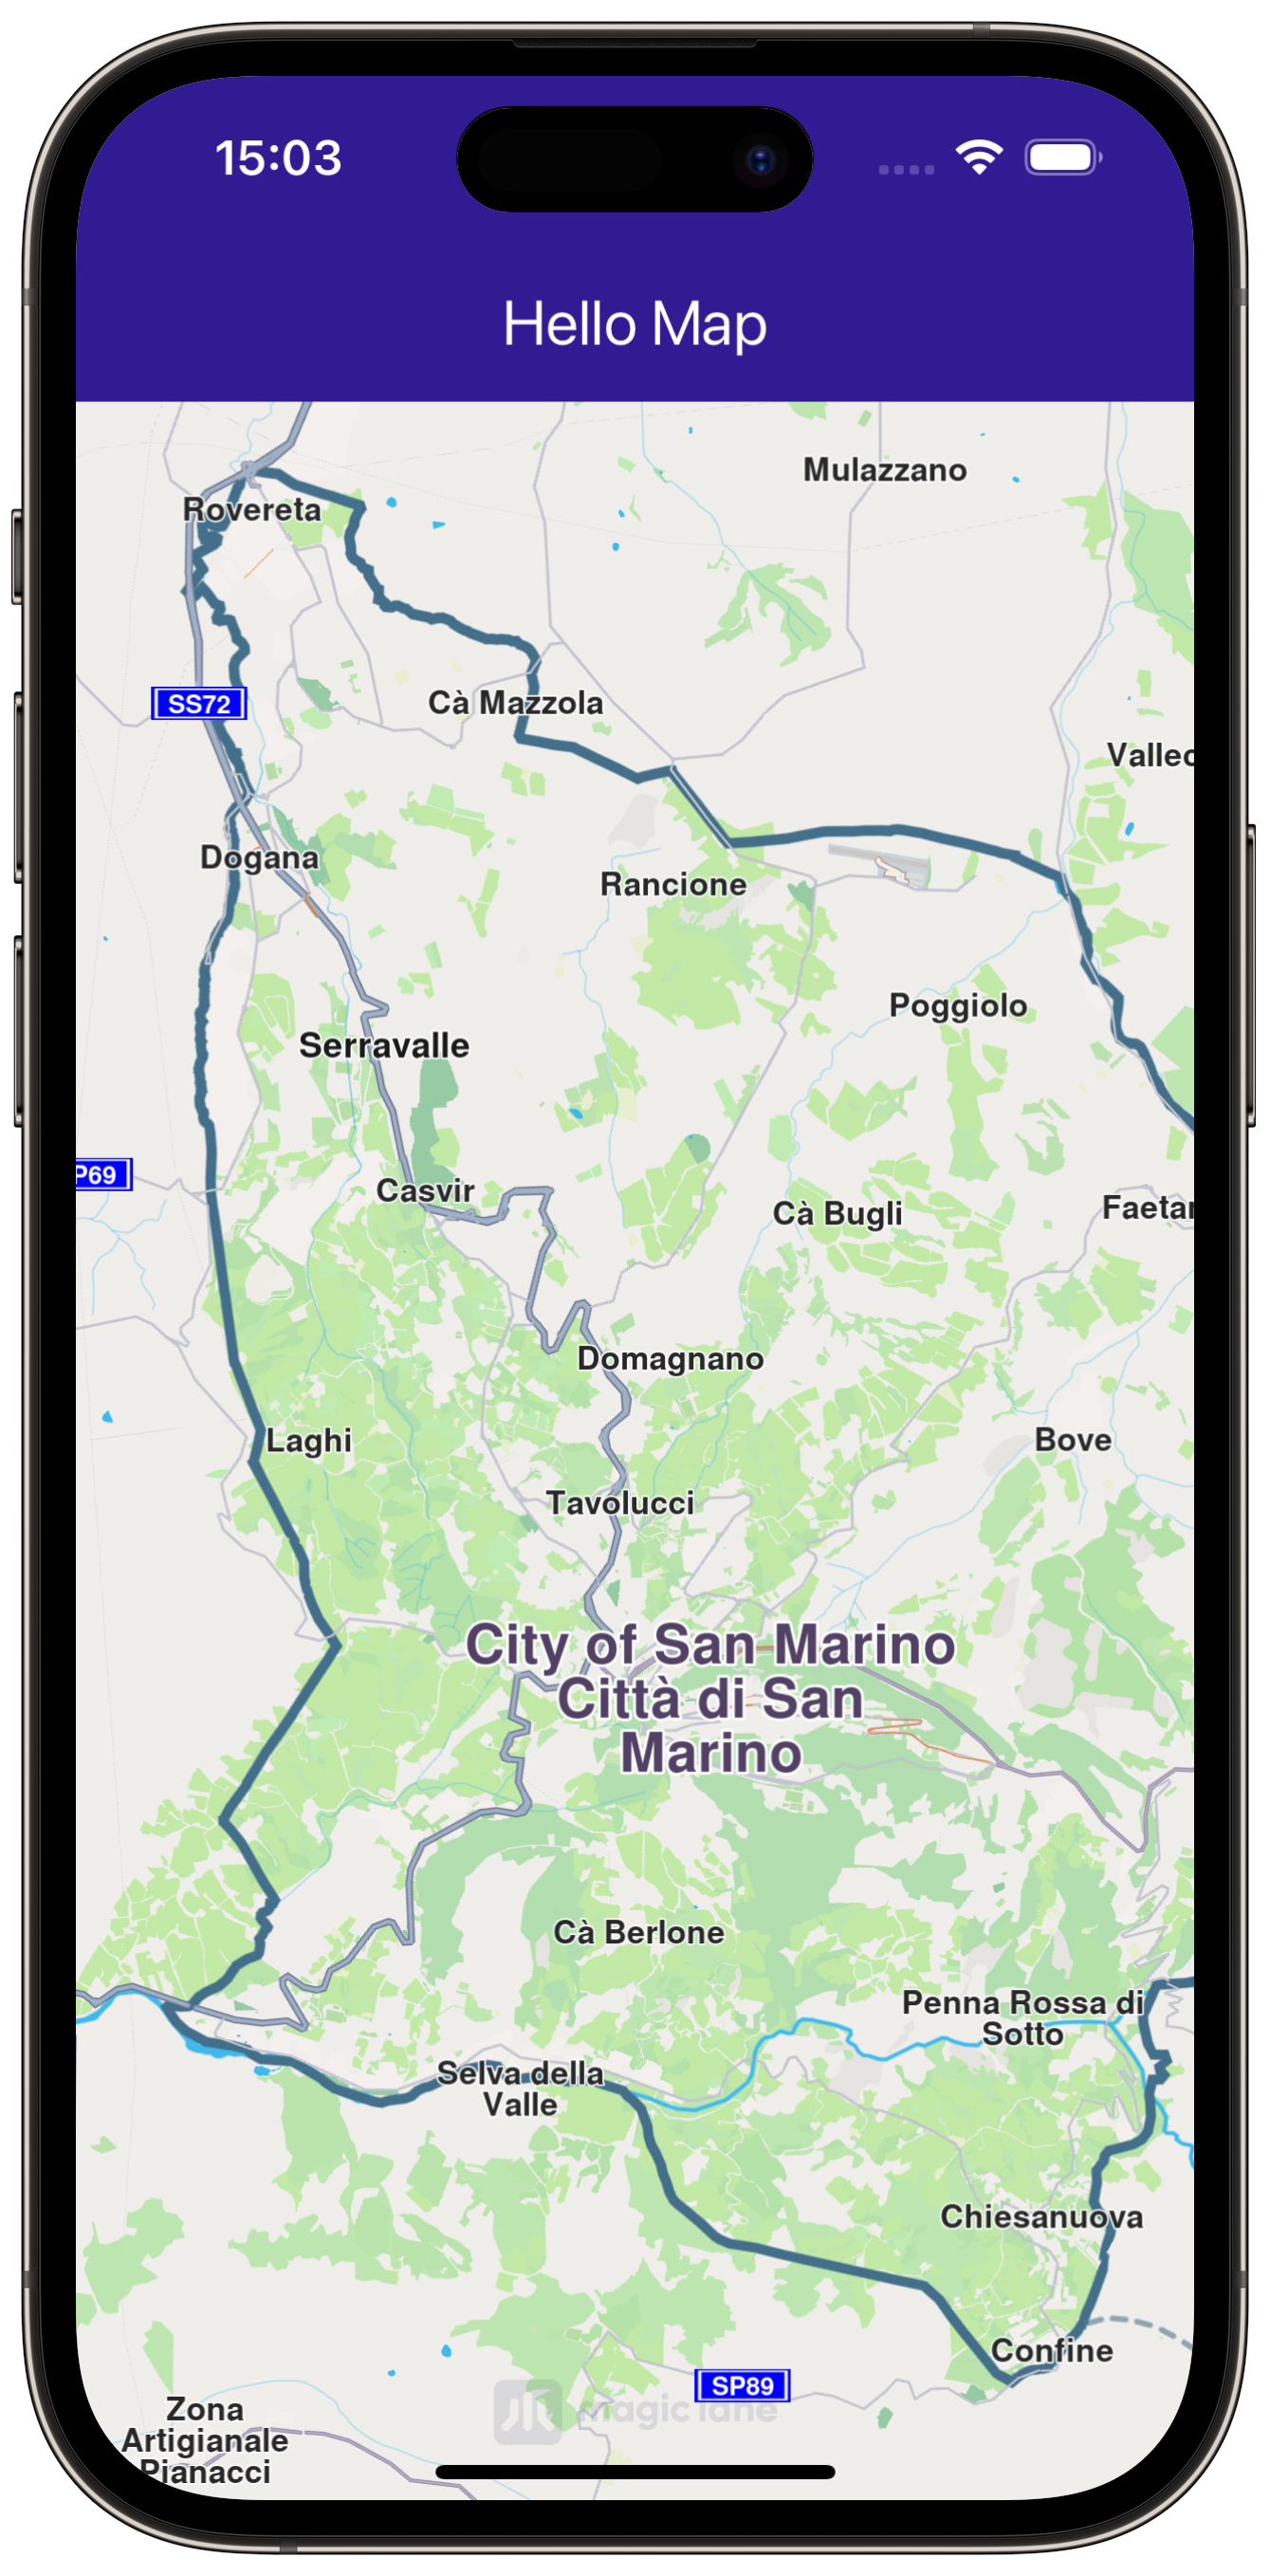
Display a map.
Map Display and Clean Up
The following code outlines the main page widget, which displays the map and handles resource clean-up:
class MyHomePage extends StatefulWidget {
  const MyHomePage({super.key});

  @override
  State<MyHomePage> createState() => _MyHomePageState();
}

class _MyHomePageState extends State<MyHomePage> {
  @override
  void dispose() {
    GemKit.release();
    super.dispose();
  }

  @override
  Widget build(BuildContext context) {
    return Scaffold(
      appBar: AppBar(
        backgroundColor: Colors.deepPurple[900],
        title: const Text('Hello Map', style: TextStyle(color: Colors.white)),
      ),
      body: const GemMap(appAuthorization: projectApiToken),
    );
  }
}
MyHomePage widget contains the scaffold that houses the map.dispose method ensures that resources are released when the widget is destroyed.GemMap() widget is used to display the interactive map in the body of the scaffold.