class MyHomePage extends StatefulWidget {
const MyHomePage({super.key});
@override
State<MyHomePage> createState() => _MyHomePageState();
}
class _MyHomePageState extends State<MyHomePage> {
@override
void initState() {
super.initState();
_loadStoredToken();
}
Future<void> _loadStoredToken() async {
final prefs = await SharedPreferences.getInstance();
final token = prefs.getString('activation_token');
if (token != null) {
await GemKit.initialize(appAuthorization: token);
setState(() {
_isActivated = true;
_isLoadingPreferences = false;
});
} else {
setState(() {
_isLoadingPreferences = false;
});
}
}
@override
void dispose() {
GemKit.release();
super.dispose();
}
bool _isLoadingPreferences = true;
bool _isActivated = false;
@override
Widget build(BuildContext context) {
return Scaffold(
appBar: AppBar(
backgroundColor: Colors.deepPurple[900],
title: const Text('Auto Activation Example', style: TextStyle(color: Colors.white)),
actions: [
IconButton(
icon: const Icon(Icons.info, color: Colors.white),
onPressed: () async {
if (!_isActivated) {
showDialog<void>(
context: context,
builder: (context) => const AlertDialog(content: Text('No activations found.')),
);
} else {
final activations = ActivationService.getActivationsForProduct(ProductID.core);
showDialog<void>(
context: context,
builder: (context) => AlertDialog(
content: SizedBox(
width: 600,
height: 400,
child: Builder(
builder: (context) {
if (activations.isEmpty) {
return const Text('No activations found.');
}
return ListView(
shrinkWrap: true,
children: [
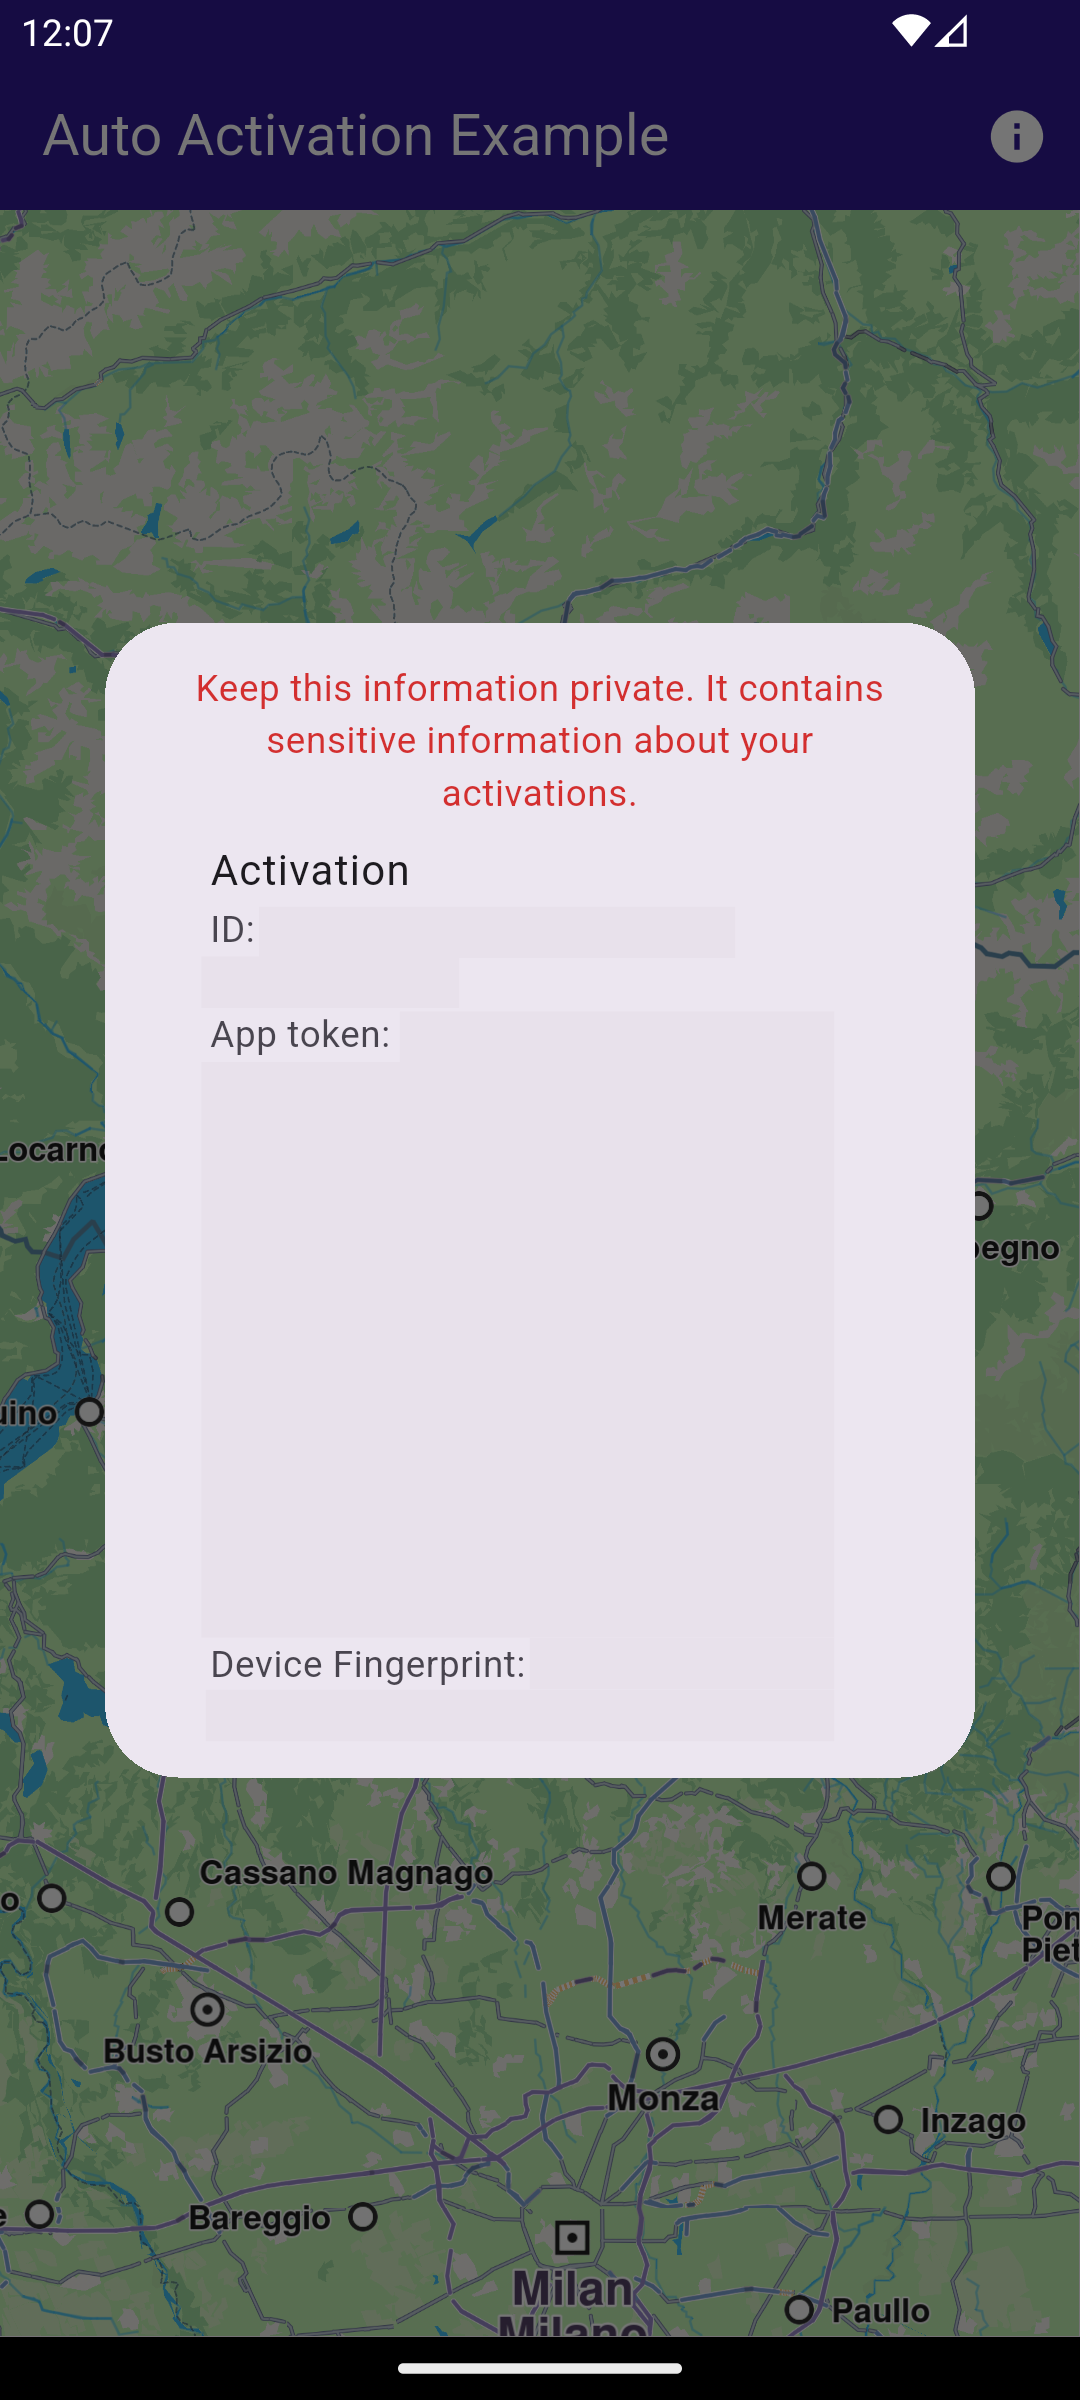
Text(
"Keep this information private. It contains sensitive information about your activations.",
style: TextStyle(color: Colors.red[700]),
textAlign: TextAlign.center,
),
...activations.map((activation) {
return ListTile(
title: const Text('Activation'),
subtitle: Column(
mainAxisSize: MainAxisSize.min,
crossAxisAlignment: CrossAxisAlignment.start,
children: [
SelectableText('ID: ${activation.id}'),
SelectableText('App token: ${activation.appToken}'),
SelectableText('Device Fingerprint: ${activation.deviceFingerprint}'),
SelectableText('Status: ${activation.status.name}'),
SelectableText('Expires: ${activation.expiry}'),
SelectableText('License Key: ${activation.licenseKey}'),
],
),
);
}),
const Divider(),
Padding(
padding: const EdgeInsets.all(16.0),
child: SelectableText("Token set in SdkSettings: ${SdkSettings.appAuthorization}"),
),
],
);
},
),
),
),
);
}
},
),
],
),
body: Builder(
builder: (context) {
if (_isActivated) return const GemMap();
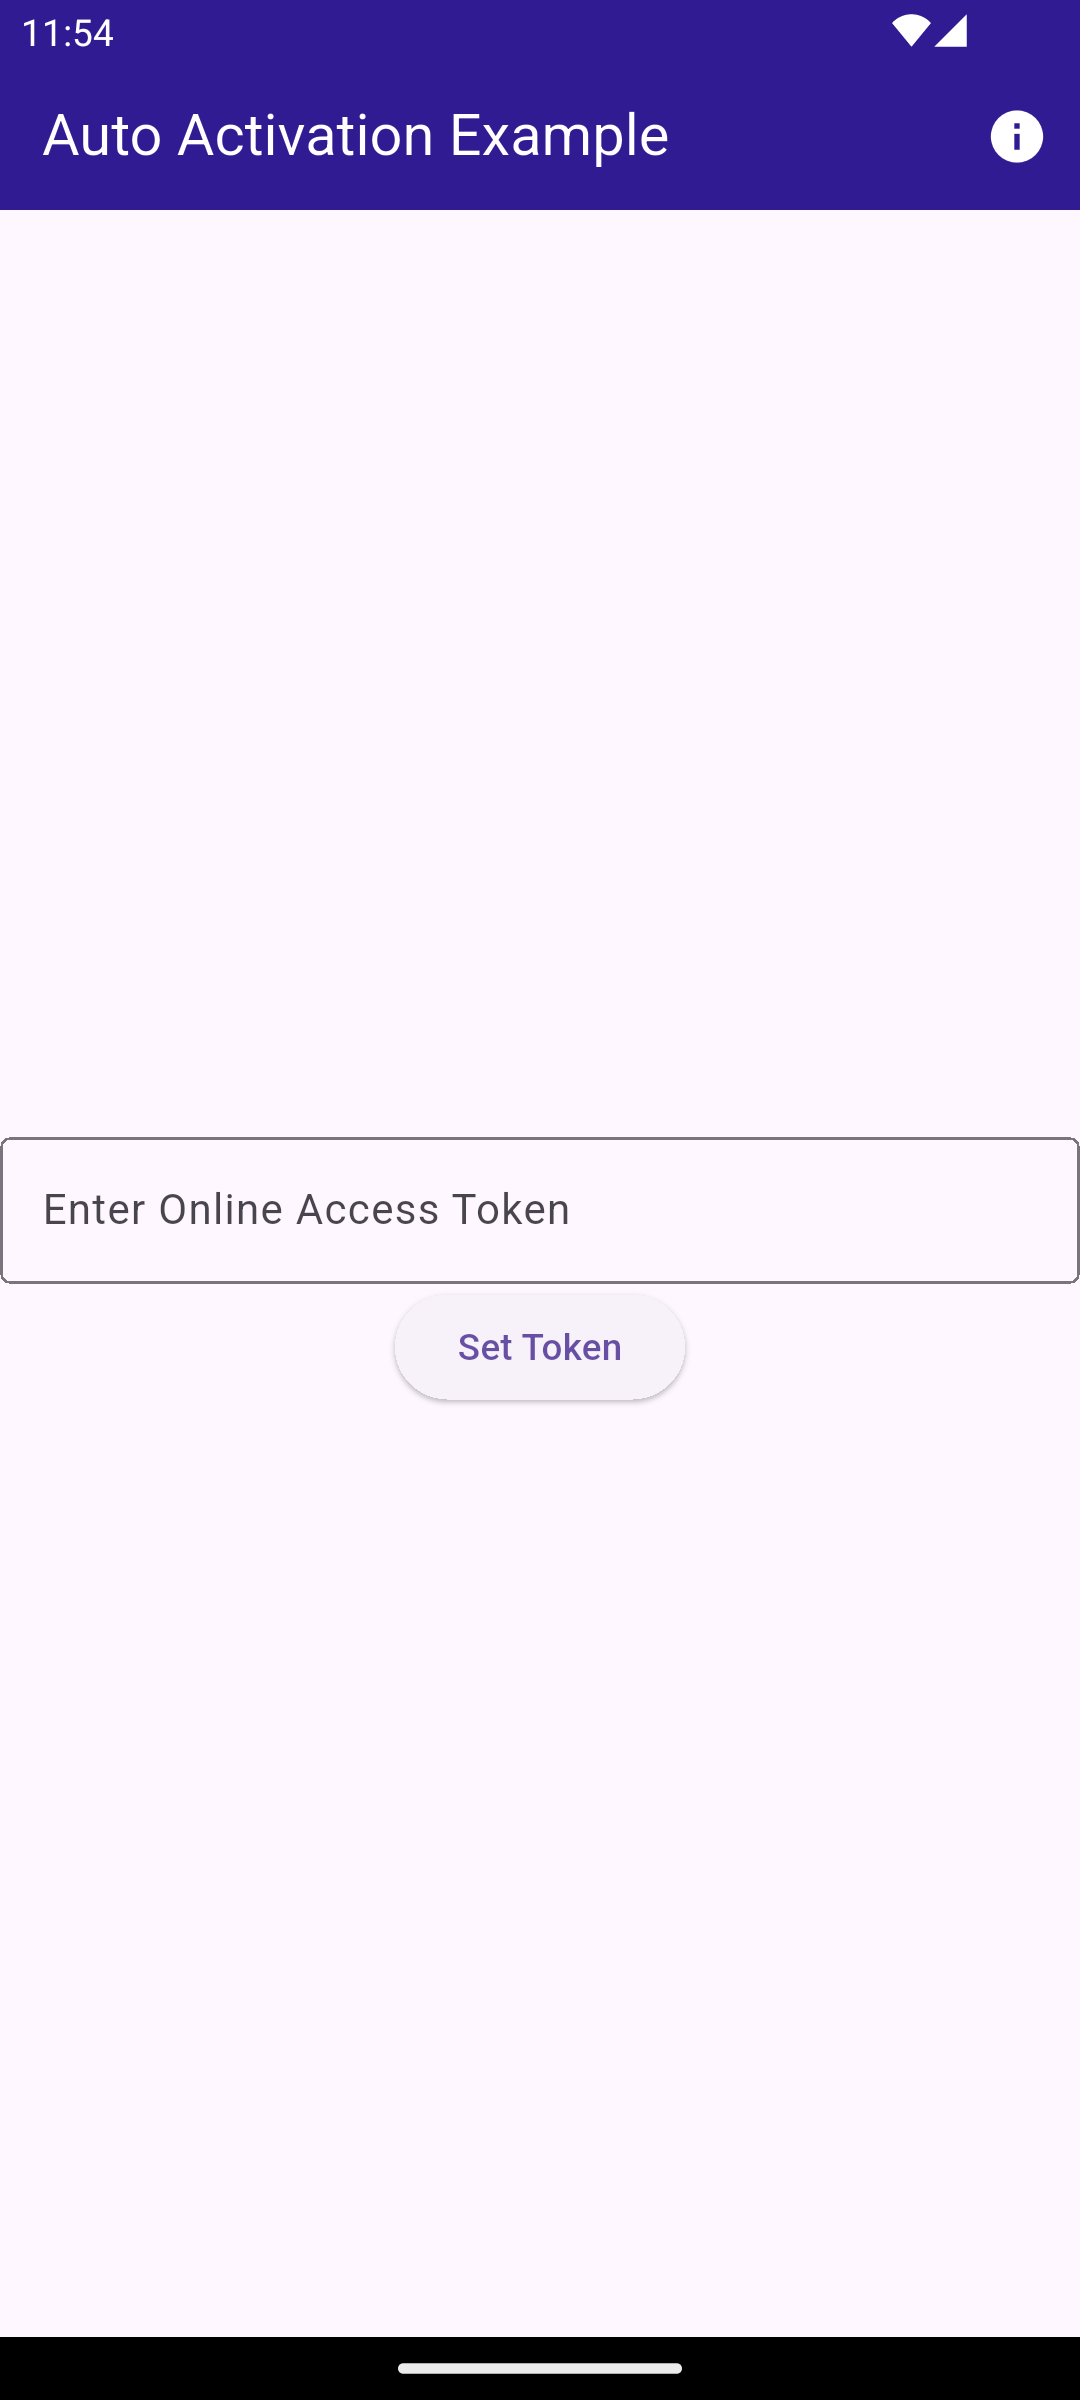
if (_isLoadingPreferences) return const LoadingPreferencesWidget();
return ActivationRequiredScreen(
onSilentActivation: (token) async {
final prefs = await SharedPreferences.getInstance();
await prefs.setString('activation_token', token);
await GemKit.initialize(appAuthorization: token);
if (!mounted) return;
setState(() {
_isActivated = true;
});
},
);
},
),
);
}
}