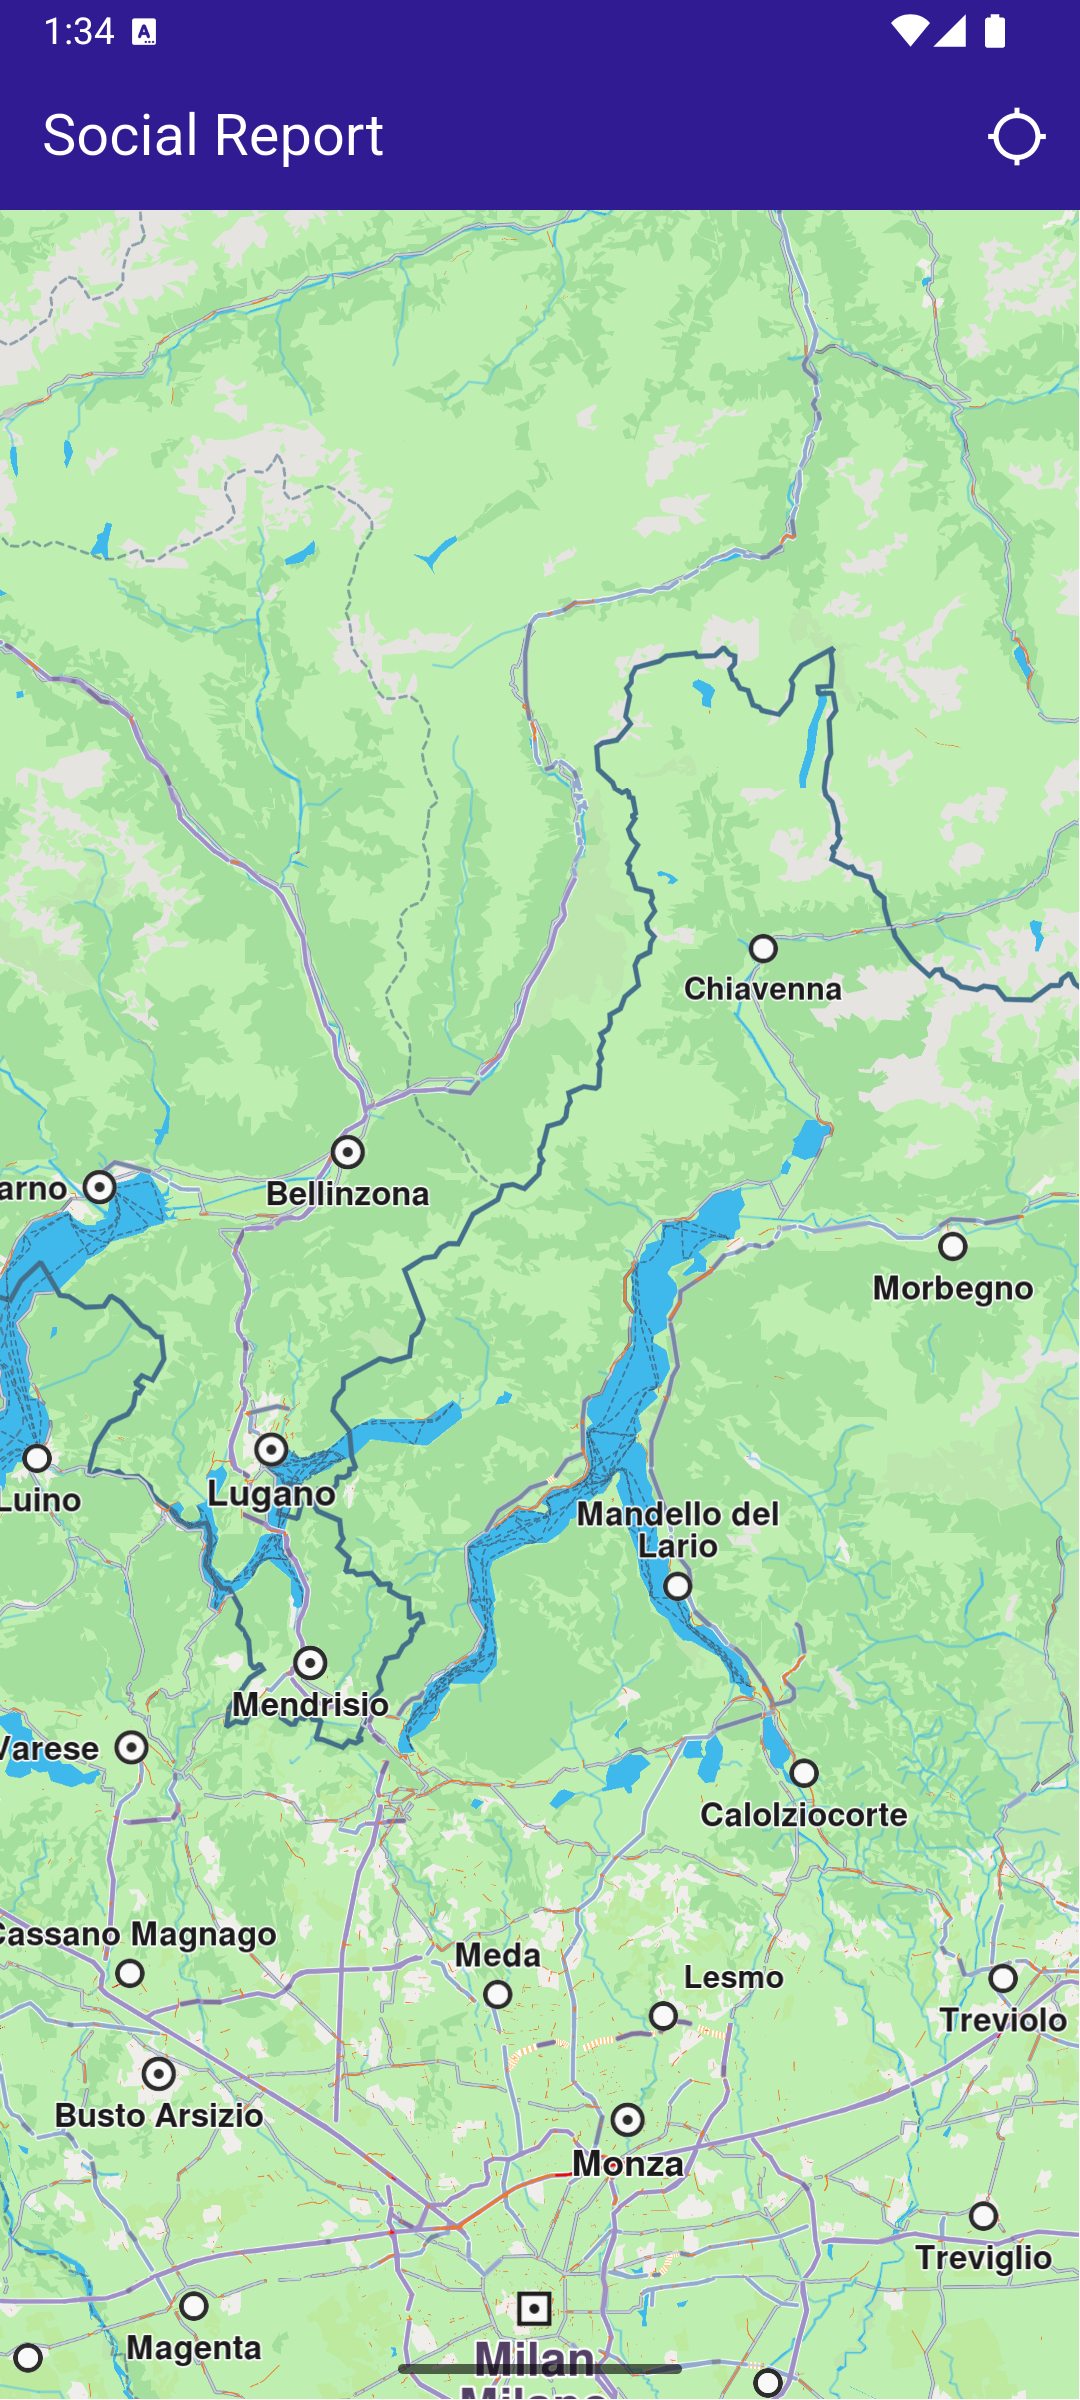
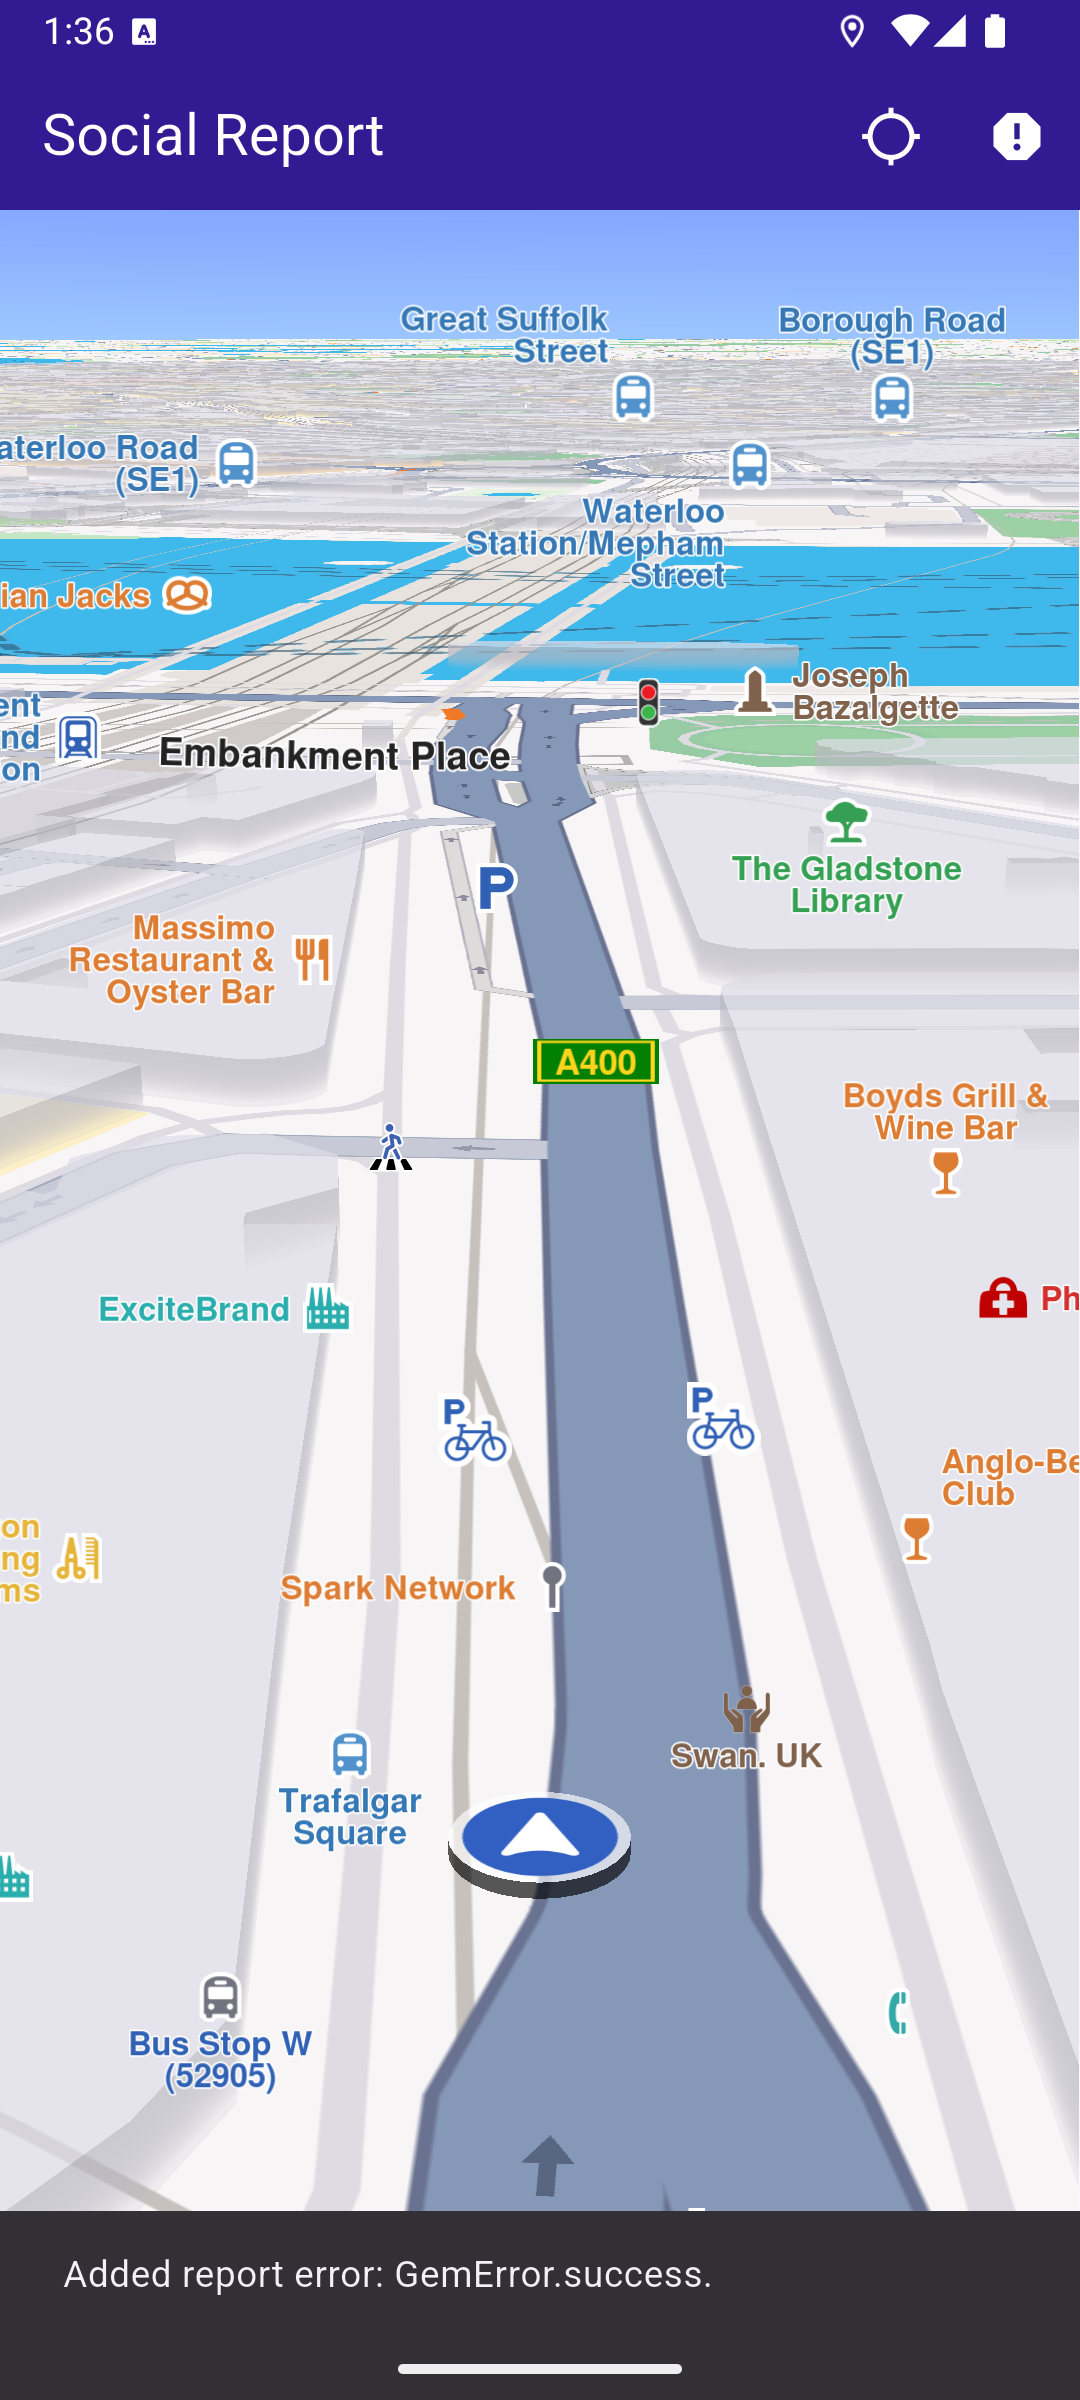
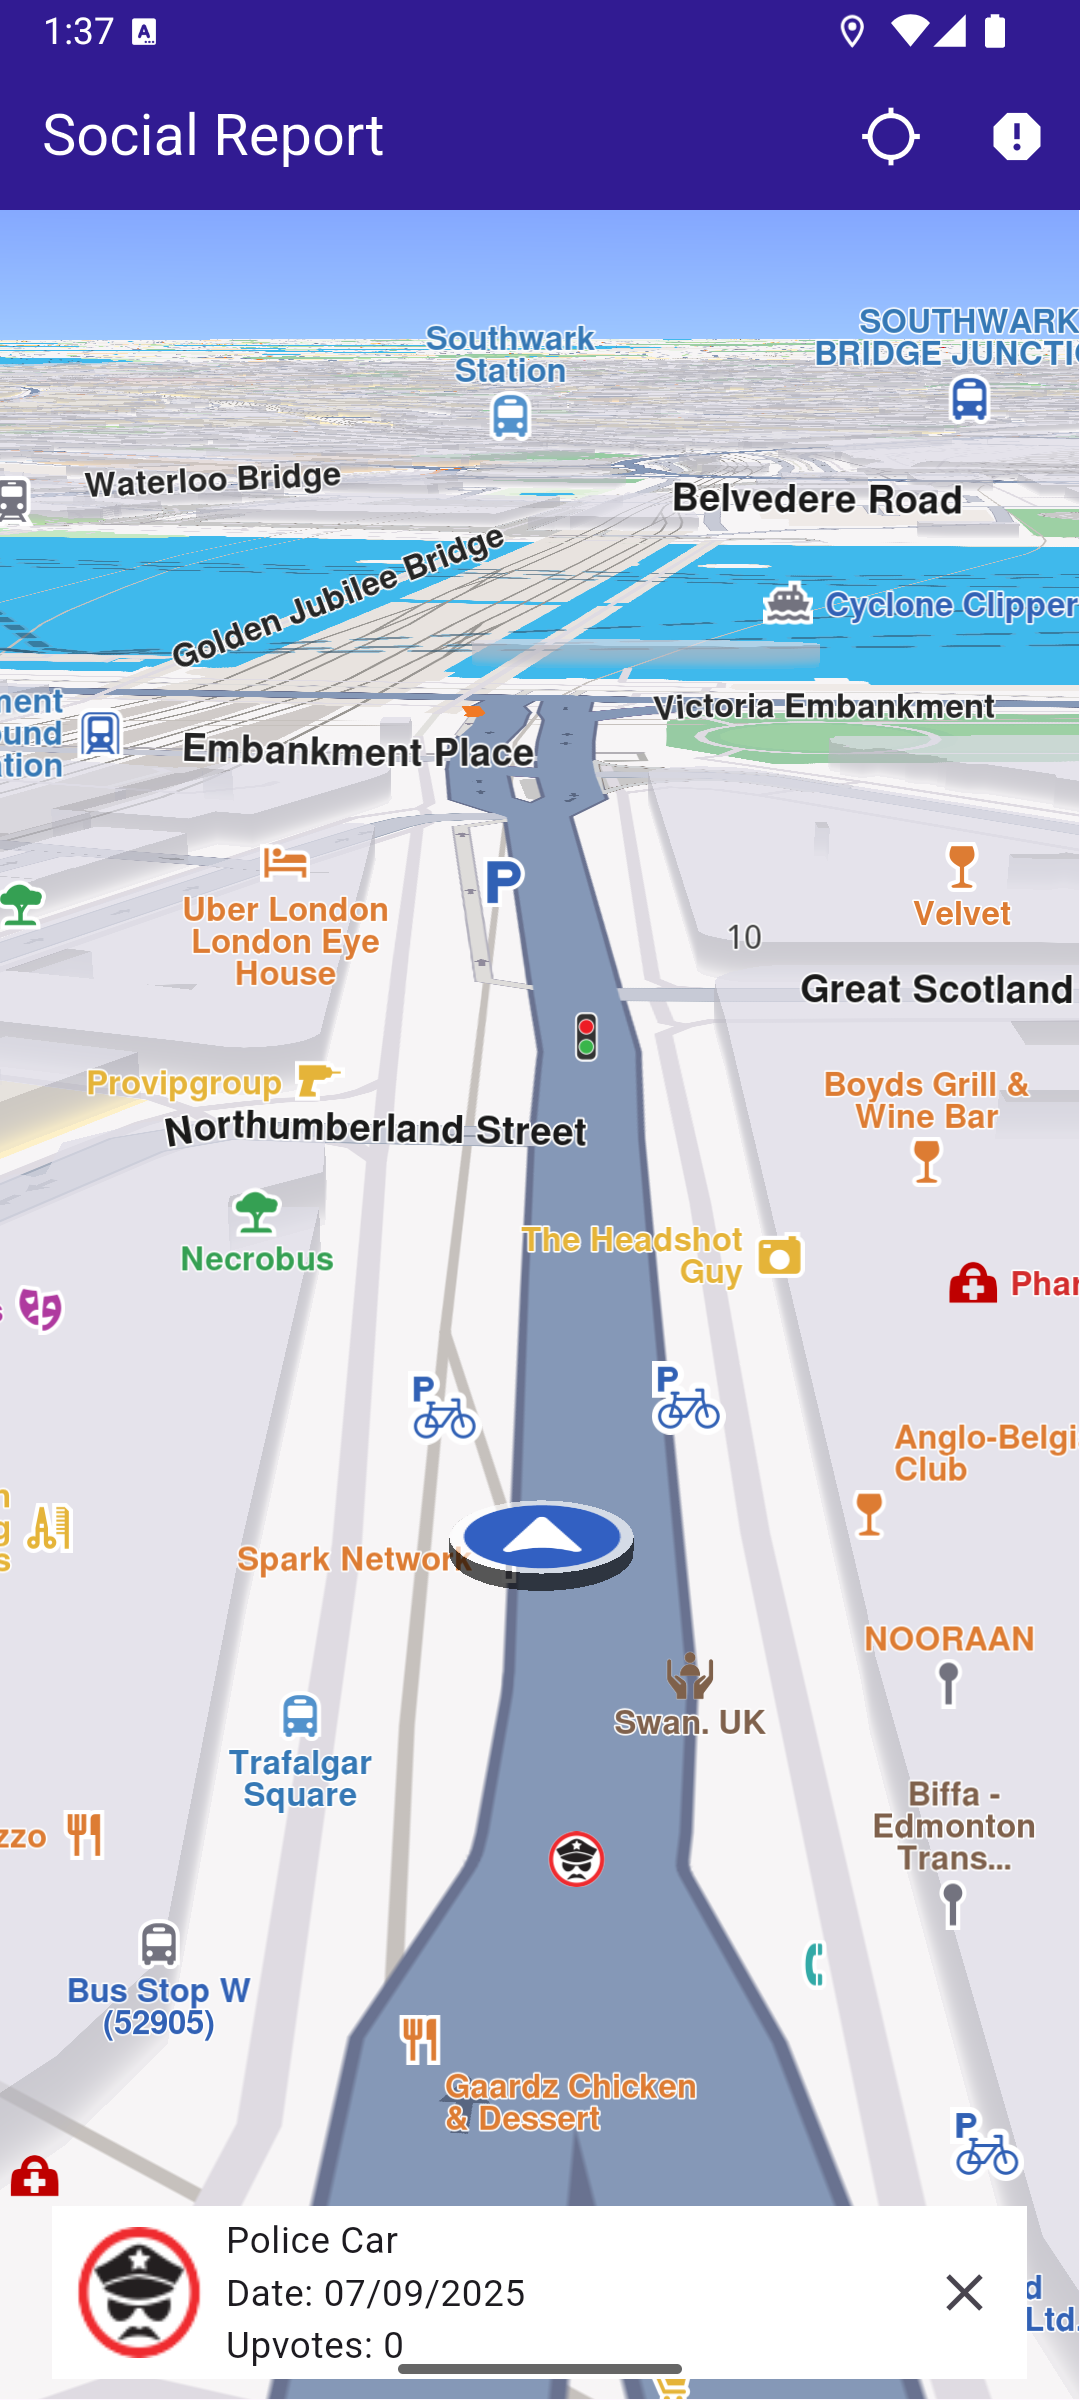
const projectApiToken = String.fromEnvironment('YOUR_API_TOKEN_HERE');
void main() {
runApp(const MyApp());
}
class MyApp extends StatelessWidget {
const MyApp({super.key});
@override
Widget build(BuildContext context) {
return const MaterialApp(
title: 'Social Report',
debugShowCheckedModeBanner: false,
home: MyHomePage(),
);
}
}
class MyHomePage extends StatefulWidget {
const MyHomePage({super.key});
@override
State<MyHomePage> createState() => _MyHomePageState();
}
class _MyHomePageState extends State<MyHomePage> {
late GemMapController _mapController;
PermissionStatus _locationPermissionStatus = PermissionStatus.denied;
bool _hasLiveDataSource = false;
OverlayItem? _selectedItem;
@override
void dispose() {
GemKit.release();
super.dispose();
}
@override
Widget build(BuildContext context) {
return Scaffold(
appBar: AppBar(
backgroundColor: Colors.deepPurple[900],
title: const Text(
'Social Report',
style: TextStyle(color: Colors.white),
),
actions: [
IconButton(
onPressed: _onFollowPositionButtonPressed,
icon: const Icon(
Icons.location_searching_sharp,
color: Colors.white,
),
),
if (_hasLiveDataSource)
IconButton(
onPressed: _onPrepareReportingButtonPressed,
icon: Icon(Icons.report, color: Colors.white),
),
],
),
body: Stack(
children: [
GemMap(
key: ValueKey("GemMap"),
onMapCreated: _onMapCreated,
appAuthorization: projectApiToken,
),
if (_selectedItem != null)
Padding(
padding: const EdgeInsets.all(8.0),
child: Align(
alignment: Alignment.bottomCenter,
child: SocialEventPanel(
overlayItem: _selectedItem!,
onClose: () {
setState(() {
_selectedItem = null;
});
},
),
),
),
],
),
);
}
void _onMapCreated(GemMapController controller) async {
_mapController = controller;
_mapController.registerOnTouch((point) {
_mapController.setCursorScreenPosition(point);
});
_mapController.registerOnCursorSelectionUpdatedOverlayItems((items) {
if (items.isEmpty) return;
final selectedItem = items.first;
setState(() {
_selectedItem = selectedItem;
});
});
}
void _onFollowPositionButtonPressed() async {
if (kIsWeb) {
final locationPermssionWeb =
await PositionService.requestLocationPermission();
if (locationPermssionWeb == true) {
_locationPermissionStatus = PermissionStatus.granted;
} else {
_locationPermissionStatus = PermissionStatus.denied;
}
} else {
_locationPermissionStatus = await Permission.locationWhenInUse.request();
}
if (_locationPermissionStatus == PermissionStatus.granted) {
if (!_hasLiveDataSource) {
PositionService.setLiveDataSource();
_hasLiveDataSource = true;
}
final animation = GemAnimation(type: AnimationType.linear);
_mapController.startFollowingPosition(animation: animation);
setState(() {});
}
}
void _onPrepareReportingButtonPressed() async {
final improvedPos = PositionService.improvedPosition;
final posQuality = improvedPos!.fixQuality;
if (posQuality == PositionQuality.invalid ||
posQuality == PositionQuality.inertial) {
_showSnackBar(
context,
message: "There is no accurate position at the moment.",
duration: Duration(seconds: 3),
);
return;
}
int idReport = SocialOverlay.prepareReporting();
SocialReportsOverlayInfo info = SocialOverlay.reportsOverlayInfo;
List<SocialReportsOverlayCategory> categs = info
.getSocialReportsCategories();
SocialReportsOverlayCategory cat = categs.first;
List<SocialReportsOverlayCategory> subcats = cat.overlaySubcategories;
SocialReportsOverlayCategory subCategory = subcats.first;
SocialOverlay.report(
prepareId: idReport,
categId: subCategory.uid,
onComplete: (error) {
_showSnackBar(
context,
message: "Added report error: $error.",
duration: Duration(seconds: 3),
);
},
);
}
void _showSnackBar(
BuildContext context, {
required String message,
Duration duration = const Duration(hours: 1),
}) {
final snackBar = SnackBar(content: Text(message), duration: duration);
ScaffoldMessenger.of(context).showSnackBar(snackBar);
}
}