Multiple Surfaces in Fragment Recycler
In this guide you will learn how to add/remove multiple fragment surfaces, each of which can contain an interactive map centered on a different desired location. The maps are fully 3D, supporting pan, pinch-zoom, rotate and tilt.
Setup
- Get your Magic Lane API key token: if you do not have a token, see the Getting Started guide.
- Download the Maps & Navigation SDK for Android archive file.
- Download the HelloFragment project archive file or clone the project with git.
- See the Configure Android Example guide.
Run the example
In Android Studio, from the File menu, select Sync Project with Gradle Files.
- An android device should be connected via USB cable.
- Press
SHIFT+F10to compile, install and run the example on the android device. - Click
NEXTto go to the second screen. - Click the
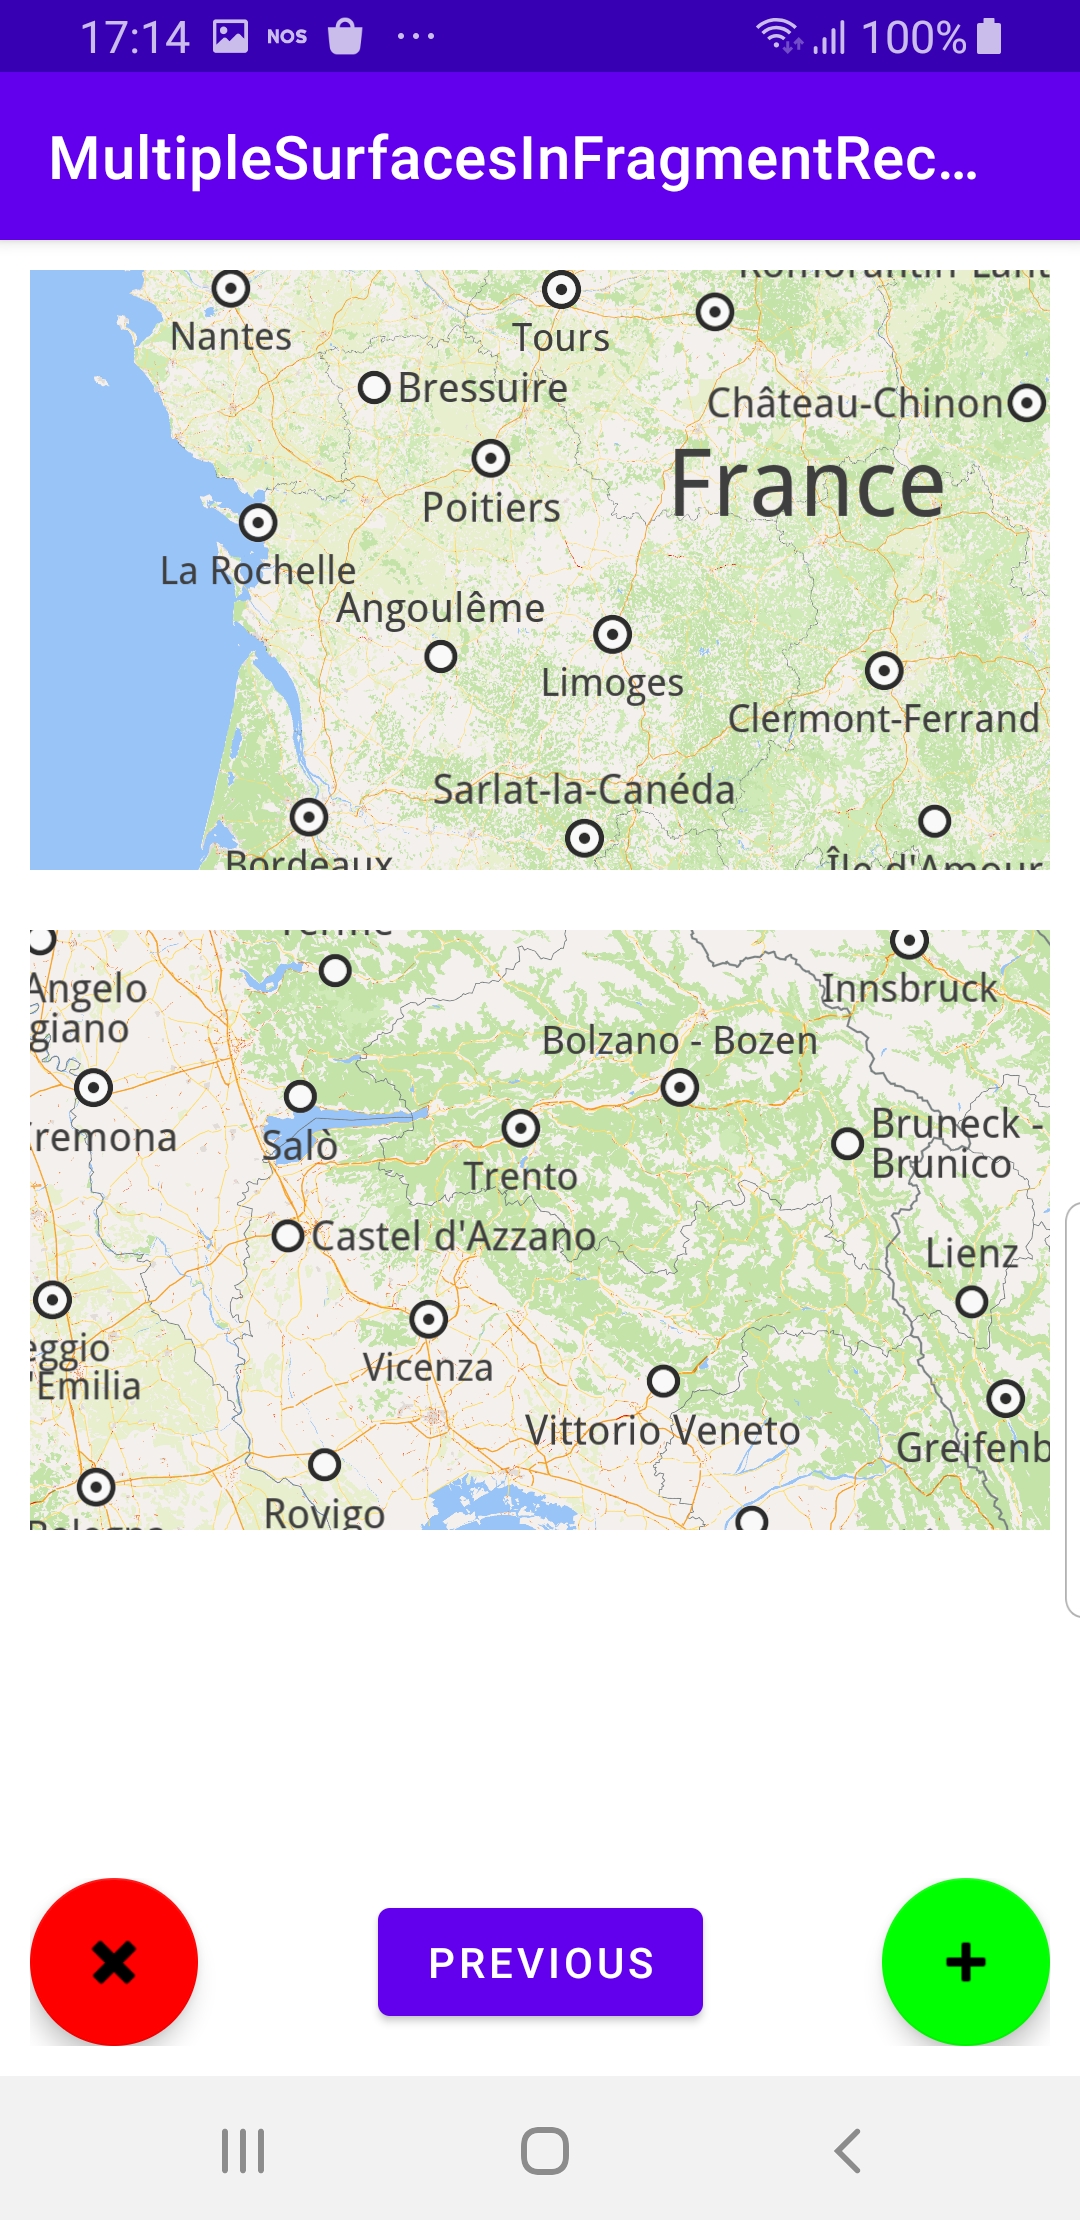
green +in the lower right corner to add a fragment with a map. Each map can show a different location. Try to pan or zoom each map. - Click the
red xin the lower left corner to remove the last added fragment. - Click
PREVIOUSto go back to the first screen.
How it works
You can open the MainActivity.kt file to see how to render multiple maps, and add or remove maps.

class FirstFragment : Fragment()
{
 override fun onCreateView(
     inflater: LayoutInflater, container: ViewGroup?,
     savedInstanceState: Bundle?
 ): View? {
     return inflater.inflate(R.layout.fragment_first, container, false)
 }
 override fun onViewCreated(view: View, savedInstanceState: Bundle?)
 {
     super.onViewCreated(view, savedInstanceState)
     view.findViewById<Button>(R.id.button_first).setOnClickListener
     {
         findNavController().navigate(R.id.action_FirstFragment_to_SecondFragment)
     }
 }
}
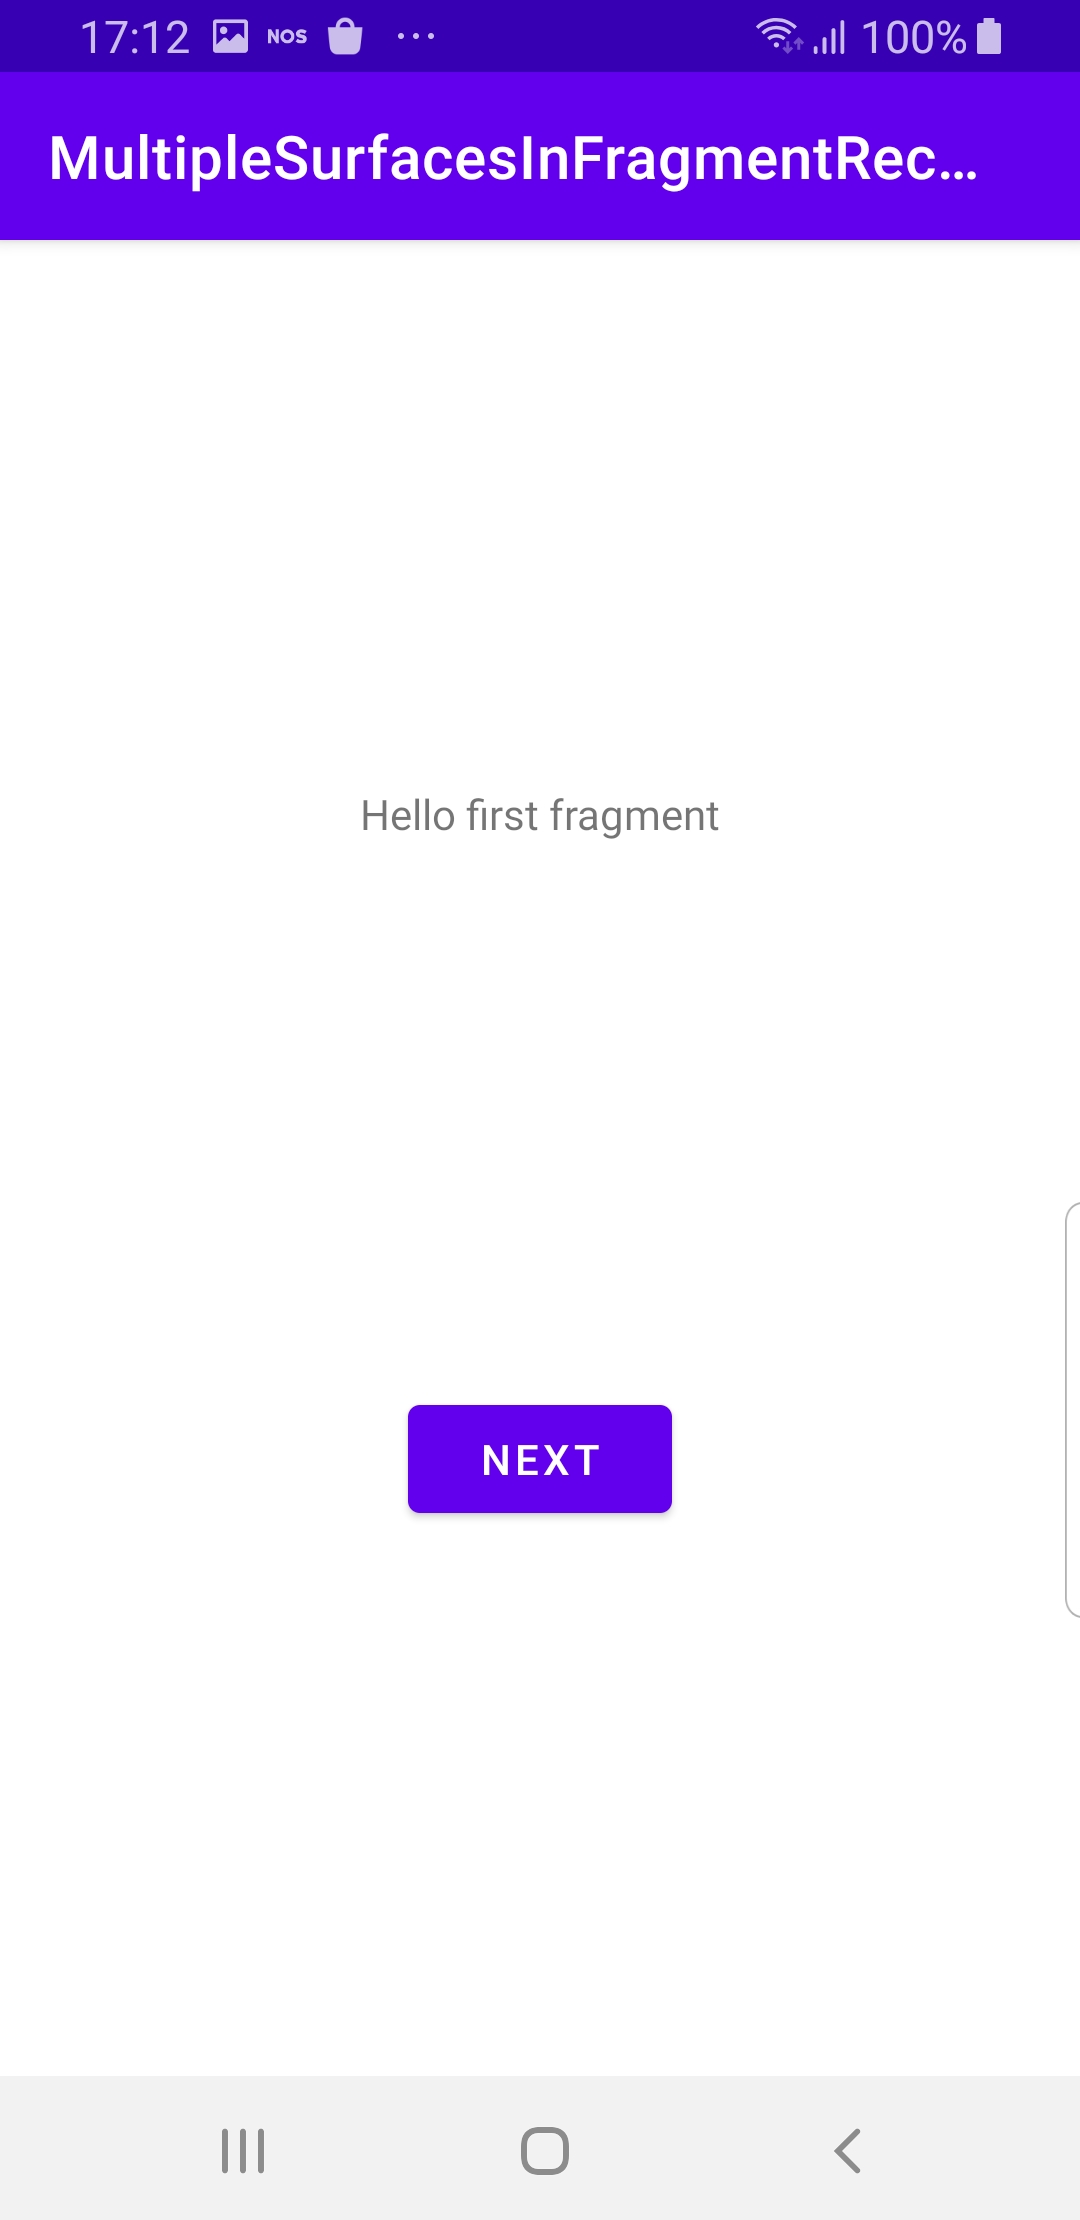
The first fragment.
When the first fragment instantiation is complete, a click listener is added to the button to go to the second fragment.
override fun onCreateView(
     inflater: LayoutInflater, container: ViewGroup?,
     savedInstanceState: Bundle?
 ): View? {
     return inflater.inflate(R.layout.fragment_second, container, false)
 }
 override fun onViewCreated(view: View, savedInstanceState: Bundle?) {
     super.onViewCreated(view, savedInstanceState)
     view.findViewById<Button>(R.id.button_second).setOnClickListener {
         findNavController().navigate(R.id.action_SecondFragment_to_FirstFragment)
     }
     recycler = view.findViewById<RecyclerView>(R.id.list).apply {
         itemAnimator = null
         layoutManager = LinearLayoutManager(requireContext())
         adapter = CustomAdapter(list)
     }
     val leftBtn = view.findViewById<FloatingActionButton>(R.id.bottomLeftButton)
     leftBtn.visibility = View.VISIBLE
     buttonAsDelete(requireContext(), leftBtn) {
         deleteLastSurface()
     }
     val rightBtn = view.findViewById<FloatingActionButton>(R.id.bottomRightButton)
     rightBtn.visibility = View.VISIBLE
     buttonAsAdd(requireContext(), rightBtn) {
         addSurface()
     }
}
The second fragment.
Each of the 2 fragments has a button to navigate to the other fragment, see res/navigation/nav_graph.xml in the project.
private fun addSurface() {
     if (list.size >= maxSurfacesCount) {
         return
     }
     list.add(list.lastIndex + 1)
     recycler.adapter?.notifyItemInserted(list.lastIndex)
 }
 private fun deleteLastSurface() {
     if (list.size == 0) return
     list.removeLast()
     recycler.adapter?.notifyItemRemoved(list.lastIndex + 1)
 }
 private fun buttonAsAdd(context: Context, button: FloatingActionButton?, action: () -> Unit) {
     button ?: return
     val tag = "add"
     val backgroundTintList =
         AppCompatResources.getColorStateList(context, R.color.green)
     val drawable = ContextCompat.getDrawable(context, android.R.drawable.ic_input_add)
     button.tag = tag
     button.setOnClickListener { action() }
     button.setImageDrawable(drawable)
     button.backgroundTintList = backgroundTintList
 }
 private fun buttonAsDelete(
     context: Context,
     button: FloatingActionButton?,
     action: () -> Unit
 ) {
     button ?: return
     val tag = "delete"
     val backgroundTintList =
         AppCompatResources.getColorStateList(context, R.color.red)
     val drawable = ContextCompat.getDrawable(context, android.R.drawable.ic_delete)
     button.tag = tag
     button.setOnClickListener { action() }
     button.setImageDrawable(drawable)
     button.backgroundTintList = backgroundTintList
 }
The SecondFragment also has a green + and a red x button to add or remove maps, respectively, using the addSurface() and deleteLastSurface() functions.
class CustomAdapter(private val dataSet: ArrayList<Int>) :
     RecyclerView.Adapter<CustomAdapter.ViewHolder>() {
     class ViewHolder(view: View) : RecyclerView.ViewHolder(view)
     override fun onCreateViewHolder(viewGroup: ViewGroup, viewType: Int): ViewHolder {
         val view = LayoutInflater.from(viewGroup.context)
             .inflate(R.layout.map_layout, viewGroup, false)
         val result = ViewHolder(view)
         result.setIsRecyclable(false)
         return result
     }
     override fun getItemCount() = dataSet.size
     override fun onBindViewHolder(viewHolder: ViewHolder, position: Int) = Unit
}
The SecondFragment has a custom adapter container where the maps are stored.
class MainActivity : AppCompatActivity() {
 override fun onCreate(savedInstanceState: Bundle?) {
     super.onCreate(savedInstanceState)
     setContentView(R.layout.activity_main)
 }
 override fun onDestroy() {
     super.onDestroy()
     // Deinitialize the SDK.
     GemSdk.release()
 }
 override fun onBackPressed() {
     finish()
 }
}
MainActivity overrides the onCreate() function and sets the initial screen to setContentView(R.layout.activity_main) where activity_main is defined in res/layout in the project. This is the first fragment above, which has the NEXT button to go to the second fragment where the maps and red and green buttons are shown.
Android Examples
Maps SDK for Android Examples can be downloaded or cloned with Git.