Fragment with a Custom Style Map
In this guide you will learn how to display an interactive map with a custom style in a fragment.
Setup
- Get your Magic Lane API key token: if you do not have a token, see the Getting Started guide.
- Download the Maps & Navigation SDK for Android archive file.
- Download the HelloFragmentCustomStyle project archive file or clone the project with git.
- See the Configure Android Example guide.
Run the example
In Android Studio, from the File menu, select Sync Project with Gradle Files.
An android device should be connected via USB cable. Press SHIFT+F10 to compile, install and run the example on the android device.
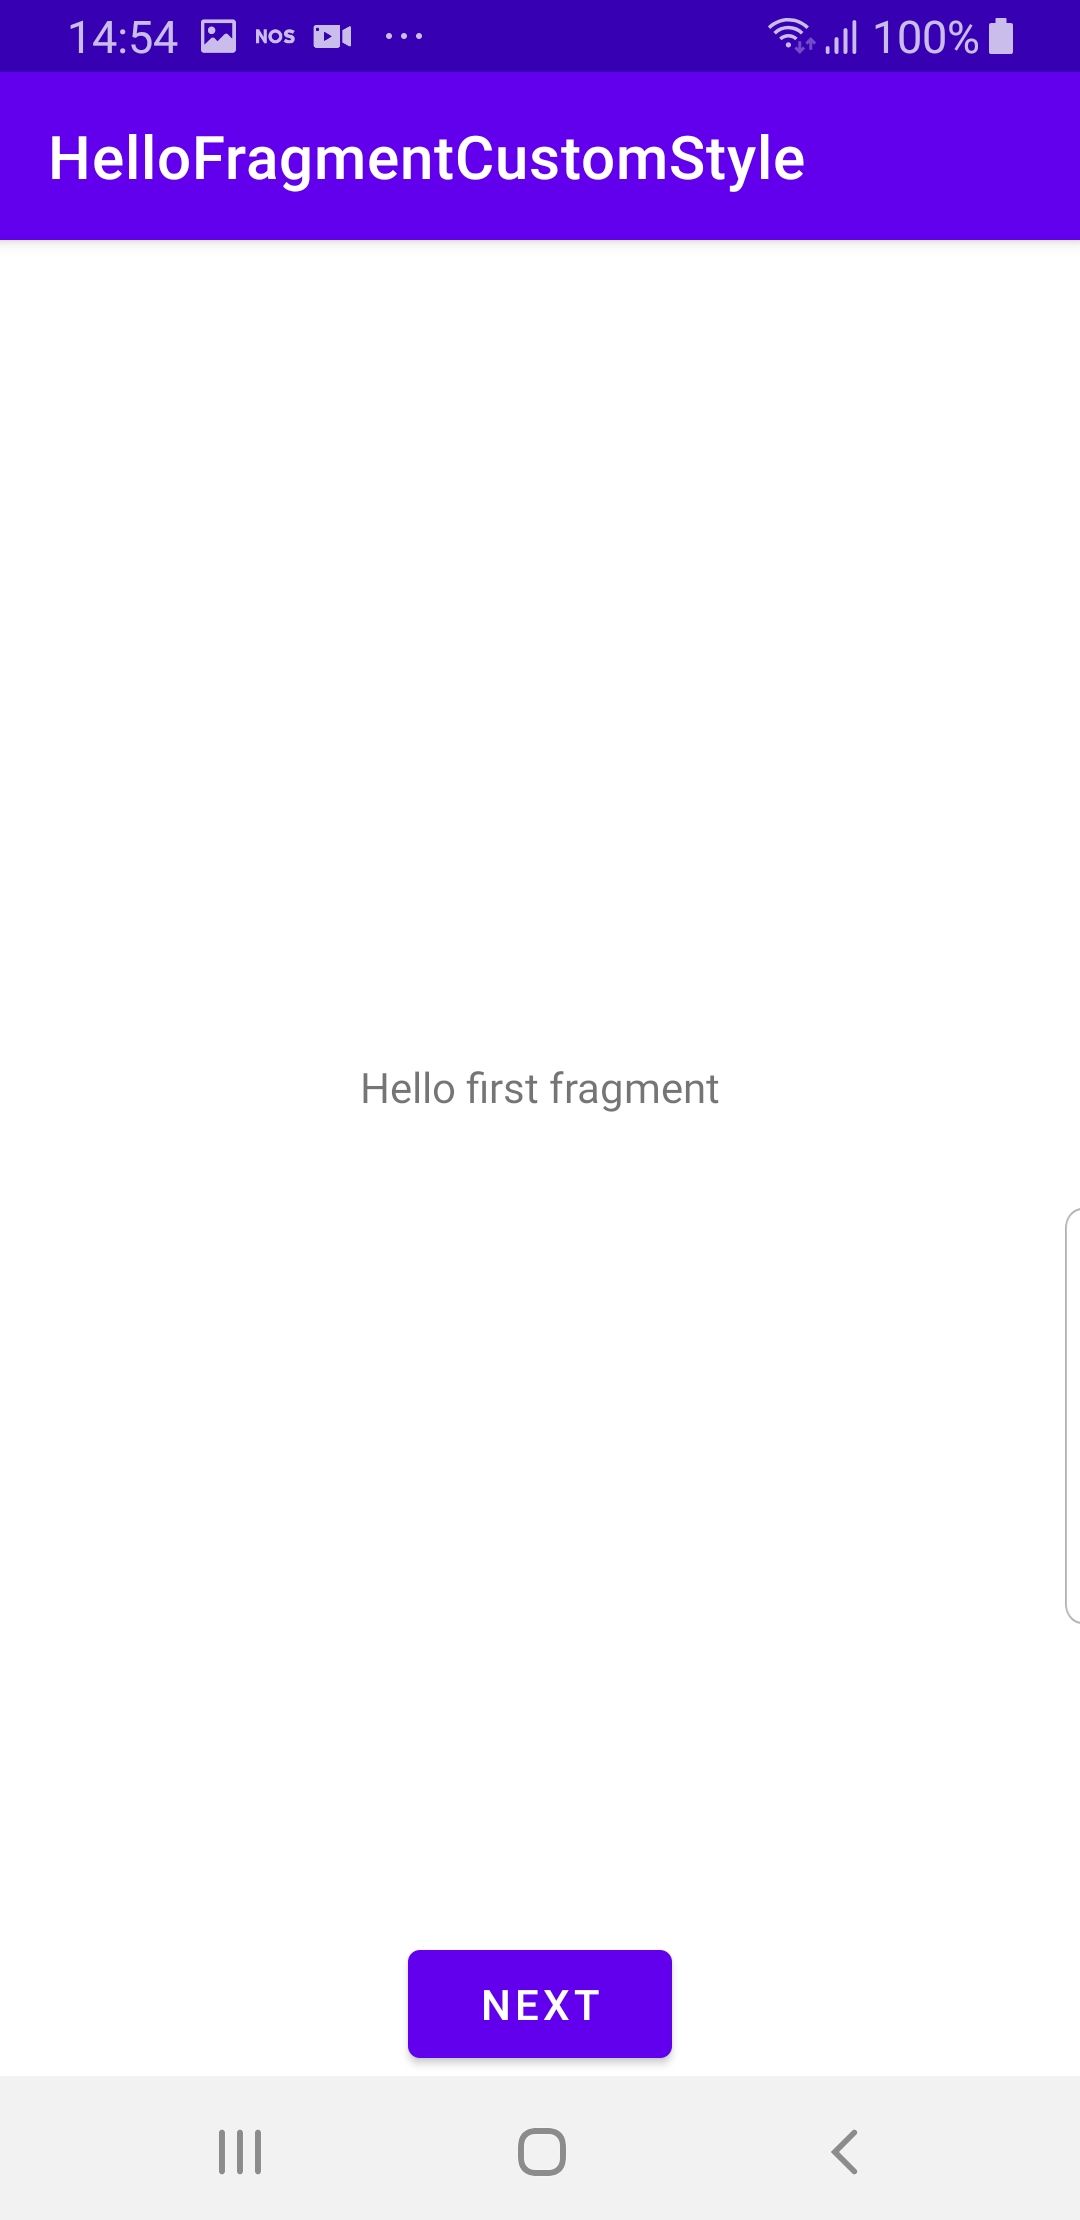
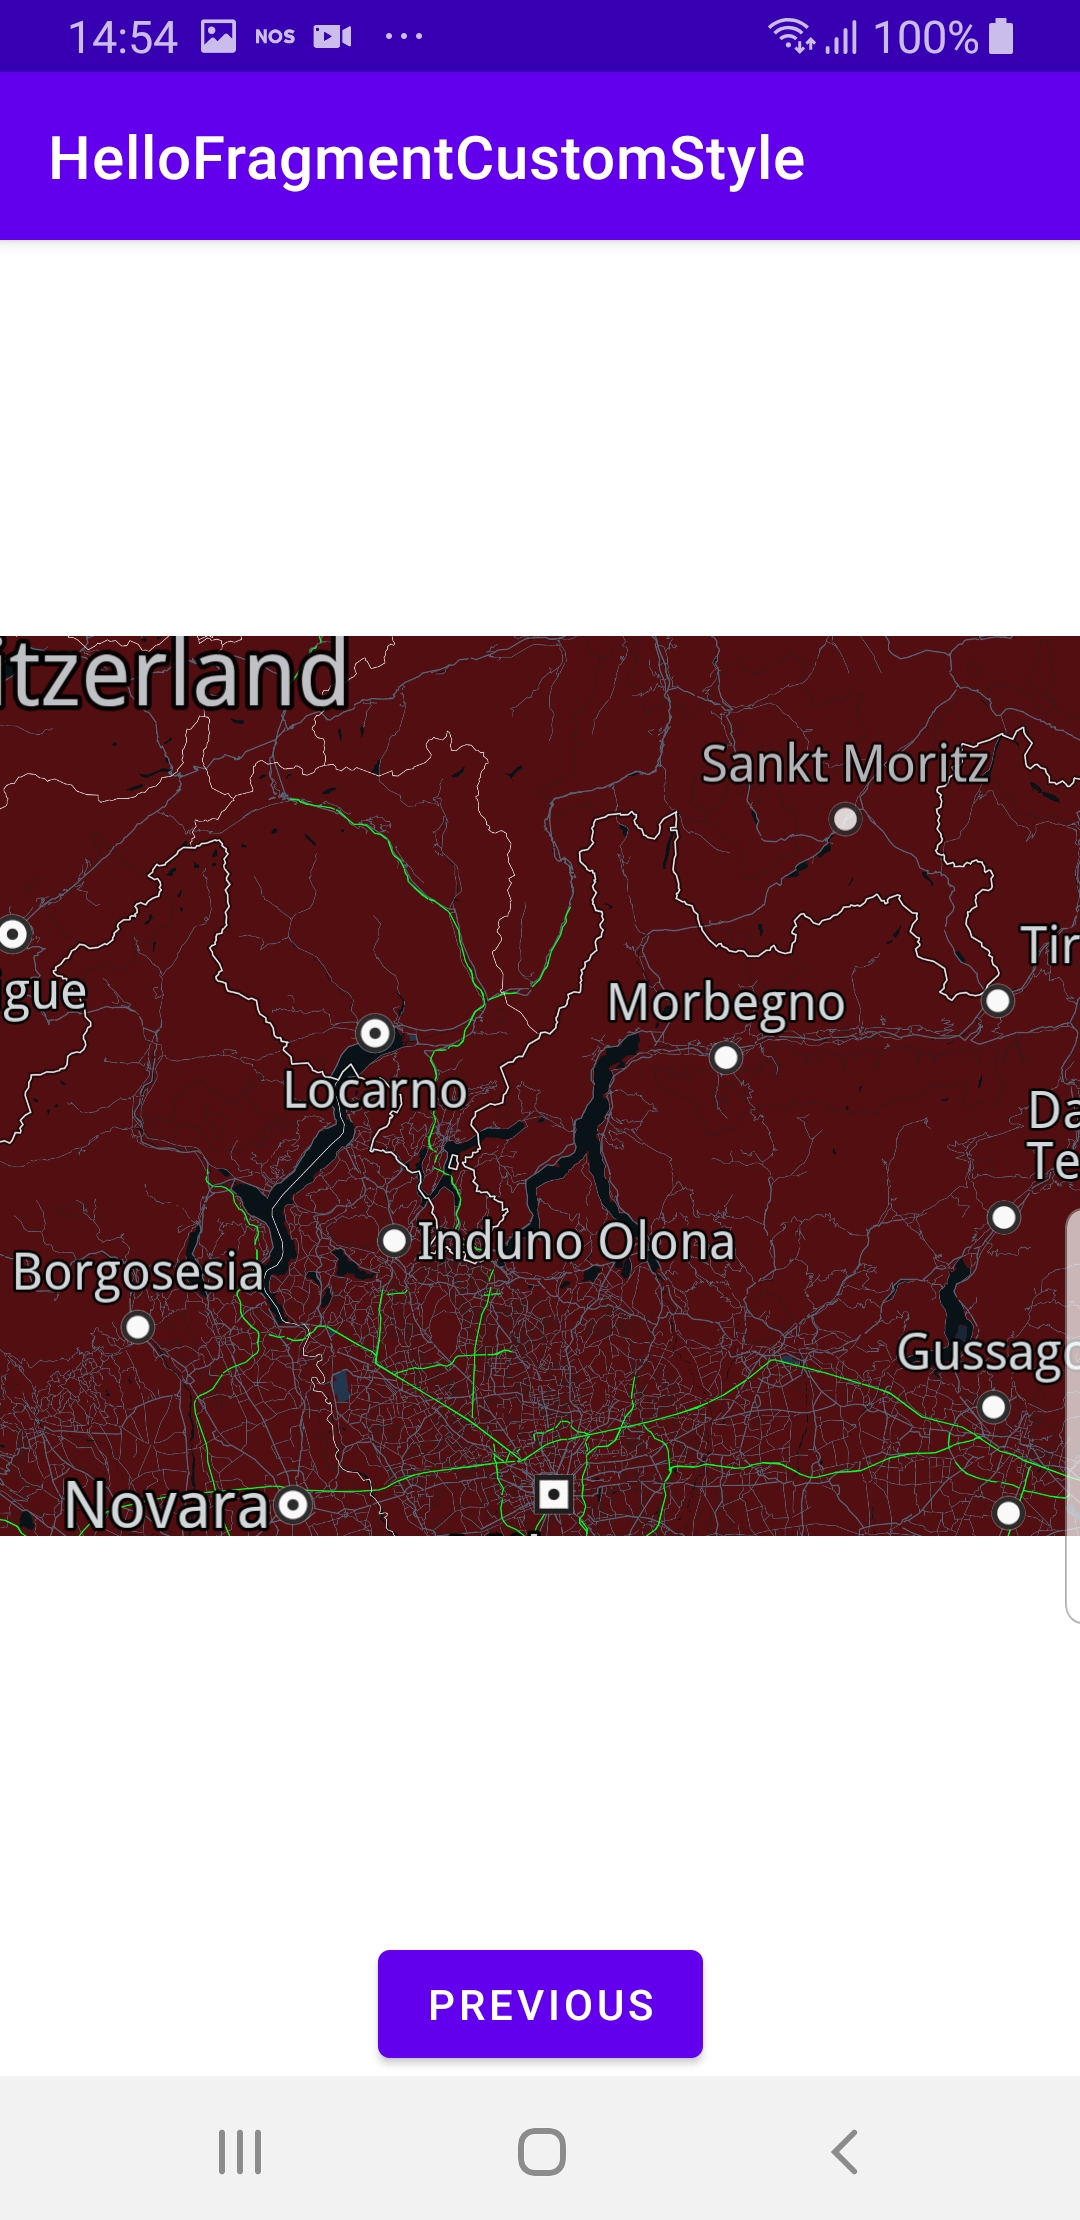
The first fragment contains only a button to go to the second fragment, which loads the map with a custom style. The second fragment also has a button to go back to the first fragment.
How it works
You can open the MainActivity.kt file to see how the interactive map with a custom style is loaded in a fragment.

class MainActivity : AppCompatActivity() {
 override fun onCreate(savedInstanceState: Bundle?) {
     super.onCreate(savedInstanceState)
     setContentView(R.layout.activity_main)
     if (!GemSdk.initSdkWithDefaults(this)) {
         finish()
     }
     if (!Util.isInternetConnected(this)) {
         Toast.makeText(this, "You must be connected to internet!",
             Toast.LENGTH_LONG).show()
     }
 }
 override fun onDestroy() {
     super.onDestroy()
     GemSdk.release()
 }
 override fun onBackPressed() {
     finish()
     exitProcess(0)
 }
}
MainActivity overrides the onCreate() function, which checks that internet access is available, and explicitly initializes the SDK, to enable using the SDK without a map: GemSdk.initSdkWithDefaults(this).
If the initialization is not successful, the app exits.
The onDestroy() function is overridden to release the SDK, and the onBackPressed() function is overridden to exit the app when the user presses the back button on the device.
class FirstFragment : Fragment()
{
 override fun onCreateView(
     inflater: LayoutInflater, container: ViewGroup?,
     savedInstanceState: Bundle?
 ): View? {
     return inflater.inflate(R.layout.fragment_first, container, false)
 }
 override fun onViewCreated(view: View, savedInstanceState: Bundle?) {
     super.onViewCreated(view, savedInstanceState)
     view.findViewById<Button>(R.id.button_first).setOnClickListener {
         findNavController().navigate(R.id.action_FirstFragment_to_SecondFragment)
     }
 }
}
In the first fragment, the onCreateView() and the onViewCreated() functions are overridden. In onViewCreated(), a click listener is set for the button to go to the second fragment, as defined in app/res/layout/fragment_first.xml file in this project.
class SecondFragment : Fragment()
{
 private lateinit var gemSurfaceView: GemSurfaceView

 override fun onCreateView(
     inflater: LayoutInflater, container: ViewGroup?,
     savedInstanceState: Bundle?
 ): View? {
     return inflater.inflate(R.layout.fragment_second, container, false)
 }
 override fun onViewCreated(view: View, savedInstanceState: Bundle?) {
     super.onViewCreated(view, savedInstanceState)

     view.findViewById<Button>(R.id.button_second).setOnClickListener {
         findNavController().navigate(R.id.action_SecondFragment_to_FirstFragment)
     }
     gemSurfaceView = view.findViewById(R.id.gem_surface)
     gemSurfaceView.onDefaultMapViewCreated = {
         applyCustomAssetStyle(it)
     }
 }
 private fun applyCustomAssetStyle(mapView: MapView?) = SdkCall.execute {
     val filename = "(Desktop) Monochrome Deep Blue (5a1da93a-dbf2-4a36-9b5c-1370386c1496).style"
     val inputStream = resources.assets.open(filename)
     val data = inputStream.readBytes()
     if (data.isEmpty()) return@execute
     // Apply style.
     mapView?.preferences?.setMapStyleByDataBuffer(DataBuffer(data))
 }
}
In the second fragment, the onCreateView() and the onViewCreated() functions are also overridden. In onViewCreated(), a click listener is set for the button to go to the first fragment, as defined in app/res/layout/fragment_second.xml file in this project.
The gemSurfaceView is also used here to apply the custom style, once the map view is instantiated and ready.
The applyCustomAssetStyle() function opens a map style which was previously created using the online studio, https://developer.magiclane.com/api/studio and then saved in the app/assets directory of this project. The map style is loaded, and if successful, the style is then applied to the map: mapView?.preferences?.setMapStyleByDataBuffer(DataBuffer(data)).
Android Examples
Maps SDK for Android Examples can be downloaded or cloned with Git.