Configure Android Example
In this guide you will learn how to configure an Android example to get it ready to build.
Android Examples
Maps SDK for Android Examples can be downloaded or cloned with Git.
Setup
- Get your Magic Lane API key token: if you do not have a token, see the Getting Started guide.
- Download the Maps & Navigation SDK for Android archive file.
- Download the example project archive file or clone the project with git.
- If the archive was downloaded, extract/unzip the archive to a directory of your choice. You can create a new directory where to unzip it.
- Extract the Maps SDK for Android. This will create a new directory containing a file with the
.aarextension. - Copy or move the Maps SDK for Android
.aarfile to the HelloMap/ app/libs/ directory, where HelloMap is the name of the example project directory. - Android Studio should be installed to continue.
Configure
1. Open the Project
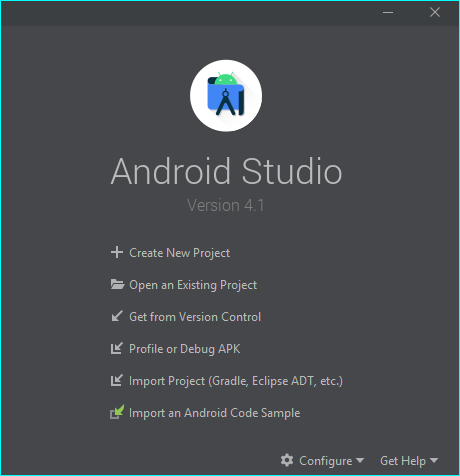
Start Android Studio, and in the welcome dialog, choose Open an Existing Project.
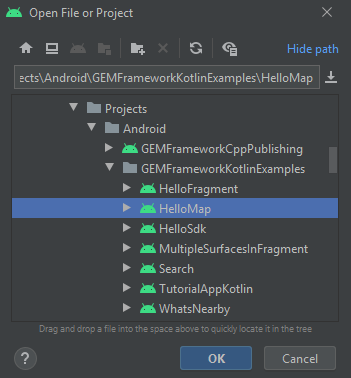
Select the directory of the project you want to open and click OK. In this case, HelloMap is selected.

A dialog may appear, informing you that the Android SDK you have will be used.
2. Set the API key token

On the left margin, double-click Project, then app -> manifests -> AndroidManifest.xml.

In AndroidManifest.xml, replace YOUR_TOKEN with your actual Magic Lane API key copied above.
3. Configure the example
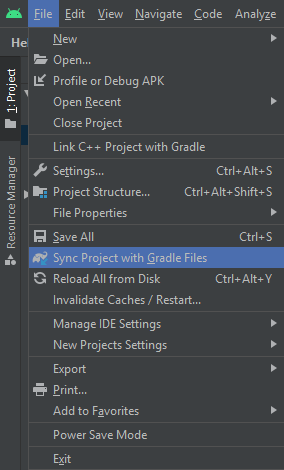
In Android Studio, from the File menu, select Sync Project with Gradle Files.

The project is now ready to build, deploy on a device and run.
In Android Studio, select Run app from the Run menu, or press SHIFT+F10 to compile, install and run the example on the android device.