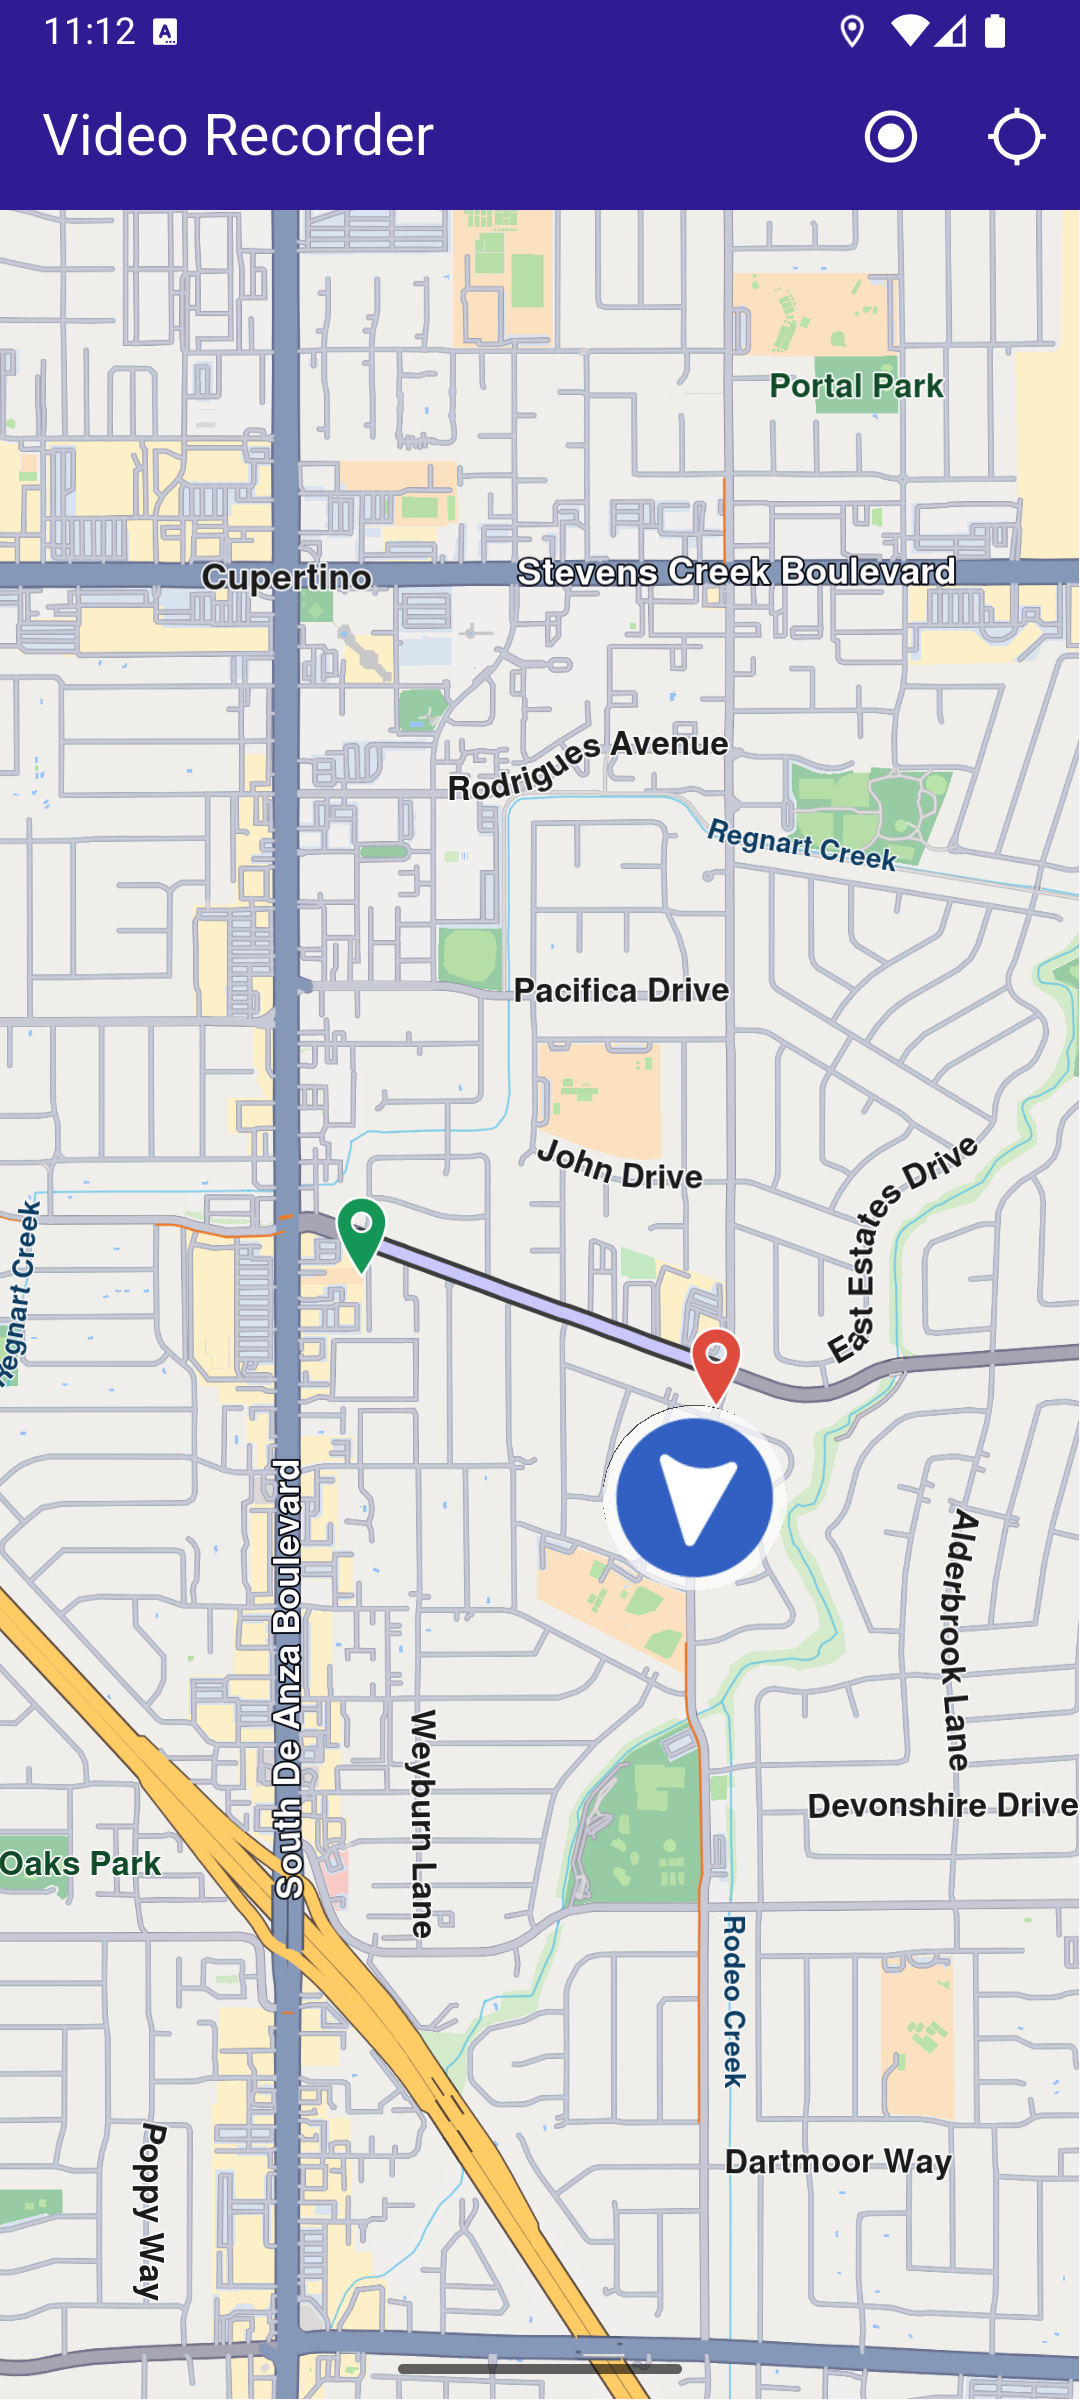
Video Recorder
This example demonstrates how to build a Flutter app using the Maps SDK to record video (in chunks) with audio and display the user's track on the map.
How it works
The example app highlights the following features:
- Initializing a map.
- Requesting and handling camera, microphone, and location permissions.
- Starting and stopping video recording (with configurable chunk duration).
- Pausing and resuming audio recording during the session.
- Displaying the recorded path on the map once recording stops.
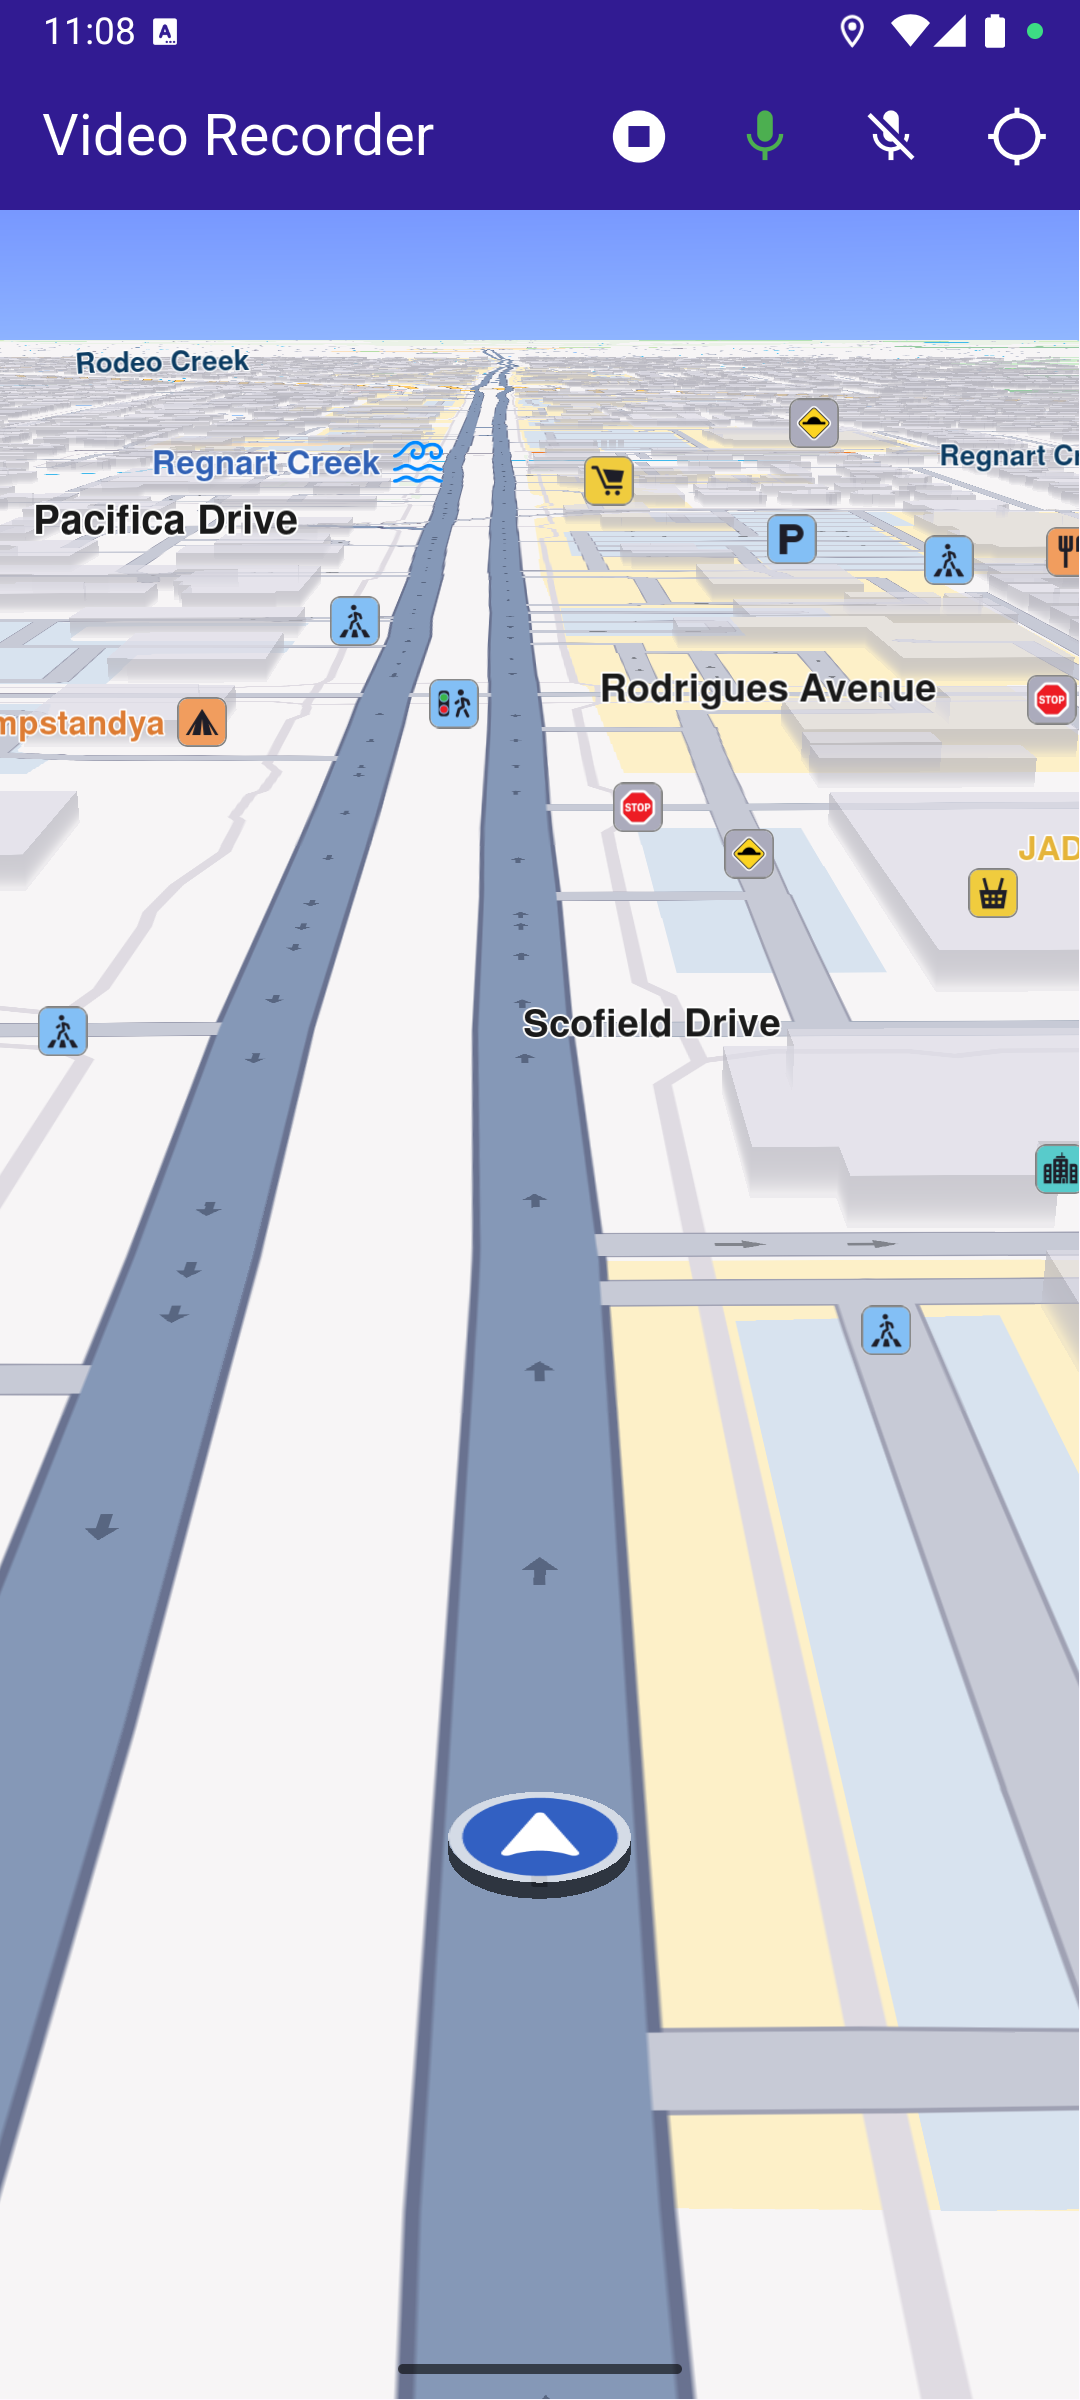
UI and Map Integration
The following code builds the UI with a GemMap widget and an app bar that includes buttons for starting/stopping video recording, controlling audio recording, and following the user's position.
Requesting Permissions
The following code requests location permission (and storage permission on web) and then camera & microphone permissions before starting a recording.
Starting and Stopping Recording
The resulting video recordings are saved as .mp4 files in the Data/Tracks directory specified in the recorder configuration.
Starting and Stopping Audio Recording
Presenting the Recorded Track on the Map
This code loads the last recorded track from device memory, retrieves the coordinates, builds a Path entity, and adds it to the MapViewPathCollection.
Utility Functions
The getDirectoryPath function retrieves the root directory path for the app and returns the desired directory path inside the "Data" folder.
- Android
- iOS
Add the following code to the android/app/src/main/AndroidManifest.xml file, within the <manifest> block:
<uses-permission android:name="android.permission.ACCESS_FINE_LOCATION" />
<uses-permission android:name="android.permission.ACCESS_COARSE_LOCATION" />
<uses-permission android:name="android.permission.CAMERA" />
<uses-permission android:name="android.permission.RECORD_AUDIO" />
<uses-permission android:name="android.permission.READ_EXTERNAL_STORAGE" />
<uses-permission android:name="android.permission.WRITE_EXTERNAL_STORAGE" />
<uses-permission android:name="android.permission.READ_MEDIA_IMAGES" />
<uses-permission android:name="android.permission.READ_MEDIA_VIDEO" />
This example uses the Permission Handler package. Be sure to follow the setup guide.
Add the following to ios/Runner/Info.plist inside the <dict>:
<key>NSLocationWhenInUseUsageDescription</key>
<string>Location is needed for map localization and navigation</string>
<key>NSCameraUsageDescription</key>
<string>Camera access is needed for video recording</string>
<key>NSMicrophoneUsageDescription</key>
<string>We need microphone access to record audio.</string>
<key>NSPhotoLibraryUsageDescription</key>
<string>Access to the photo library is needed to select media</string>
This example uses the Permission Handler package. Follow the official setup instructions. Add this to your ios/Podfile:
post_install do |installer|
  installer.pods_project.targets.each do |target|
    flutter_additional_ios_build_settings(target)

    target.build_configurations.each do |config|
      config.build_settings['GCC_PREPROCESSOR_DEFINITIONS'] ||= [
        '$(inherited)',
        'PERMISSION_LOCATION=1',
        'PERMISSION_CAMERA=1',
	'PERMISSION_MICROPHONE=1'
      ]
    end
  end
end