Range Finder
In this guide, you will learn how to implement route range calculation from a Point of Interest (POI) using the Maps SDK for Flutter. This example demonstrates how to display a map, tap on a landmark, and calculate route ranges based on different transport modes and preferences.
How it Works
This example demonstrates the following features:
- Allow users to interact with a map by tapping landmarks to focus on specific Points of Interest (POIs).
- Perform route range calculations from selected POIs using preferences such as transport mode.
UI and Map Integration
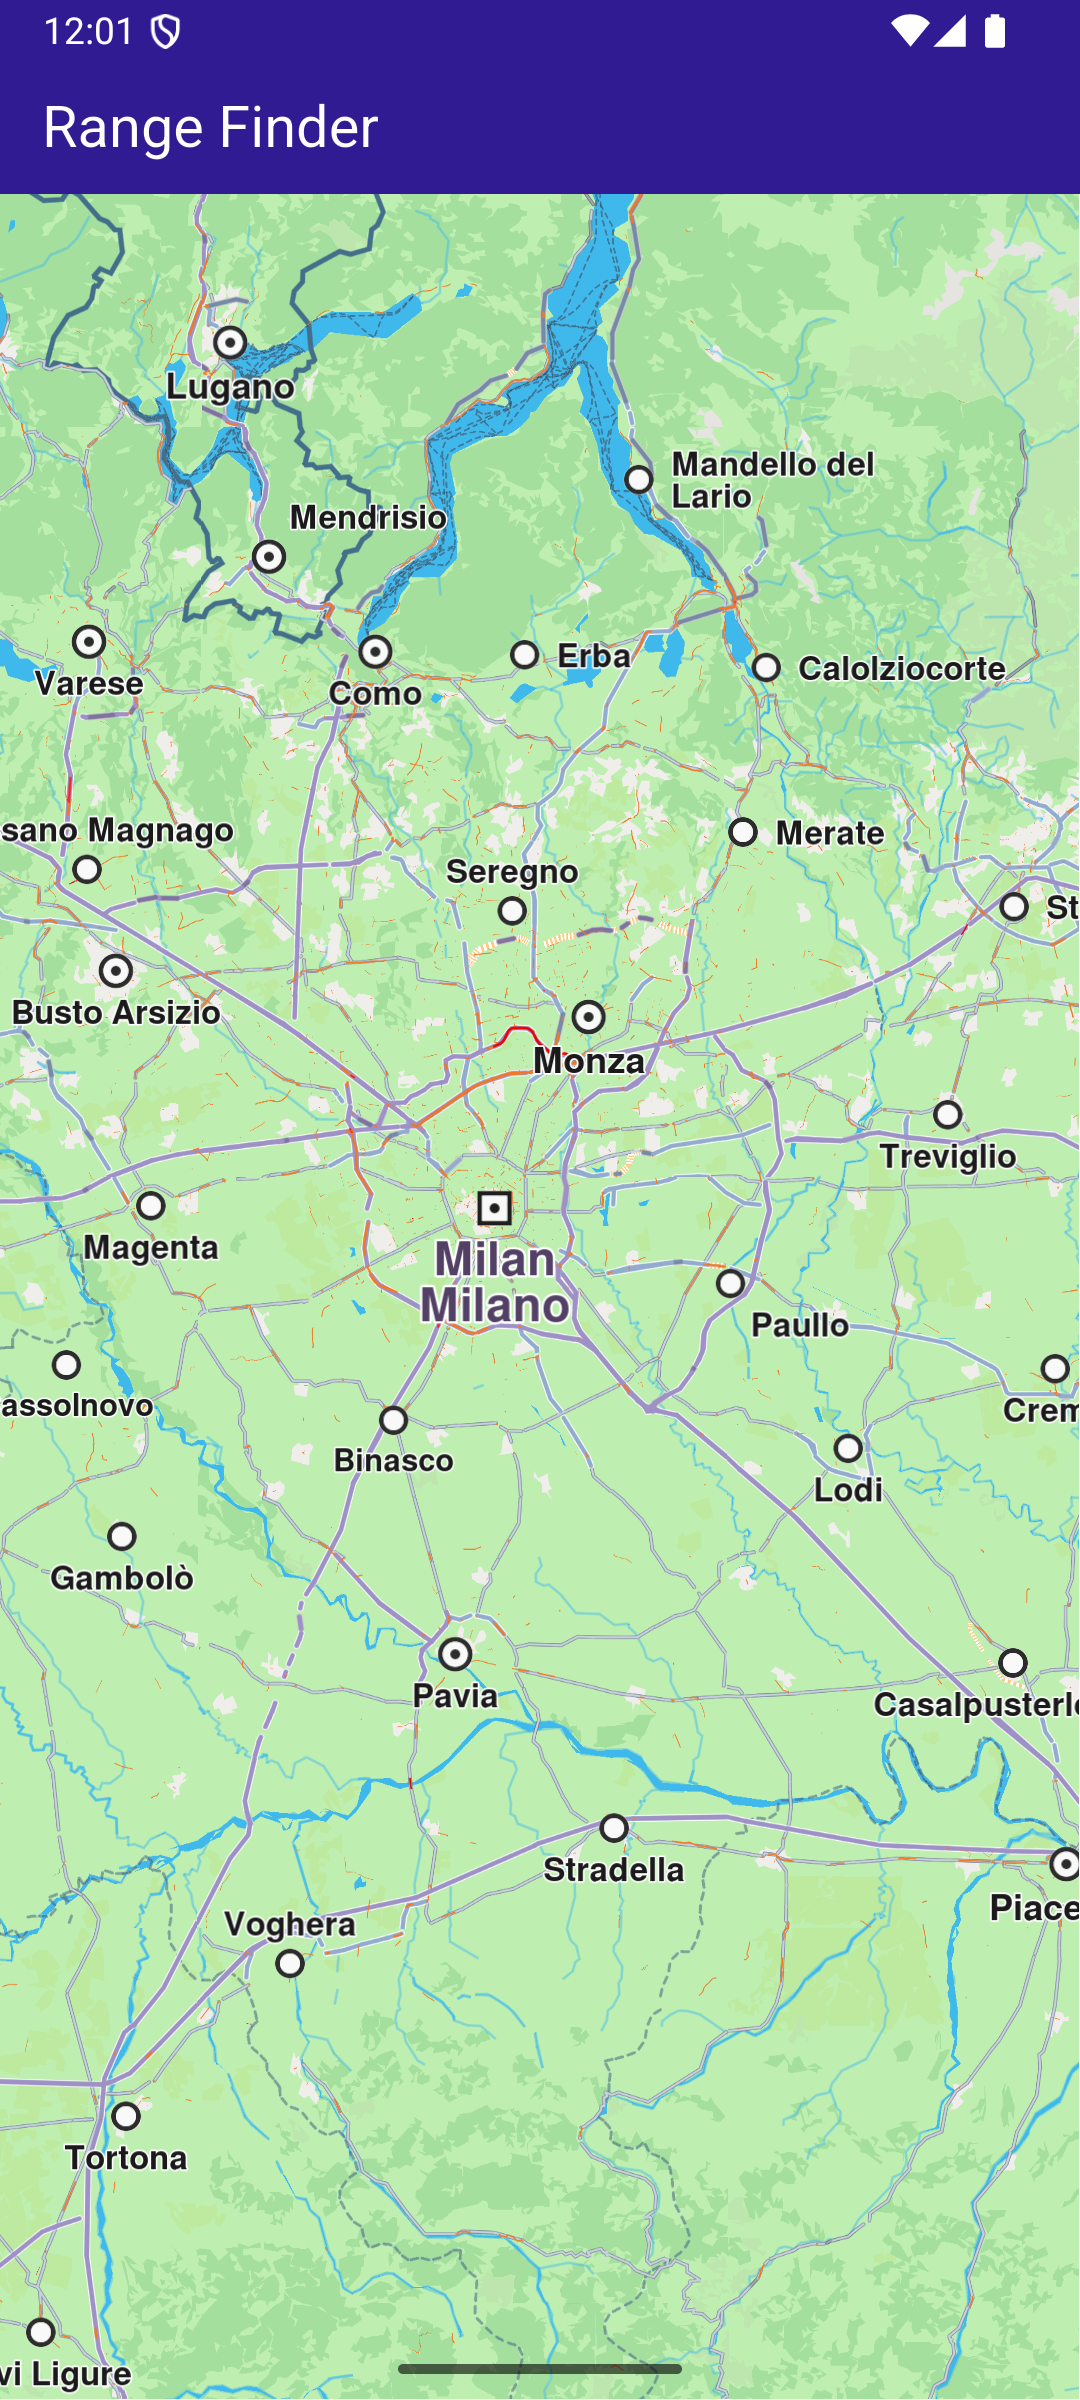
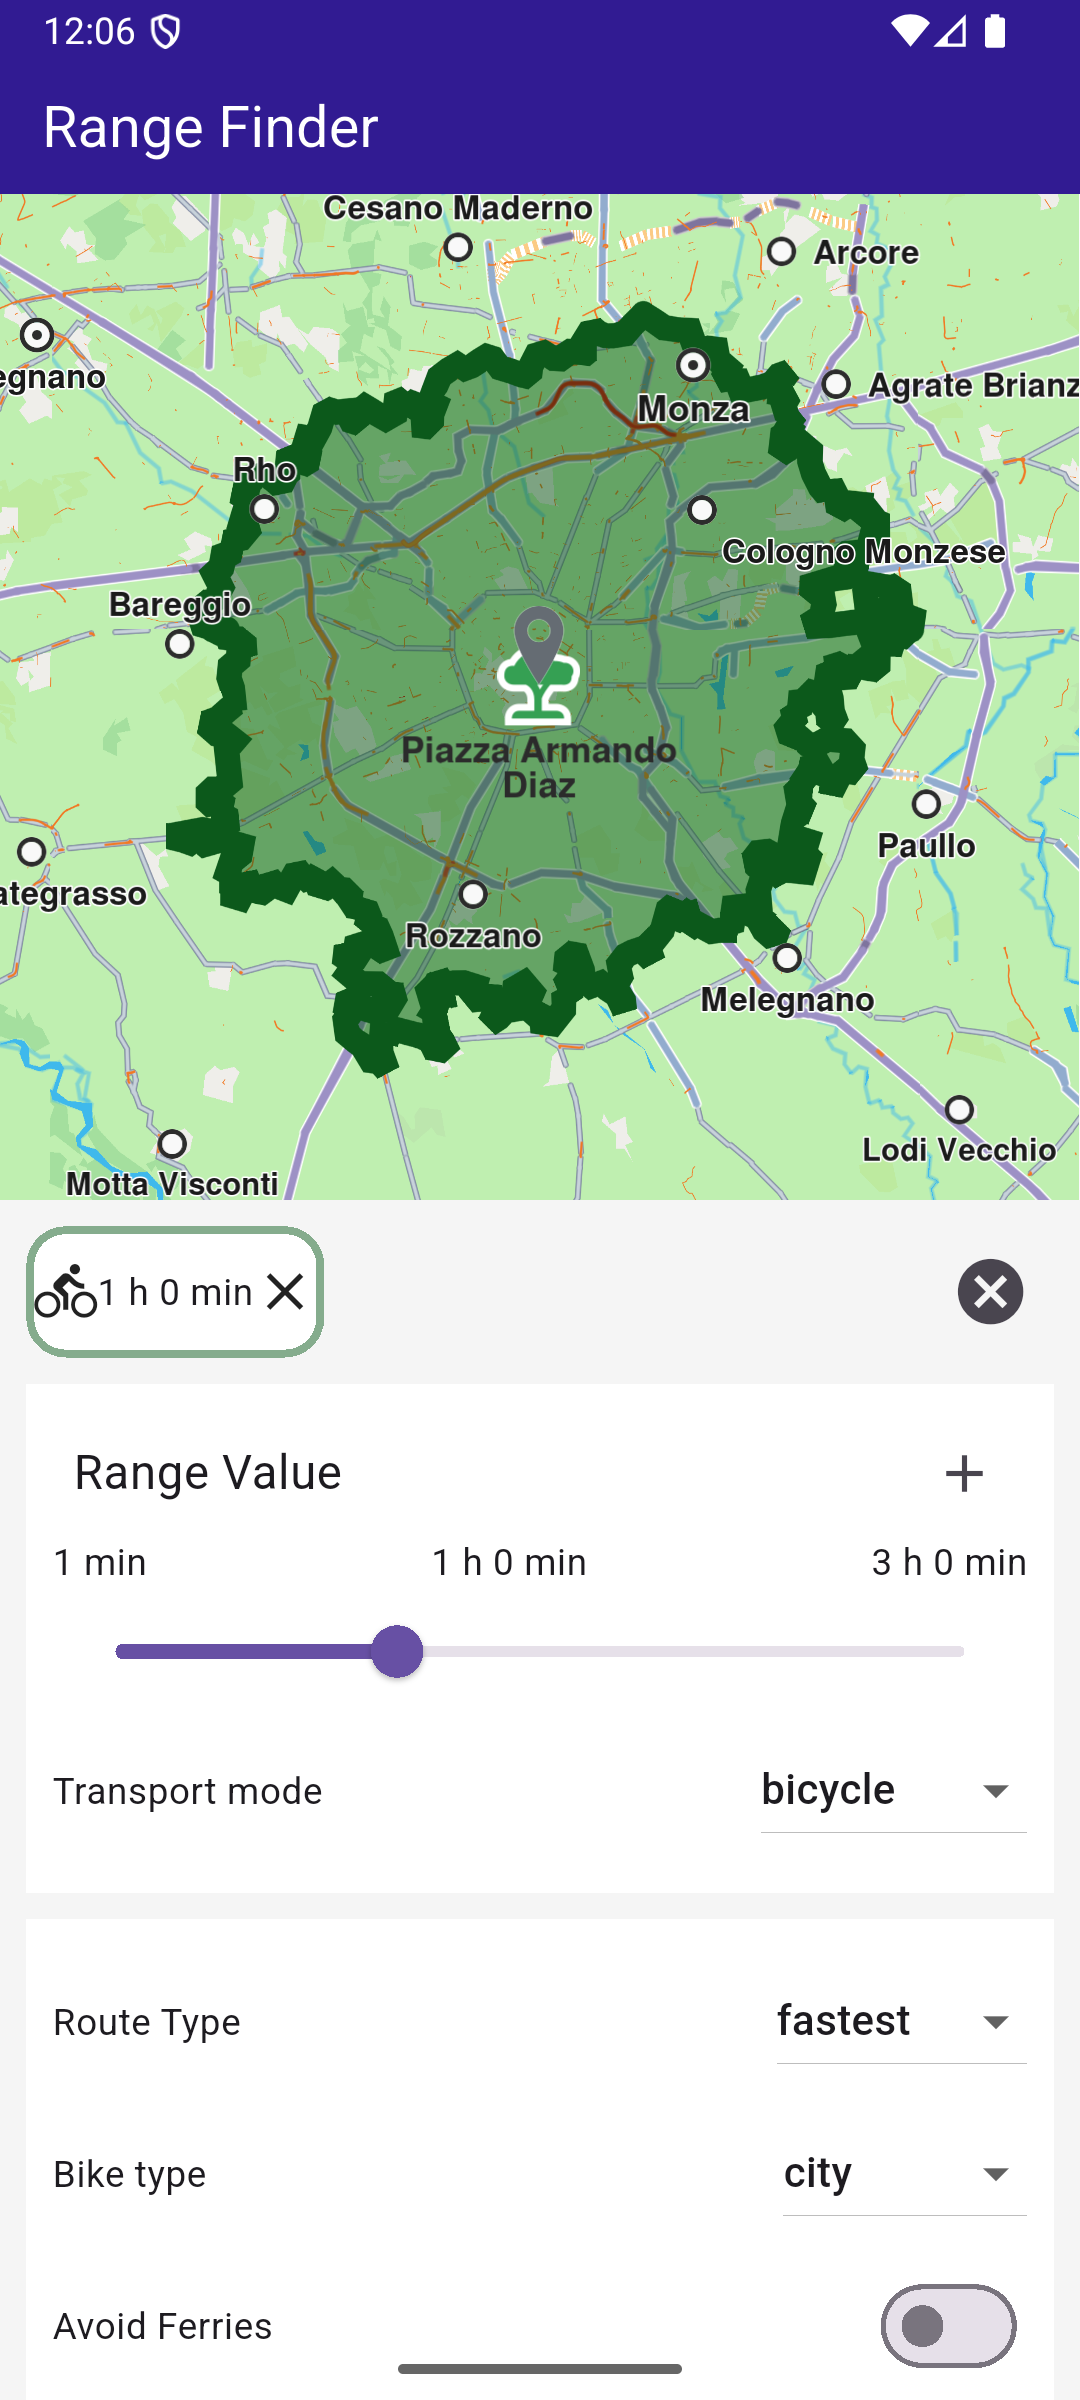
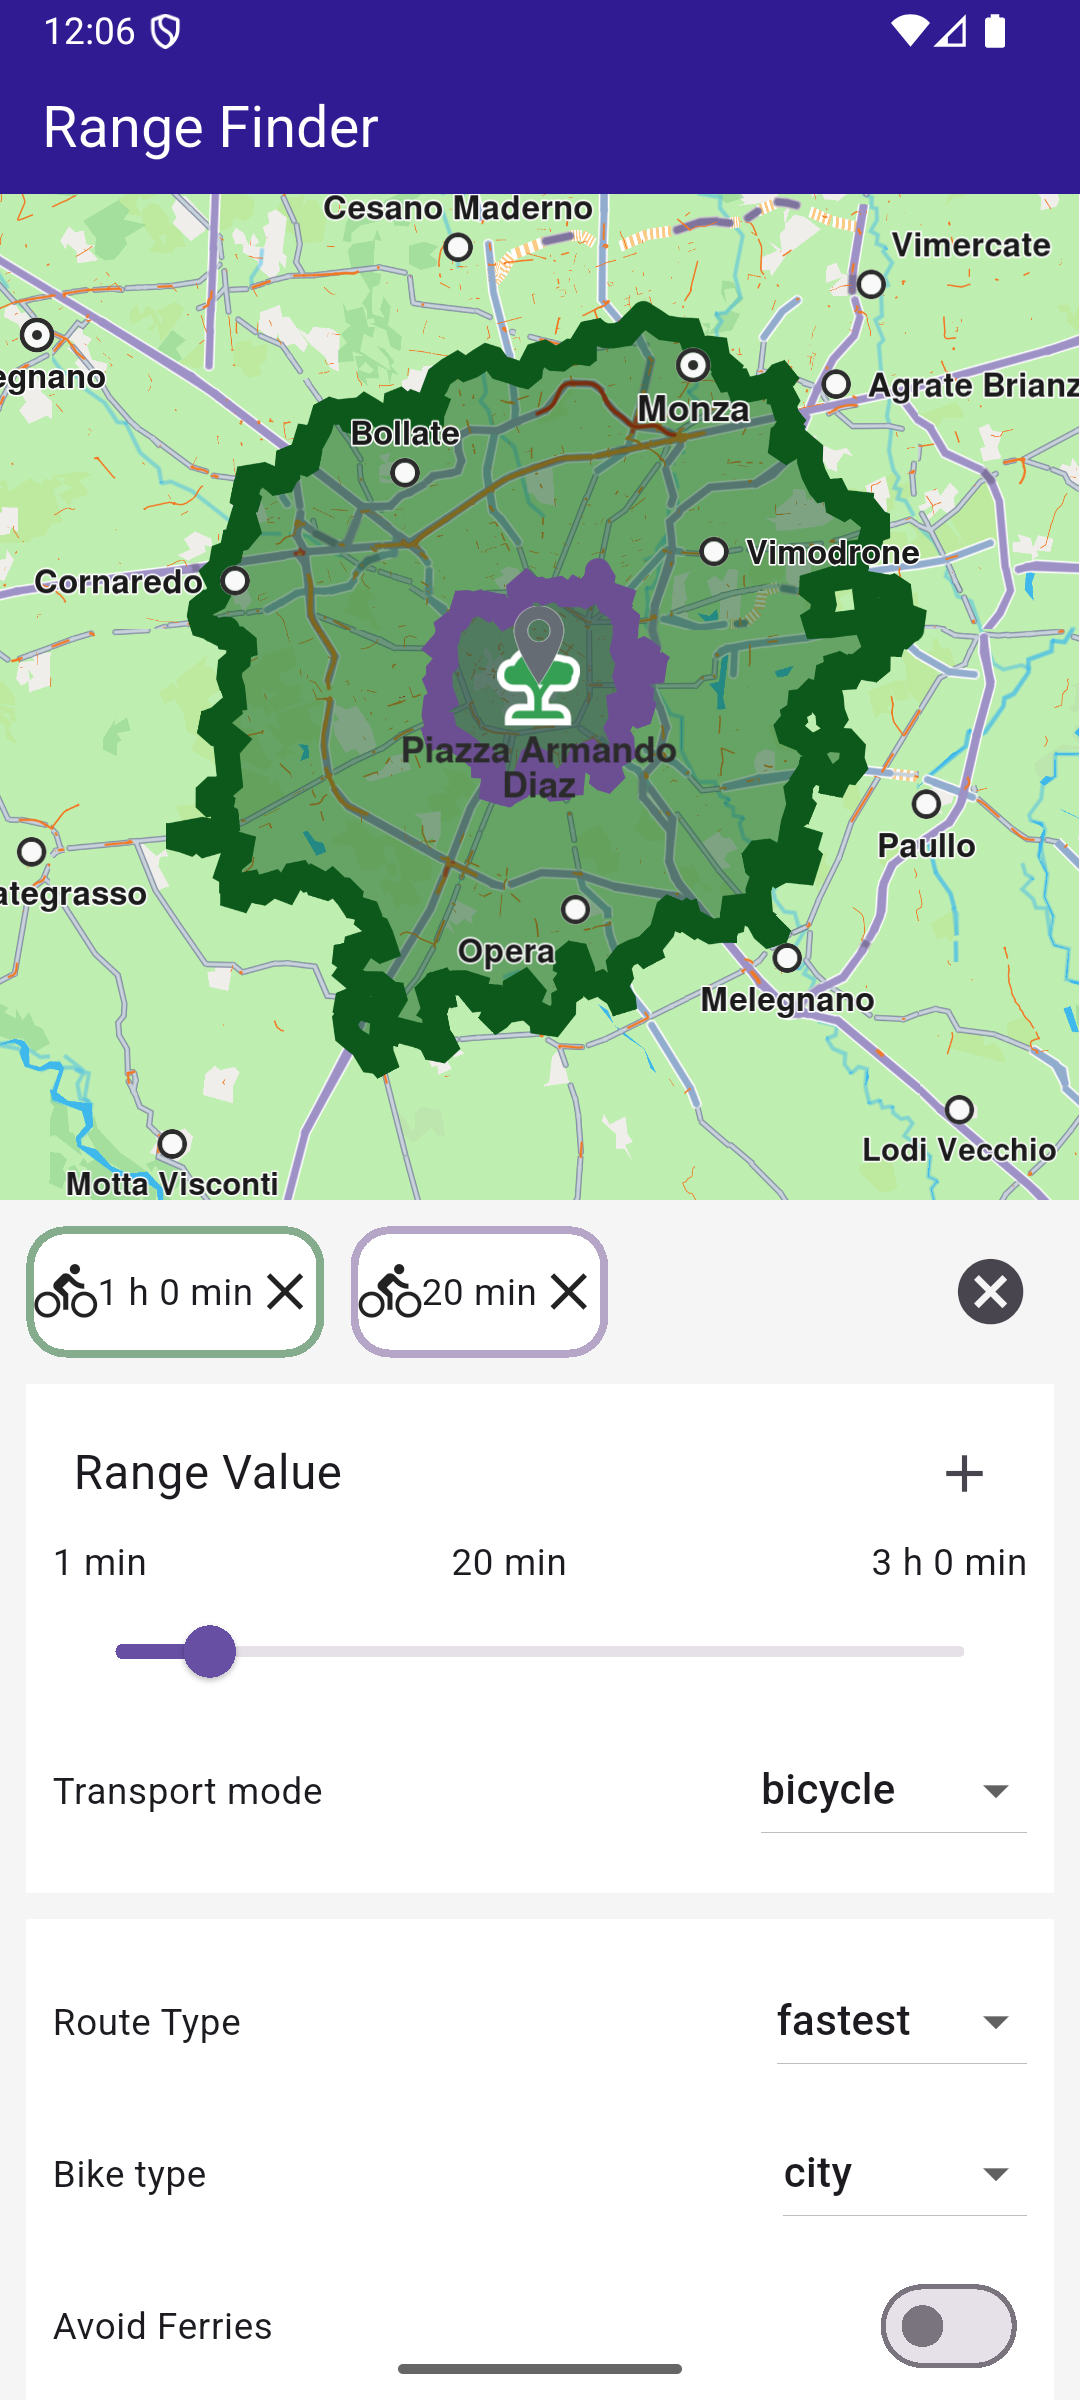
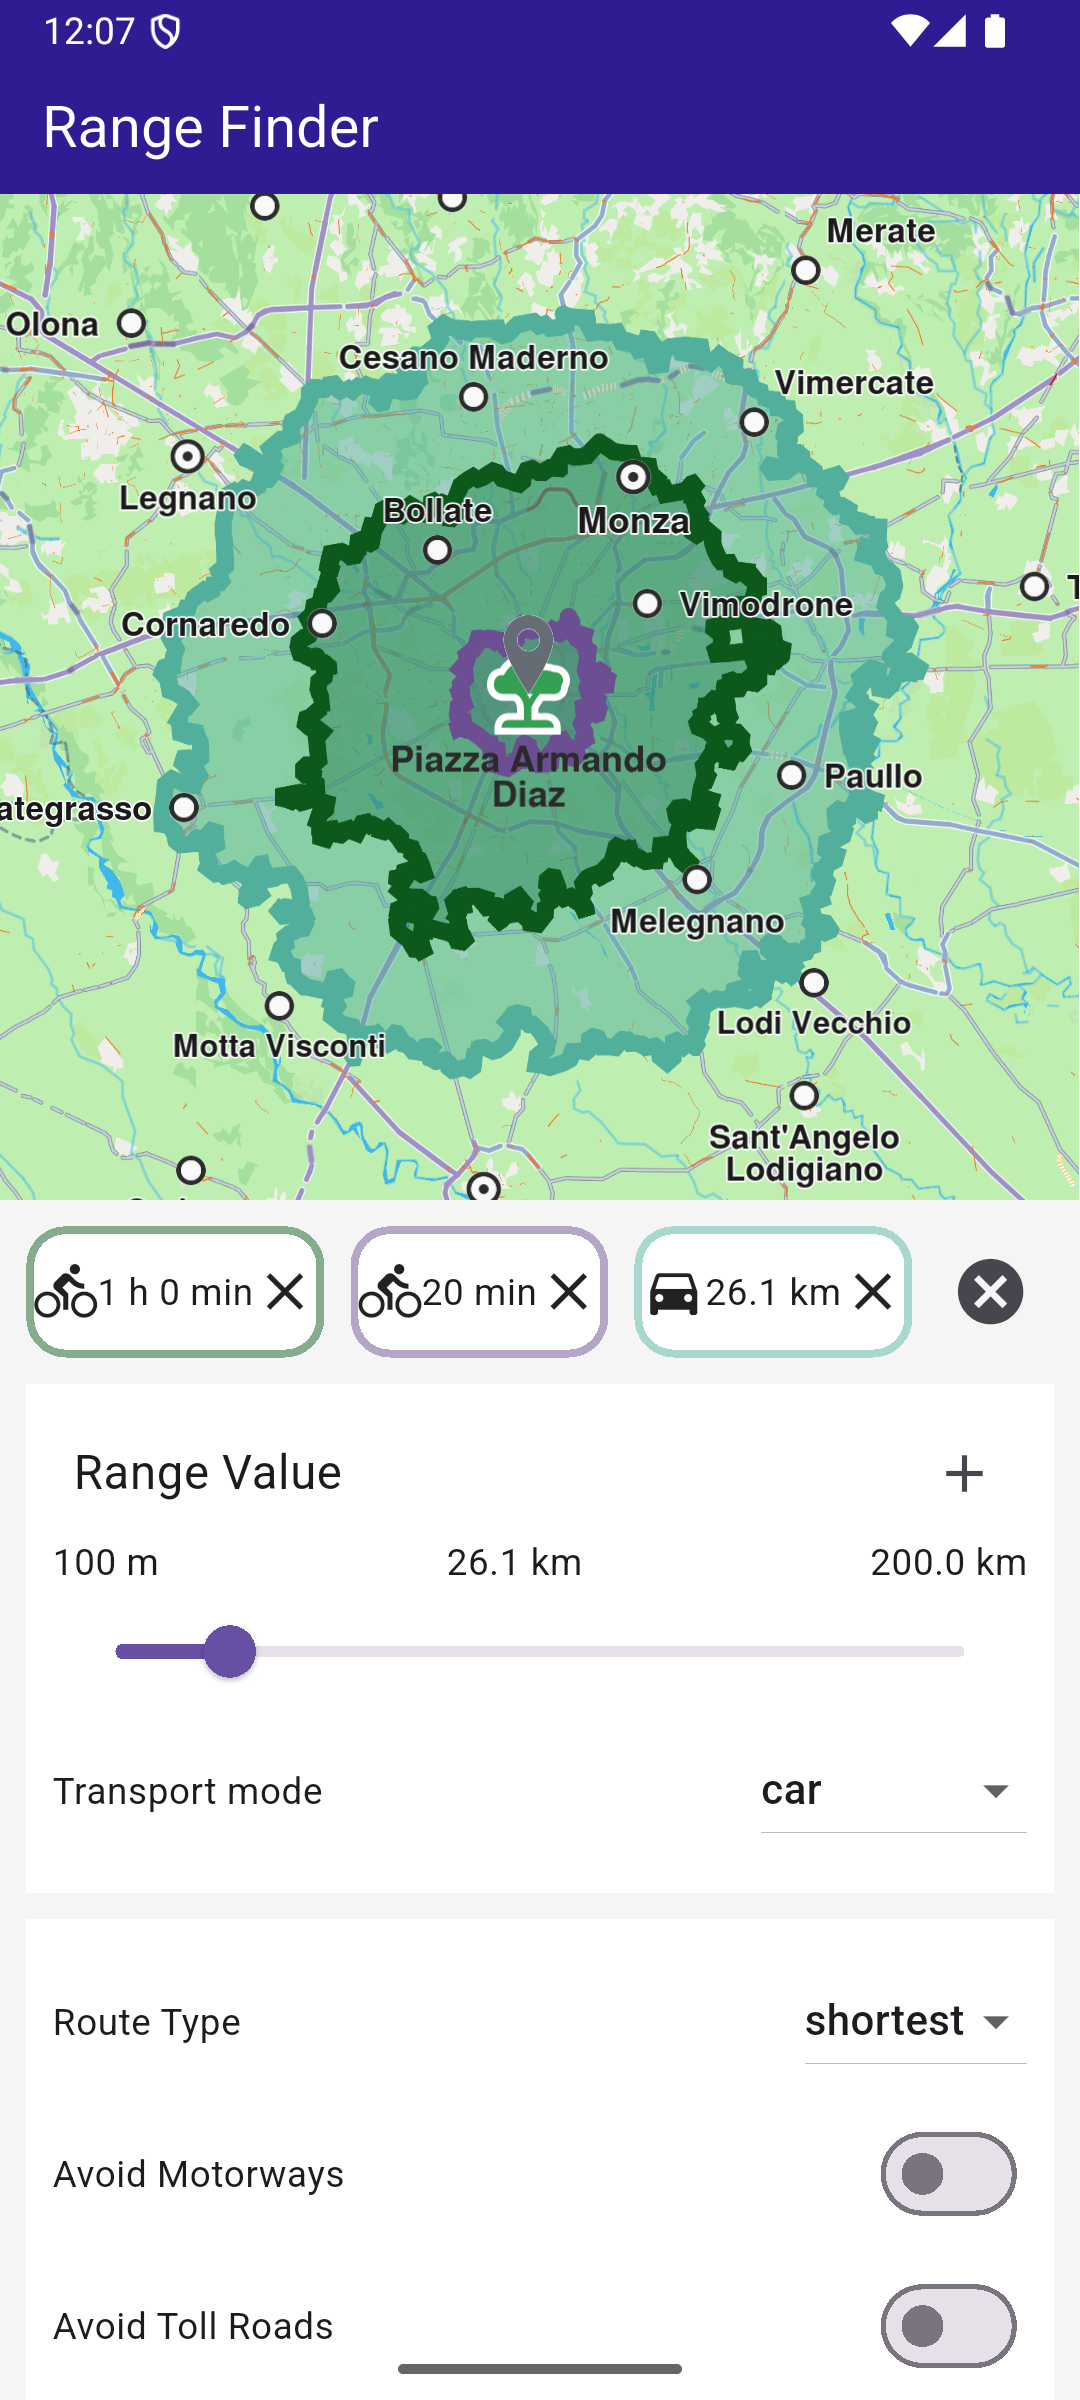
The following code creates a user interface featuring a GemMap widget and an app bar. When a Point of Interest (POI) is selected on the map, a range finder panel appears at the bottom of the screen.
Define the main application widget, MyApp.
Within _MyHomePageState , define the necessary state variables and methods to interact with the map and manage routes.
Range Calculation and Preferences
The RangesPanel widget handles the UI and logic for calculating and displaying route ranges. Here are the critical parts:
Define State Variables
Define state variables to hold user preferences and the calculated route ranges.
Calculate Route Ranges
Use the RoutingService to calculate route ranges based on user preferences.
Define Route Preferences
Create a method to build route preferences based on user inputs.
Handle User Interactions
Methods to manage user interactions, such as deleting, toggling, and centering on route ranges.
You can start calculating a range by tapping the + button after adjusting your specifications for the routes.