Multiview Map
In this guide, you will learn how to display multiple interactive maps in one viewport.
How It Works
This example demonstrates the following features:
- Display multiple map views in a grid layout, each independently interactive with features like panning and zooming.
 | 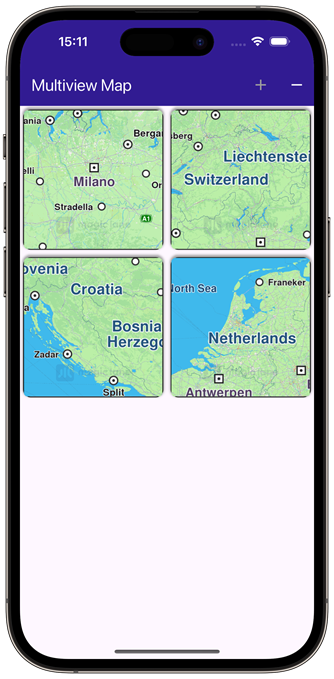 |
|---|---|
| Initial empty viewport | Four different interactive maps |
Creating the Grid of Maps
A GridView is used to create a grid with a maximum of 2 map views per row. Each map view is created by GemMap() and enclosed in a Container as a grid element.
// Arrange MapViews in a grid with fixed number of elements on row
body: GridView.builder(
    physics: const NeverScrollableScrollPhysics(),
    gridDelegate: const SliverGridDelegateWithFixedCrossAxisCount(crossAxisCount: 2),
    itemCount: _mapViewsCount,
    itemBuilder: (context, index) {
      return Container(
          clipBehavior: Clip.hardEdge,
          decoration: BoxDecoration(
              border: Border.all(color: Colors.black, width: 1),
              borderRadius: BorderRadius.circular(10),
              boxShadow: const [
                BoxShadow(color: Colors.grey, offset: Offset(0, -2), spreadRadius: 1, blurRadius: 2)
              ]),
          margin: const EdgeInsets.all(5),
            child: const GemMap(
              key: ValueKey("GemMap"),
              appAuthorization: projectApiToken,
            ),
      });
Managing the Number of Map Views
The number of interactive map views (initially zero) to display is stored in _mapViewsCount and can be increased or decreased interactively by the user using the functions shown above.
Each map is a separate view and can be panned/zoomed independently of the others.
void _addViewButtonPressed() => setState(() {
    if (_mapViewsCount < 4) {
      _mapViewsCount += 1;
    }
  });

void _removeViewButtonPressed() => setState(() {
    if (_mapViewsCount > 0) {
      _mapViewsCount -= 1;
    }
  });
Flutter Examples
Maps SDK for Flutter Examples can be downloaded or cloned with Git.