Routing
In this guide you will learn how to compute a route and render it on an interactive map. The map is fully 3D, supporting pan, pinch-zoom, rotate and tilt.
Setup
- Get your Magic Lane API key token: if you do not have a token, see the Getting Started guide.
- See the Setup Maps SDK for iOS guide.
- Download the CalculateRoute project example or clone the project with Git.
- Extract/unpack the MapView project archive to a folder/directory of your choice. You can create a new directory where to unpack it.
Open the Project
Start Xcode, and in the welcome dialog, choose Open an existing project.
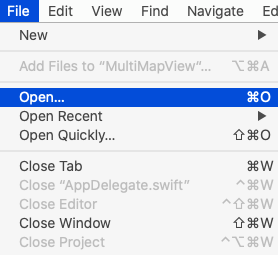
If Xcode is already started, go to the File menu and choose Open.
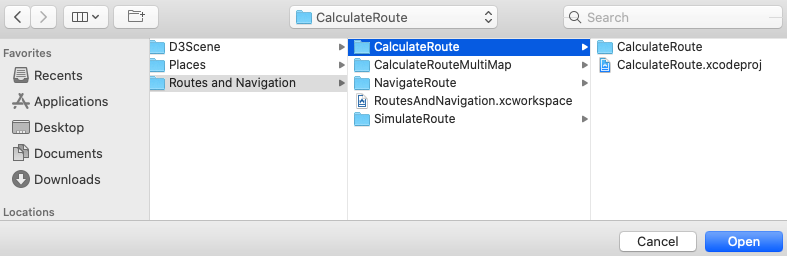
Select the MapView.xcodeproj file and click Open.
Verify that Maps SDK for iOS is configured in Xcode, see the Setup Maps SDK for iOS guide.
Set the API key token

In any of the Maps SDK for iOS example projects, click the AppDelegate.swift file and scroll down to the getProjectApiToken() function, and replace YOUR_TOKEN with your actual Magic Lane API Key token, see the Getting Started guide.
The project is now ready to build and run!
Run the example
![]()
Either connect a device via USB cable, or select a virtual device.
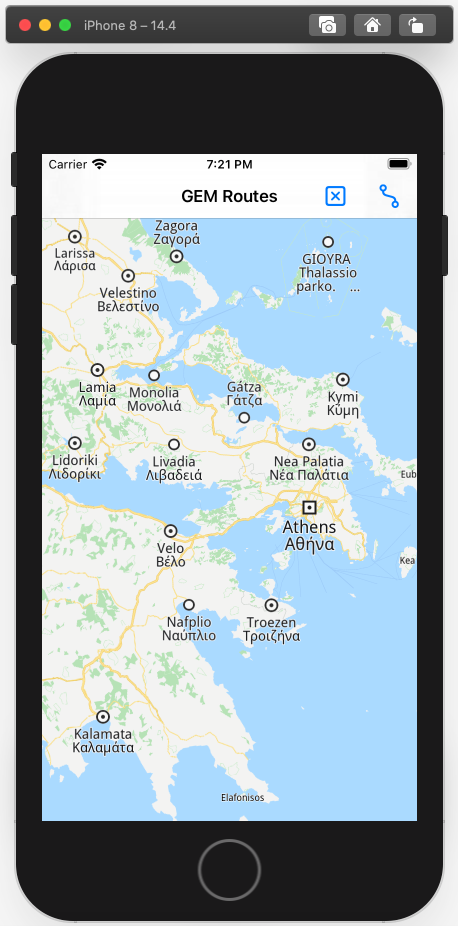
Run the CalculateRoute example. You can pan and zoom the map. On the device you can also rotate and tilt.
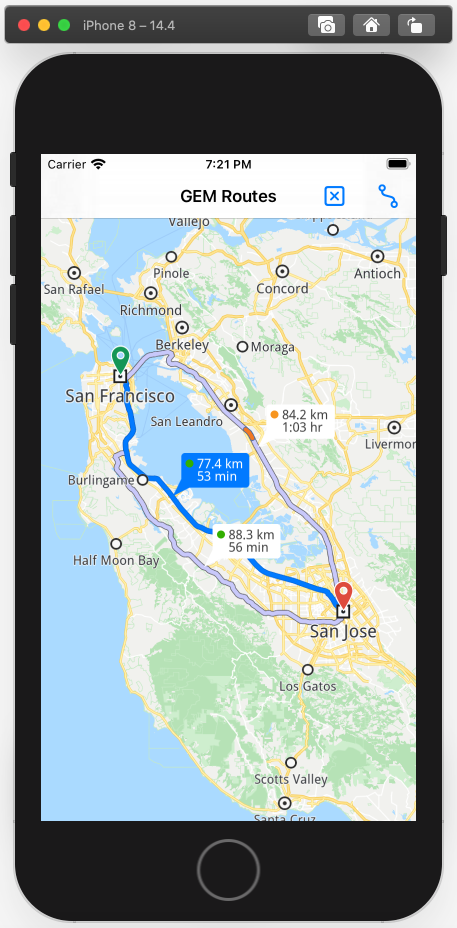
Click the blue route icon near the top right corner to start the route calculation between a preset departure and destination location. When the route calculation completes, a fly occurs and the map is centered on the computed route(s).
If there is more than one possible route between the selected departure and destination points, the alternative routes are also shown in a lighter color. The map will be at an appropriate distance so that all computed routes are visible.
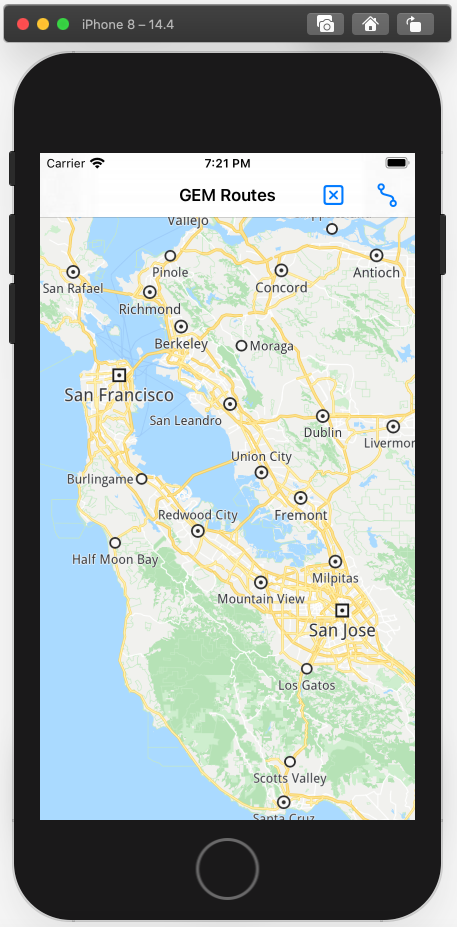
Click the blue x icon at the top to remove the route rendered on the map.
iOS Examples
Maps SDK for iOS Examples can be downloaded or cloned with Git.