Create your first application
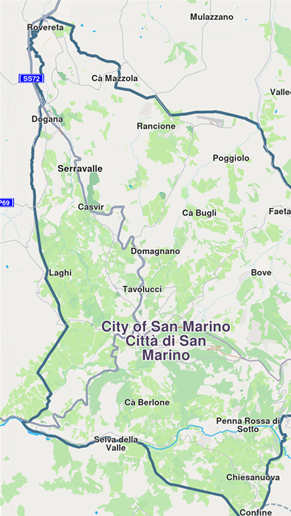
Follow this tutorial to build a Flutter app with an interactive map.
- Flutter installed (installation guide)
- Free API key from MagicLane
Step 1: Create a new project
flutter create my_first_map_app
cd my_first_map_app
Using an existing project?
Skip to Step 2 and add the SDK to your existing app.
Step 2: Install the SDK
Add the package to pubspec.yaml:
dependencies:
  flutter:
    sdk: flutter
  magiclane_maps_flutter:  # Add this line
Install it:
flutter pub get
Complete the Android/iOS setup before continuing (adds Maven repository, sets iOS version).
Step 3: Write the code
Open lib/main.dart and replace everything with this:
import 'package:flutter/material.dart' hide Route;
import 'package:magiclane_maps_flutter/magiclane_maps_flutter.dart';
const projectApiToken = String.fromEnvironment('GEM_TOKEN');
void main() {
runApp(const MyApp());
}
class MyApp extends StatelessWidget {
const MyApp({super.key});
Widget build(BuildContext context) {
return const MaterialApp(
debugShowCheckedModeBanner: false,
title: 'Hello Map',
home: MyHomePage(),
);
}
}
class MyHomePage extends StatefulWidget {
const MyHomePage({super.key});
State<MyHomePage> createState() => _MyHomePageState();
}
class _MyHomePageState extends State<MyHomePage> {
void dispose() {
GemKit.release(); // Clean up SDK resources
super.dispose();
}
Widget build(BuildContext context) {
return Scaffold(
appBar: AppBar(
backgroundColor: Colors.deepPurple[900],
title: const Text('Hello Map', style: TextStyle(color: Colors.white)),
),
body: GemMap(
appAuthorization: projectApiToken,
onMapCreated: _onMapCreated,
),
);
}
void _onMapCreated(GemMapController mapController) {
// Map is initialized and ready to use
}
}
Understanding the code
GemMap- Widget that displays the interactive mapappAuthorization- Your API key for SDK authenticationonMapCreated- Called when the map finishes loadingGemKit.release()- Frees memory when the app closes
Step 4: Run your app
Start the app with your API key:
flutter run --dart-define=GEM_TOKEN="your_actual_token_here"
Quick test: Hardcode the token
For quick testing only, change line 4 to:
const projectApiToken = "your_actual_token_here";
⚠️ Never commit hardcoded tokens to version control!
When you initialize the SDK with a valid API key, it also performs an automatic activation. This allows better flexibility for licensing.
🎉 Success! Your map app is running.
What's next?
Explore what you can do with the map:
- Add markers - Pin locations on the map
- Draw shapes - Add polygons, lines, and circles
- Change map styles - Switch between light, dark, and custom themes
- Search for places - Find addresses and points of interest
- Add navigation - Calculate routes and turn-by-turn directions
Troubleshooting
App crashes immediately
Most common causes:
- Missing platform setup - Did you complete the Android/iOS configuration?
- Invalid API key - Check your token is correct and active
- Flutter environment issues - Run
flutter doctorand fix any issues
GemKitUninitializedException error
You're calling SDK methods before the map initializes.
Solution: Only call SDK methods inside onMapCreated or after the map loads.
void _onMapCreated(GemMapController mapController) {
  // ✓ Safe to call SDK methods here
}
How to check if my API key is valid
Add this code to verify your token:
SdkSettings.verifyAppAuthorization(projectApiToken, (status) {
  if (status == GemError.success) {
    print('✓ API key is valid');
  } else {
    print('✗ API key error: $status');
  }
});
Possible status codes:
success- Token is valid ✓invalidInput- Wrong format ✗expired- Token expired ✗accessDenied- Token blocked ✗
Map shows a watermark
This means your API key is missing or invalid.
Without a valid API key:
- ❌ Map downloads won't work
- ❌ Map updates disabled
- ⚠️ Watermark appears
- ⚠️ Limited features
Fix: Ensure you're passing a valid API key via --dart-define=GEM_TOKEN="your_token"
Advanced: Manual SDK initialization
The SDK auto-initializes when you create a GemMap widget.
If you need to use SDK features before showing a map:
void main() async {
WidgetsFlutterBinding.ensureInitialized();
await GemKit.initialize(appAuthorization: projectApiToken);
runApp(const MyApp());
}
// Don't forget to clean up!
void dispose() {
GemKit.release();
super.dispose();
}
When to use this:
- Background location tracking before map display
- Preloading map data
- SDK services without showing a map
