Integrate the SDK
If you don't already have an API key, you can Create an API key. This is not mandatory but highly recommended in order to be able to use all the functionalities of the SDK.
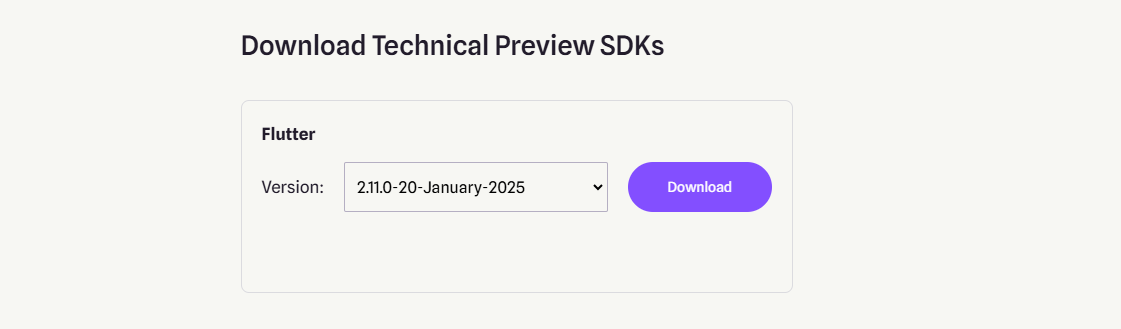
Download and extract the SDK
Download the Maps SDK for Flutter:
Unzip the downloaded file and look for the gem_kit folder. This is the Flutter SDK.
Move the SDK Directory
Move the gem_kit directory into the plugins subdirectory of your project, such as my_project/plugins. If the plugins directory does not exist, create it.
The resulting folder structure might look like this:
├── android
├── ios
├── lib
├── plugins
│   └── gem_kit
├── pubspec.yaml
...
Update the pubspec file
In your pubspec.yaml file add the path to the gem_kit in your dependencies:
dependencies:
  flutter:
    sdk: flutter
  gem_kit:
    path: plugins/gem_kit
Native configuration
- Android
- IOS
First, verify that the ANDROID_SDK_ROOT environment variable is set to the root path of your Android SDK.
In android/build.gradle.kts add the maven block as shown, within the allprojects block, for both debug and release builds:
allprojects {
    repositories {
        google()
        mavenCentral()
        maven {
            url = uri("${rootDir}/../plugins/gem_kit/android/build")
        }
    }
}
In android/app/build.gradle.kts within the android block, in the defaultConfig block, the Android SDK version minSdk must be set as shown below.
Additionally, for release builds, in android/app/build.gradle.kts, within the android block, add the buildTypes block as shown:
Replace example_pathname with the actual project pathname.
import java.util.Properties

val localProperties = Properties().apply {
val localPropertiesFile = rootProject.file("local.properties")
if (localPropertiesFile.exists()) {
    localPropertiesFile.inputStream().use { input ->
        load(input)
        }
    }
}

val flutterVersionCode = localProperties.getProperty("flutter.versionCode") ?: "1"
val flutterVersionName = localProperties.getProperty("flutter.versionName") ?: "1.0"

android {
    defaultConfig {
        applicationId "com.magiclane.gem_kit.examples.example_pathname"
        minSdk = 21
        targetSdk = flutter.targetSdkVersion.toString().toInt()
        versionCode = flutterVersionCode.toInt()
        versionName = flutterVersionName
    }
    buildTypes {
        getByName("release") {
            isMinifyEnabled = false
            isShrinkResources = false
            signingConfig = signingConfigs.getByName("debug")
        }
    }
}
Update the ios/Podfile configuration file: at the top, set the minimum ios platform version to 14:
platform :ios, '14.0'
Make sure you have the following entry in your iOS project's info.plist file (by default, a Flutter project contains this entry, but if you have removed it please re-add it as it's required by SDK initialization).
<key>CFBundleDevelopmentRegion</key>
<string>$(DEVELOPMENT_LANGUAGE)</string>
We recommend you to run these commands after you copy the gem_kit into your project:
flutter clean
flutter pub get
cd ios
pod install
Deploying the Application (iOS)
Preparing for App Store or TestFlight Distribution
Before uploading the application to the App Store or TestFlight, ensure that the necessary permissions are configured correctly within the ios/Podfile. The following keys must be included:
<key>NSCameraUsageDescription</key>
<string>Camera access is required for video and audio recording.</string>
<key>NSMotionUsageDescription</key>
<string>Motion access is required for the sensing feature.</string>
Additionally, the NSLocationWhenInUseUsageDescription permission may be required. For more details, refer to the positioning guide.
Run the app in release mode
To prevent crashes on startup, ensure the following key is present in the configuration:
<key>CFBundleDevelopmentRegion</key>
<string>$(DEVELOPMENT_LANGUAGE)</string>
This setting is required for proper localization and application stability in release mode. The app will crash at startup otherwise.