# Your first style in 10 minutes
Last updated:
October 13, 2026
\| 4 minutes read
In this tutorial you create a style from a template, recolour its roads, give it a Day and a Night theme, set where it opens, and download both themes as files your app can load.
**Time:** about 10 minutes.
## Before you start[](#before-you-start "Direct link to Before you start")
* A Magic Lane portal account. When you are signed in to the portal, you are signed in to Studio. You need nothing else: the tutorial creates the style it works on.
Every change you make is saved as you go, and Ctrl+Z (⌘Z on a Mac) takes back the last style edit, so you can try things freely.
## 1. Create the style[](#1-create-the-style "Direct link to 1. Create the style")
1. In the portal, open **Map styles** in the sidebar and click **New style**.
2. Keep **Basic 1** under Style template and **Base** under Choose a variation, and click **Create new style**. The style opens in Studio (see [Create a style](/docs/guides/map-studio/getting-started/create-a-style.md)).
3. Wait for "Putting your style on the map…" to clear. The map now shows your style.
4. Click the style name at the left of the top bar, type `My first style` and press Enter.
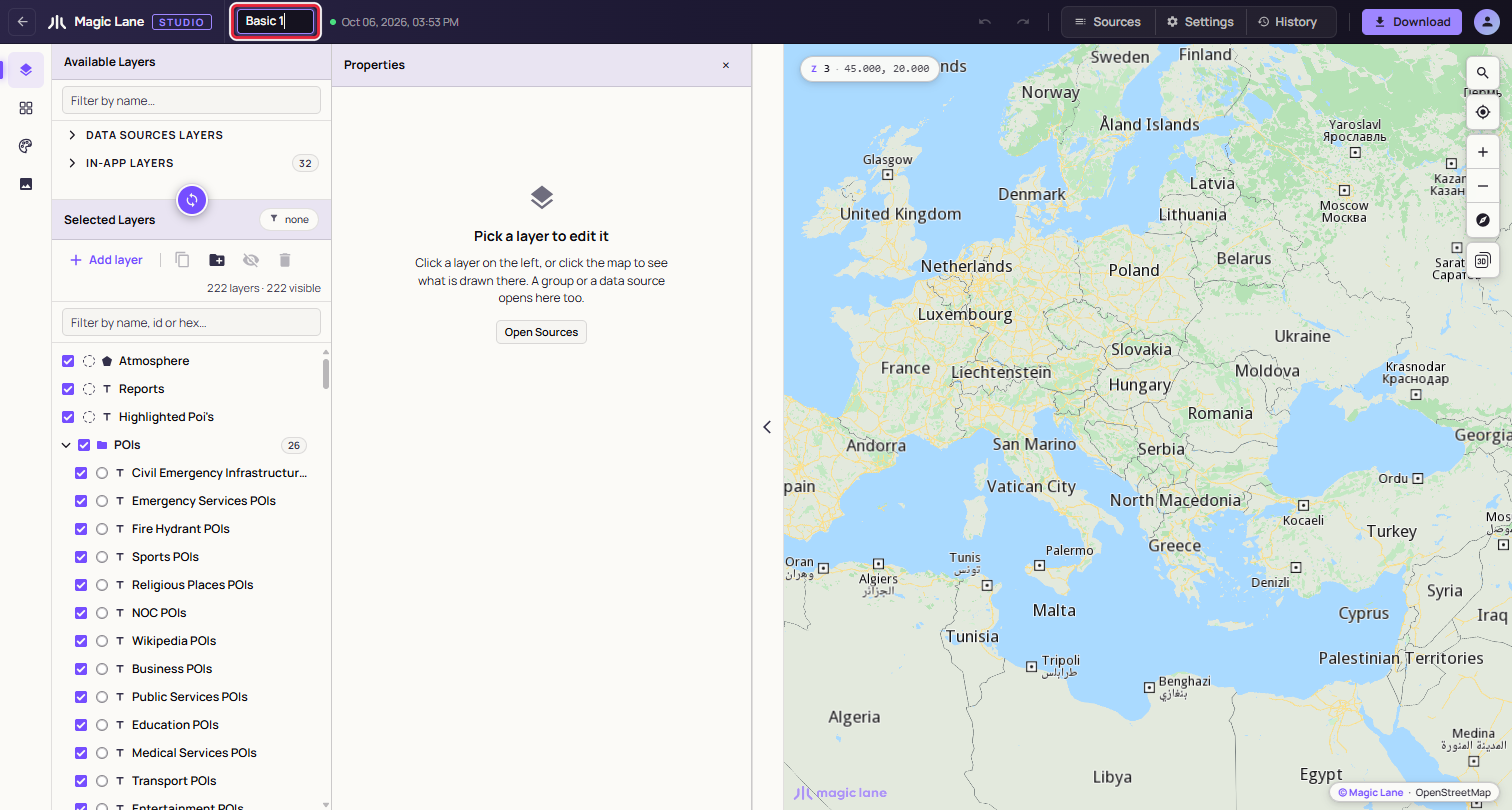
**The style name is a field: click it, type, press Enter.**
## 2. Find what draws a road[](#2-find-what-draws-a-road "Direct link to 2. Find what draws a road")
1. Click a road on the map. A list opens with every layer drawn at that point.
2. Click a road layer in the list. It opens in the Properties column, with its properties ready to edit.
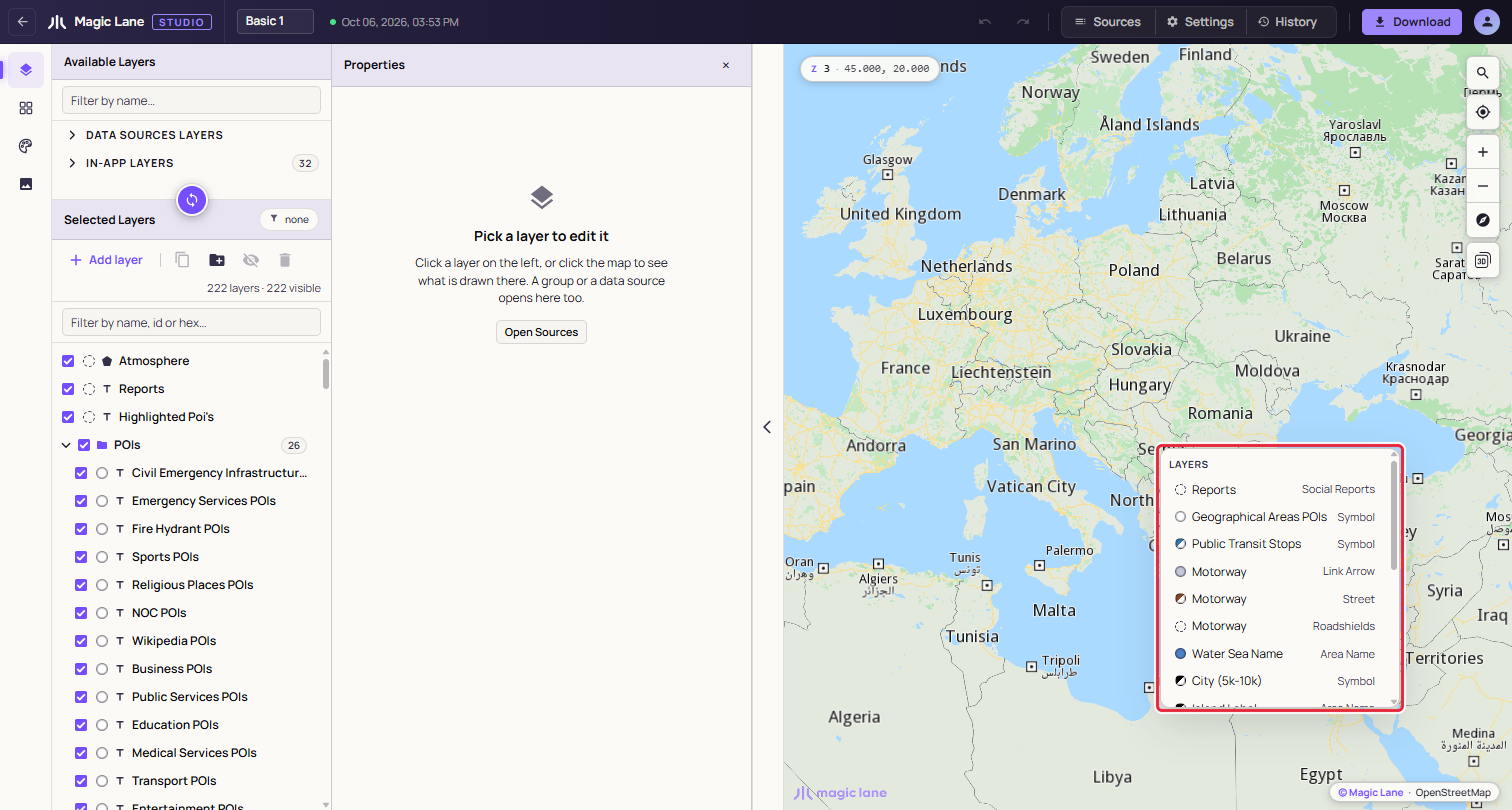
**A click on the map lists the layers drawn there.**
This is the quickest way to find the layer behind anything you see. See [The map, settings and history](/docs/guides/map-studio/editing/map-settings-and-history.md).
## 3. Recolour all the roads[](#3-recolour-all-the-roads "Direct link to 3. Recolour all the roads")
1. In Selected Layers, click the **Roads** group header. The group panel opens.
2. In its **By type** list, click **line**. All the road lines in the group are selected; the toolbar reads "29 selected" in Basic 1.
3. In the Properties column, open **Style › Line › Inner Color**. The status line reads "Editing 29 layers. Changes here apply to all of them."
4. Type a hex value such as `#f2c46d` in the colour field and press Enter, or click the swatch and pick a colour. Every road changes together.
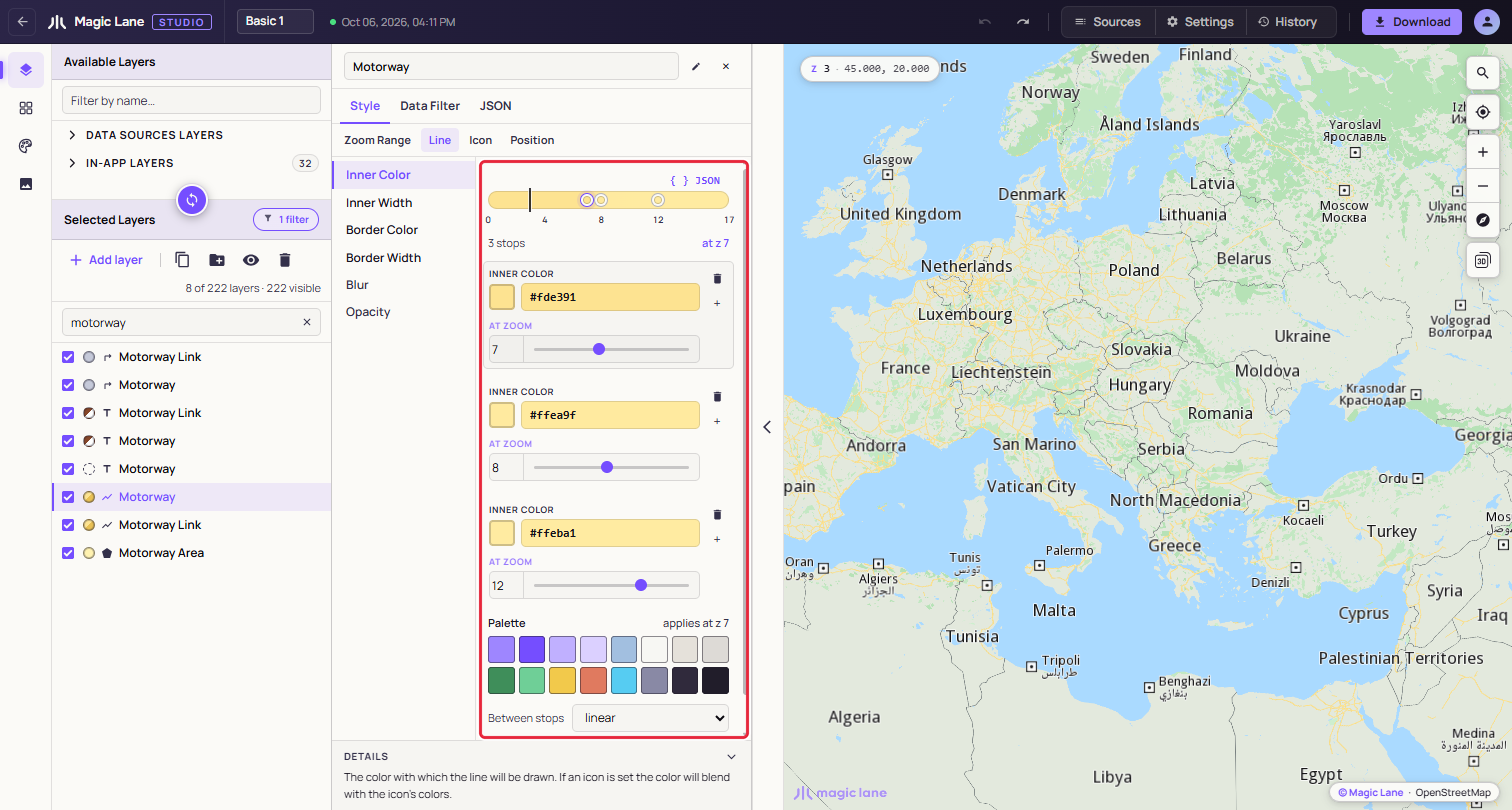
**Inner Color. Each card is a stop; the palette under them offers quick colours.**
Not happy with it? Ctrl+Z puts all 29 roads back in one step. See [Editing several layers](/docs/guides/map-studio/editing/property-panel.md#editing-several-layers).
## 4. Make a Day and a Night theme[](#4-make-a-day-and-a-night-theme "Direct link to 4. Make a Day and a Night theme")
1. Open **Shared colours** on the rail.
2. Click **+ New**, type `Day` and press **Create theme**. Day records the look you just made.
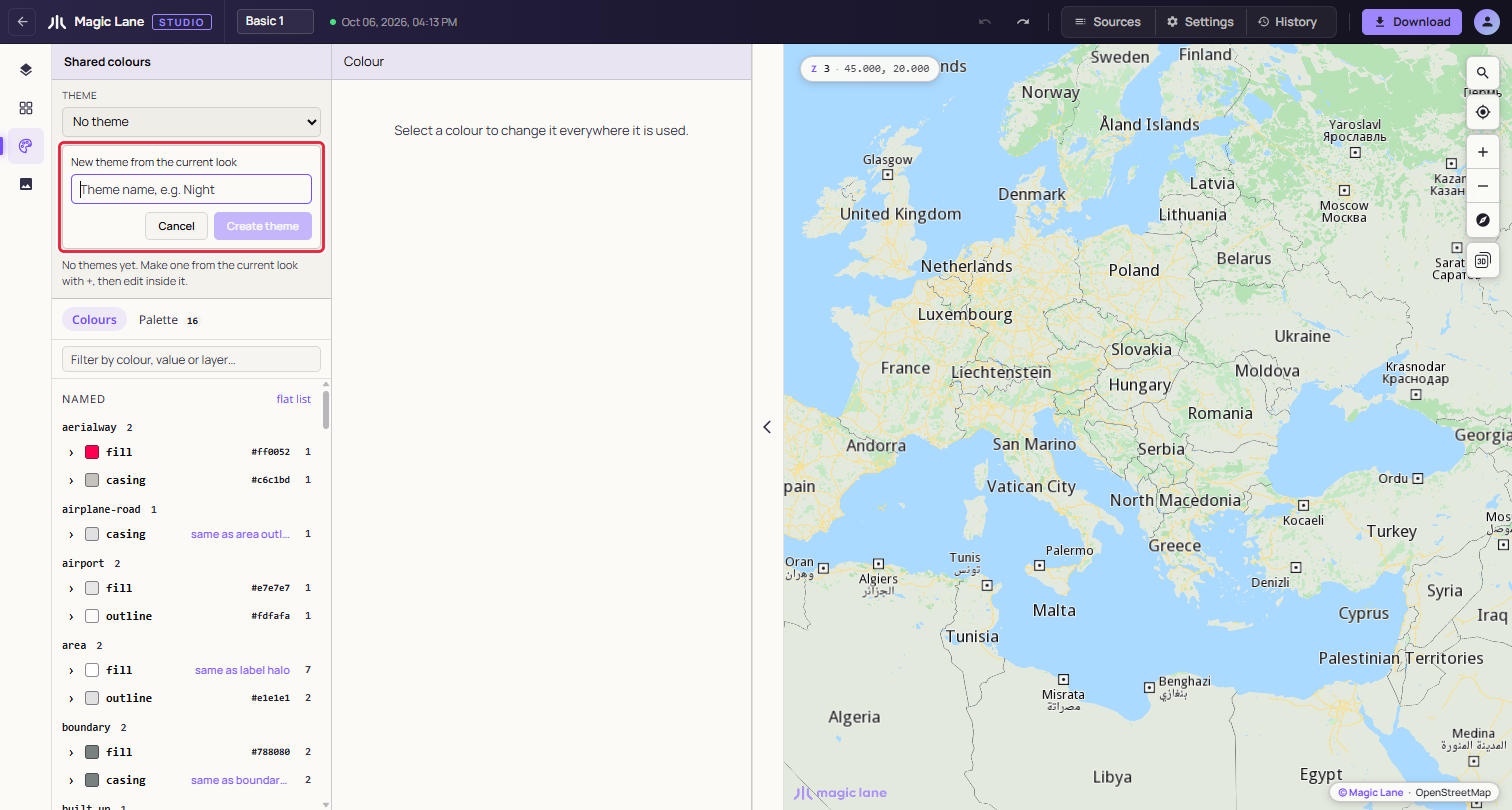
**A new theme starts as a copy of what is on screen.**
3. With Day selected, click **+ New** again, type `Night` and press **Create theme**. You are now editing Night.
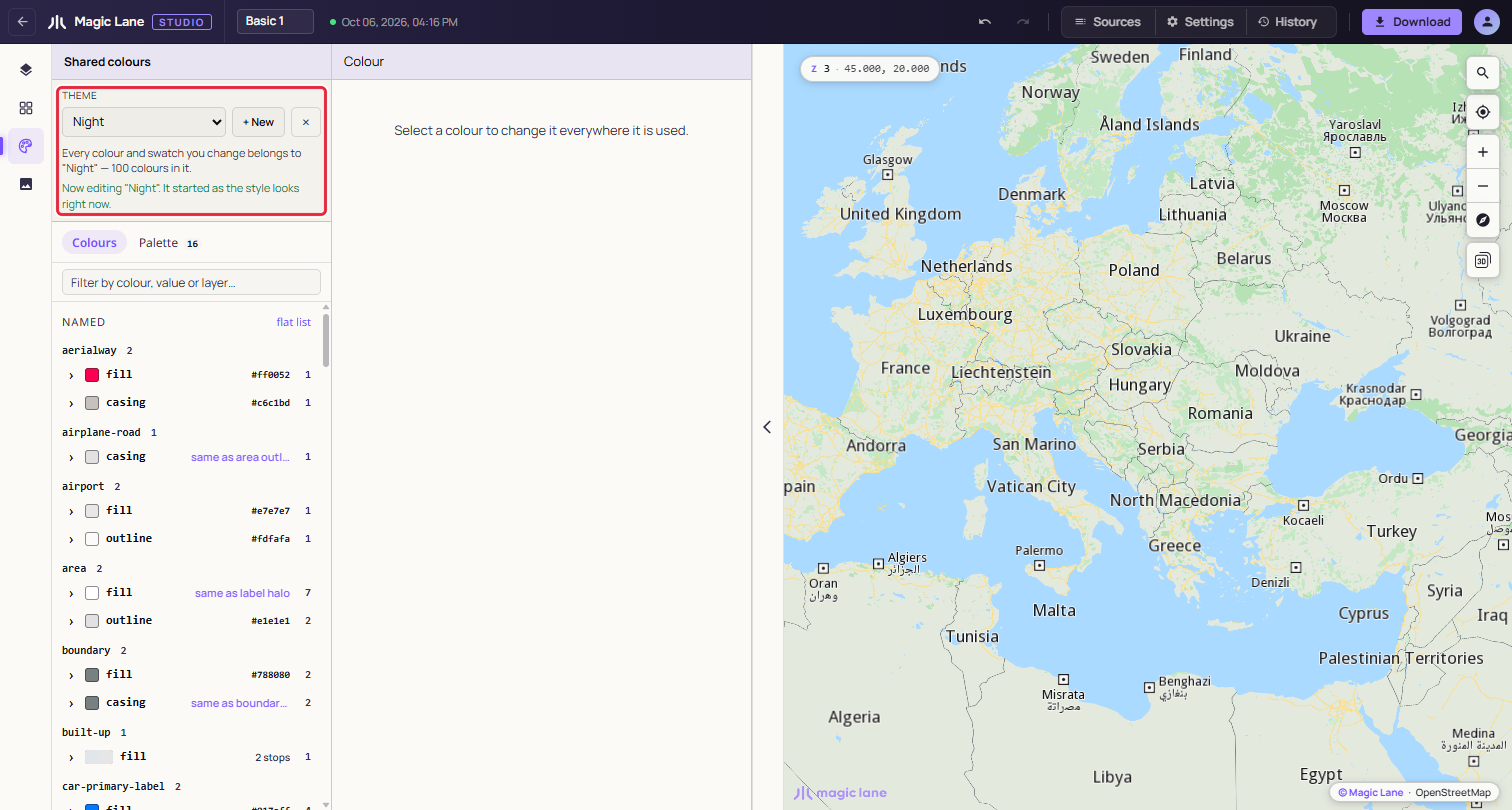
**The bar says which theme your colour edits go to.**
4. Type `water` in the filter box, "Filter by colour, value or layer…", and open the first colour in the list. Pick a dark blue, for example `#1b2a3a`. Every layer that uses this colour follows.
5. Do the same for land and for the roads: filter, open a colour, pick a darker value.
6. Switch between Day and Night in the Theme dropdown to compare them. Widths, zoom ranges and everything else that is not a colour stay the same in both.
See [Themes](/docs/guides/map-studio/editing/themes.md) and [Shared colours](/docs/guides/map-studio/editing/shared-colours.md).
## 5. Choose where the style opens[](#5-choose-where-the-style-opens "Direct link to 5. Choose where the style opens")
1. Move the map to the place your app should show first.
2. Open **Settings** in the top bar and click **Use current view** under Default map position.
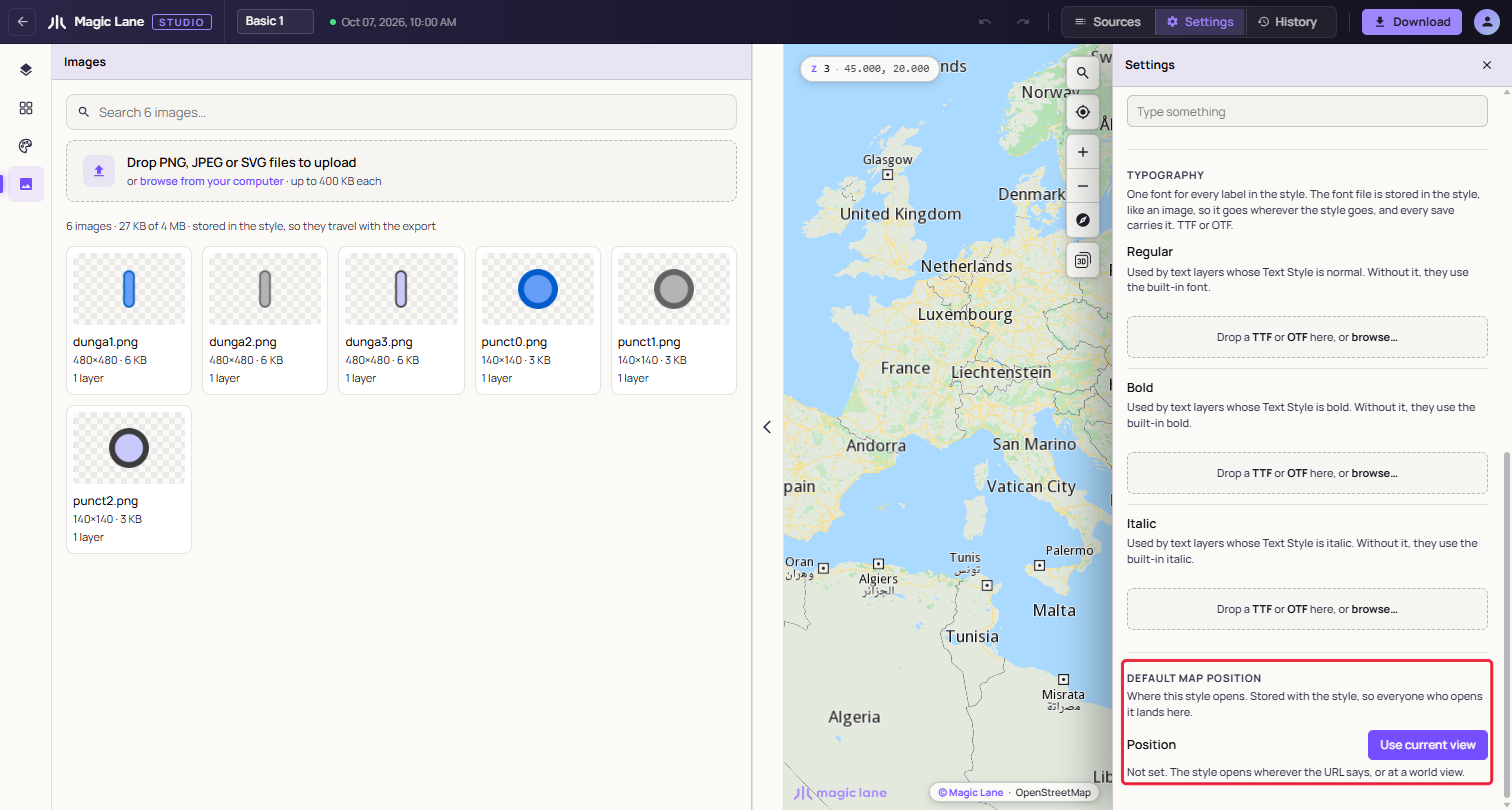
**The default view is stored with the style.**
## 6. Download the themes for your app[](#6-download-the-themes-for-your-app "Direct link to 6. Download the themes for your app")
1. Click **Download** at the right of the top bar.
2. Choose **Style file for apps**.
3. Under Theme, pick **Day**. The file name becomes `my-first-style-day`.
4. Click **Download**. A notice at the bottom right says "Style file built: my-first-style-day.style".
5. Open Download again, pick **Night** and download `my-first-style-night.style`.
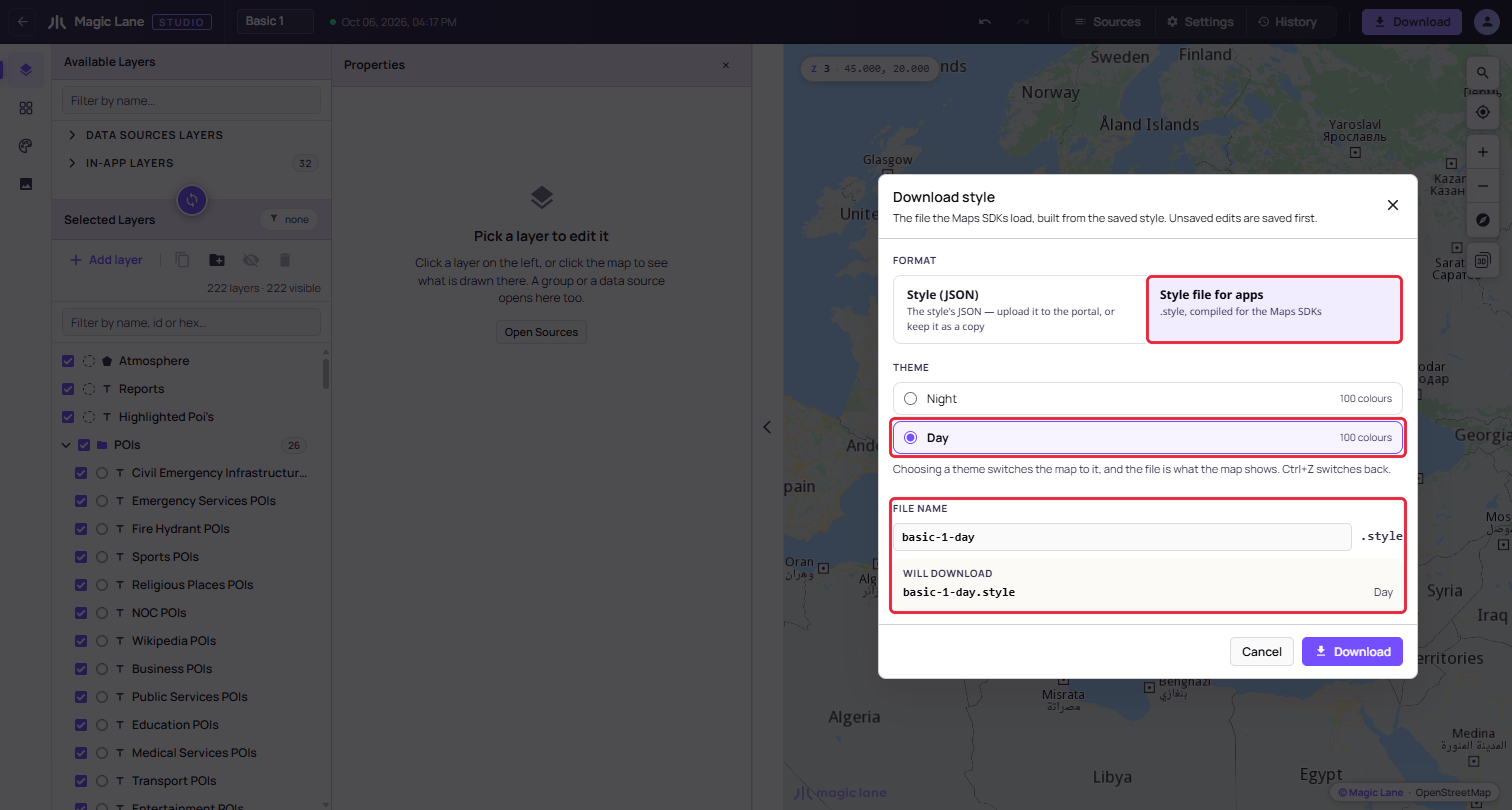
**Style file for apps with Day picked: one file holds one theme.**
## Finished product[](#finished-product "Direct link to Finished product")
You have a style with your own road colour, a Day and a Night theme, a default view, and two `.style` files, one per theme, ready for the Maps SDKs.
## Next steps[](#next-steps "Direct link to Next steps")
* Load the files in your app: [Loading the style in your app](/docs/guides/map-studio/getting-started/download-and-use.md#loading-the-style-in-your-app).
* Add your own places to the map: [Put your own data on the map](/docs/guides/map-studio/tutorials/your-own-data.md).
* Show a layer only from a certain zoom, or filter it: [The Properties column](/docs/guides/map-studio/editing/property-panel.md).