Display routes
Routes can be displayed on the map by using preferences().routes().add(route, isMainRoute). Multiple routes can be displayed at the same time, but only one is the main one, the others being treated as secondary. Specifying which one is the main route can be done when calling MapViewRouteCollection::add by passing true to the bMainRoute parameter, or by calling the MapViewRouteCollection::setMainRoute setter.
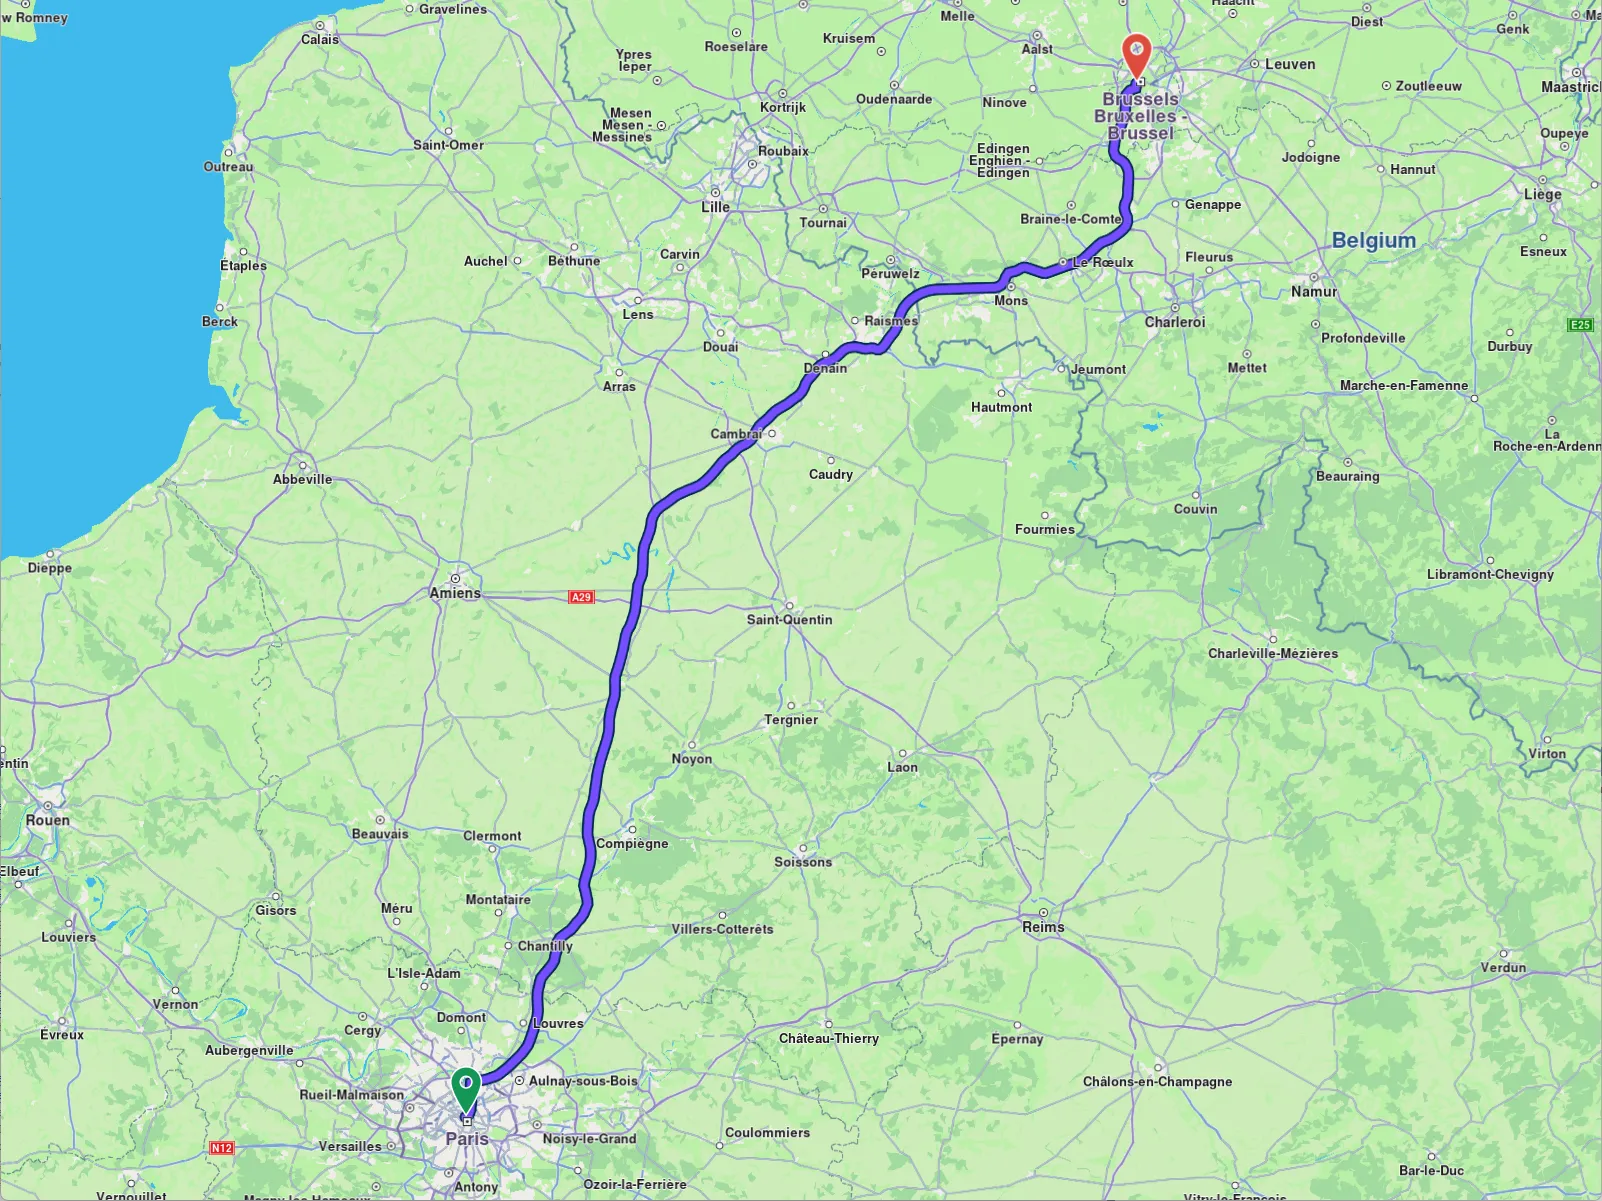
mapView->preferences().routes().add(route, true);
mapView->centerOnRoute(route);
To center on a route with padding, refer to the Adjust Map View guide. Utilize the viewRectangle parameter in the centerOnRoute method to define the specific region of the viewport that should be centered.
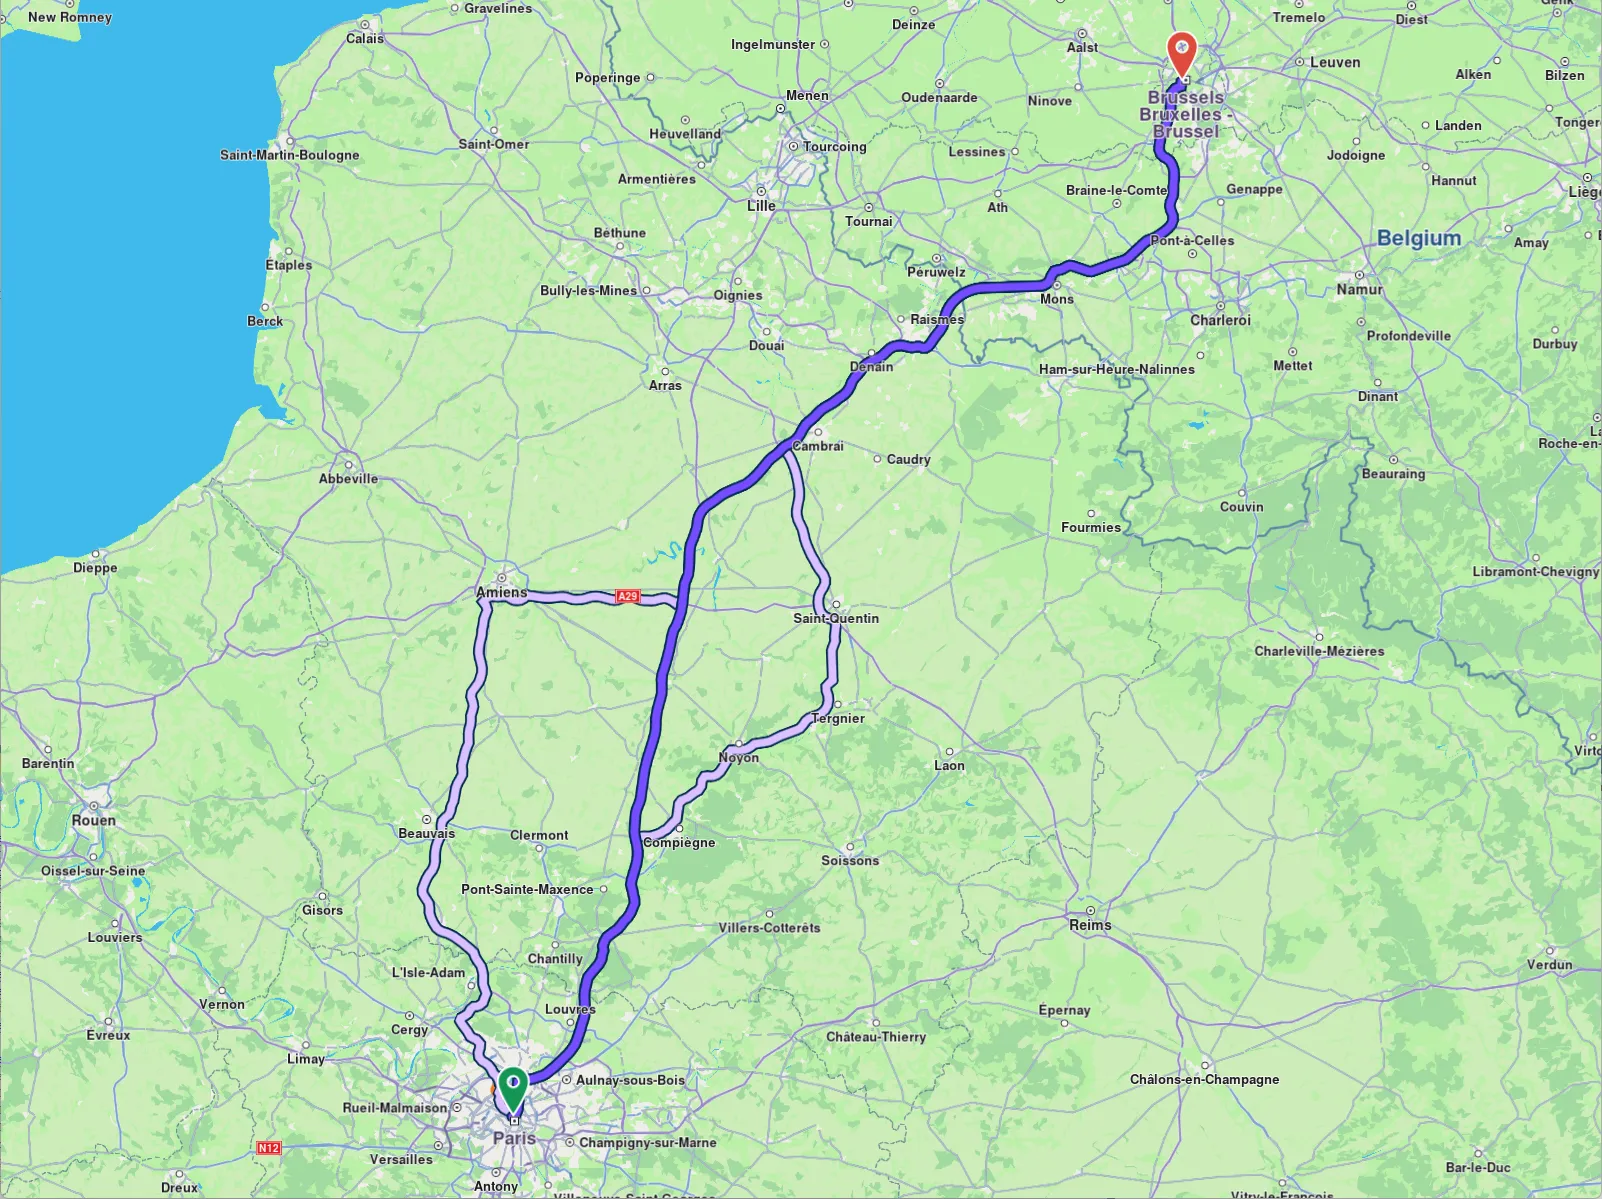
mapView->preferences().routes().add(route1, true);
mapView->preferences().routes().add(route2, false);
mapView->preferences().routes().add(route3, false);

mapView->centerOnMapRoutes();
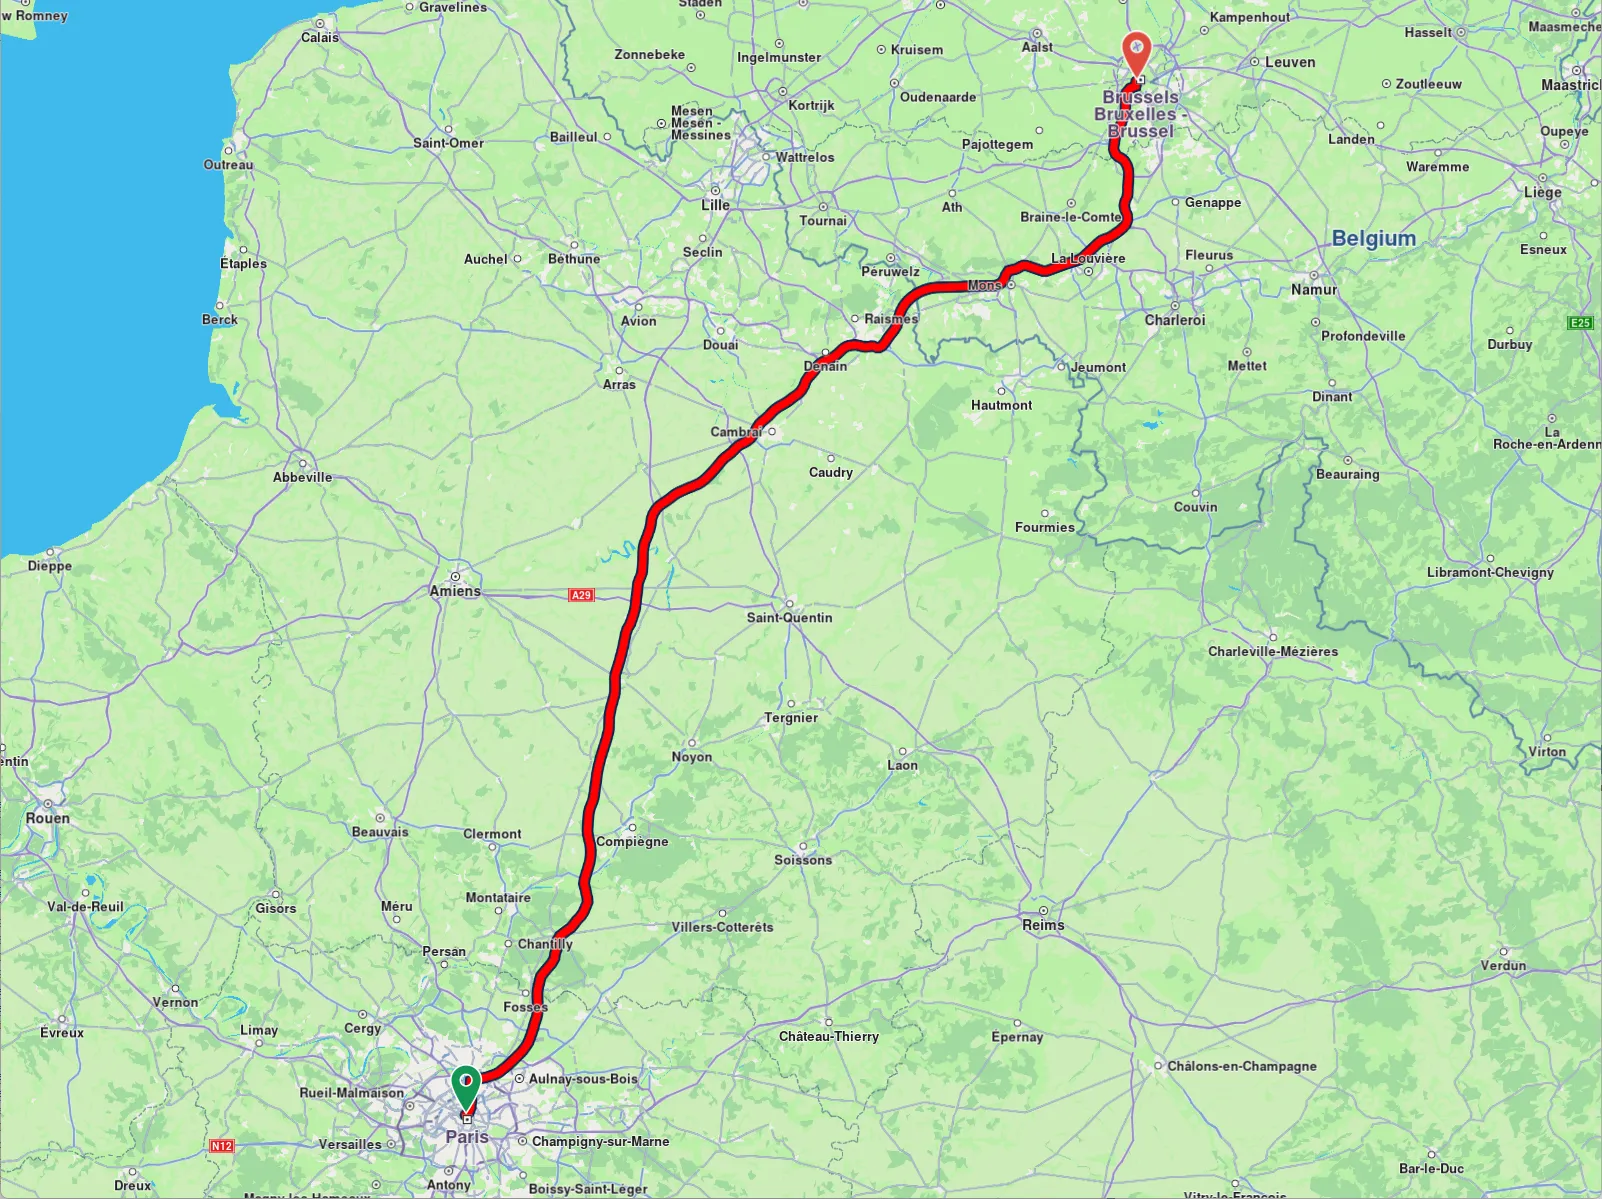
Route appearance on map can be customized via RouteRenderSettings when added, passed to the MapViewRoutesCollection.add's optional parameter settings, or later on, via MapViewRoute::setRenderSettings setter.
RouteRenderSettings routeRenderSettings;

routeRenderSettings.setContourInnerColor( Rgba(255, 0, 0, 255) );

mapView->preferences().routes().add(route, routeRenderSettings);
mapView->preferences().routes().setRenderSettings(route, routeRenderSettings);
All dimensional sizes within the RouteRenderSettings are measured in millimeters.
To remove displayed routes, use MapViewRoutesCollection::clear().
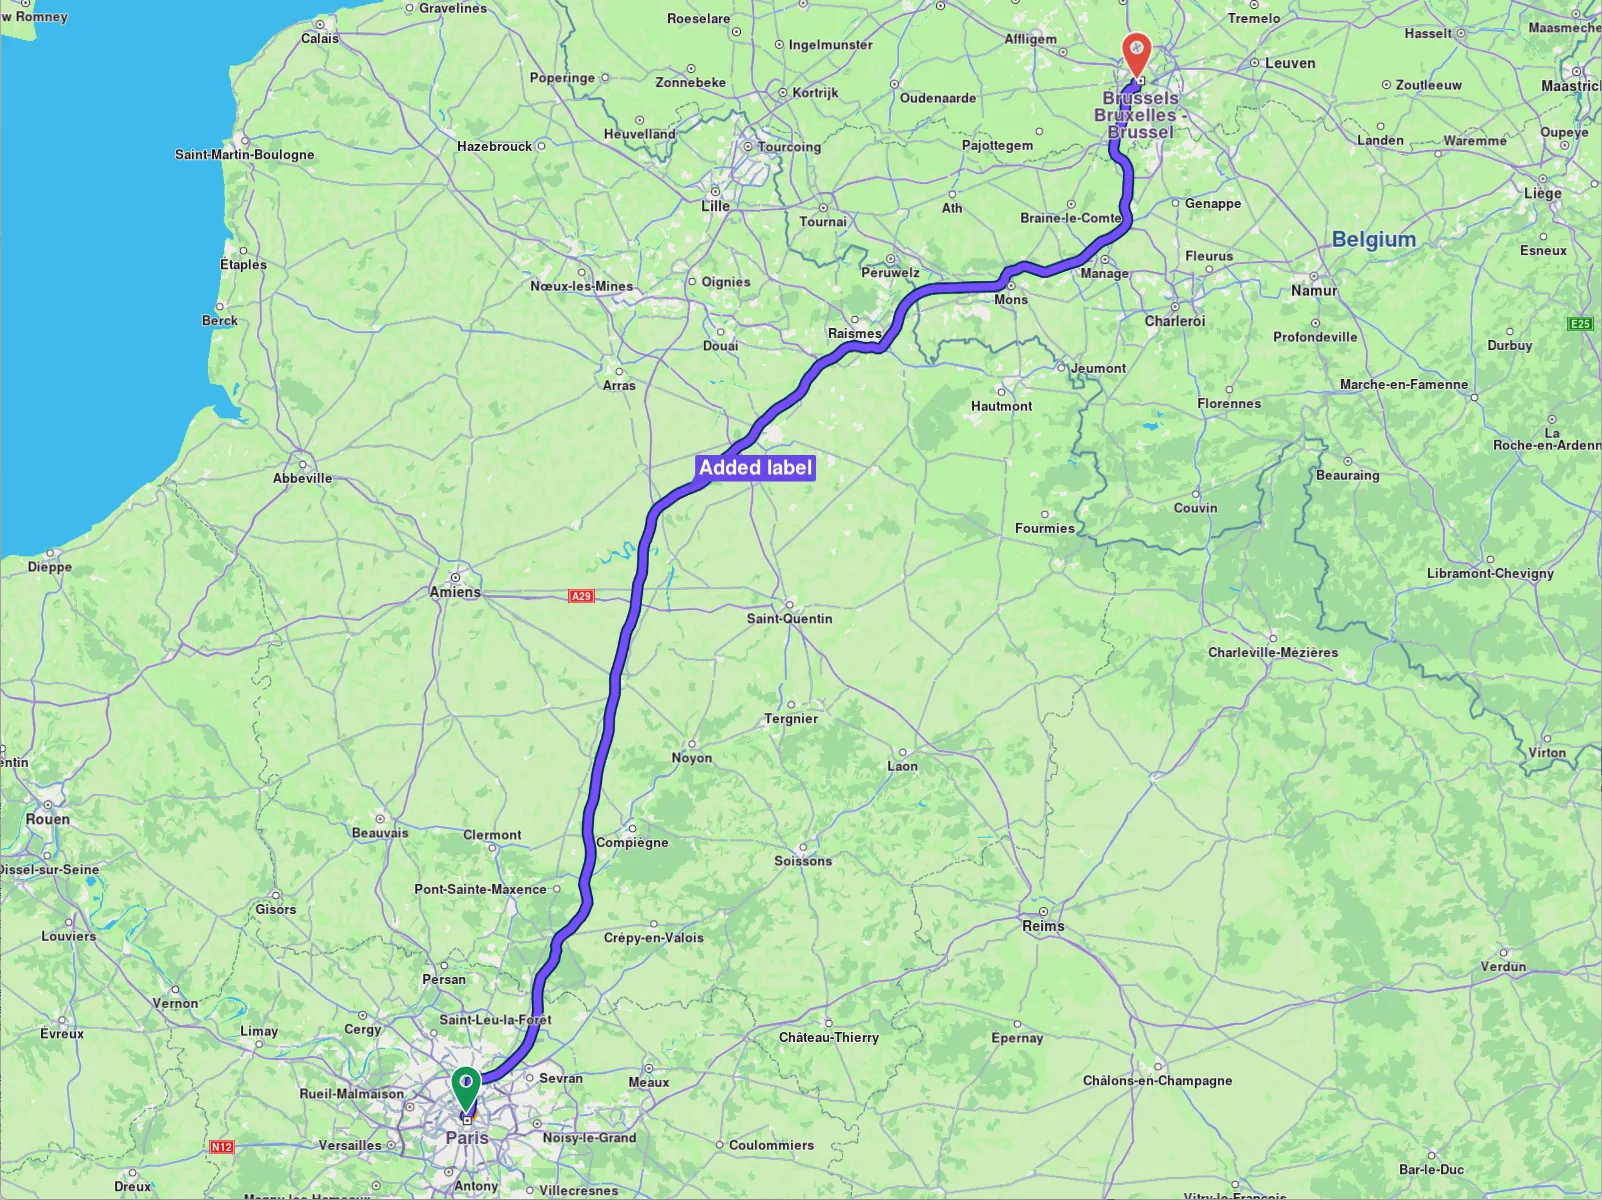
Set route labels
A route can include a label that provides information such as ETA, distance, toll prices, and more. To attach a label to a route, the label optional parameter label of the MapViewRoutesCollection.add method is utilized:
mapView->preferences().routes().add(route, true, "Added label");
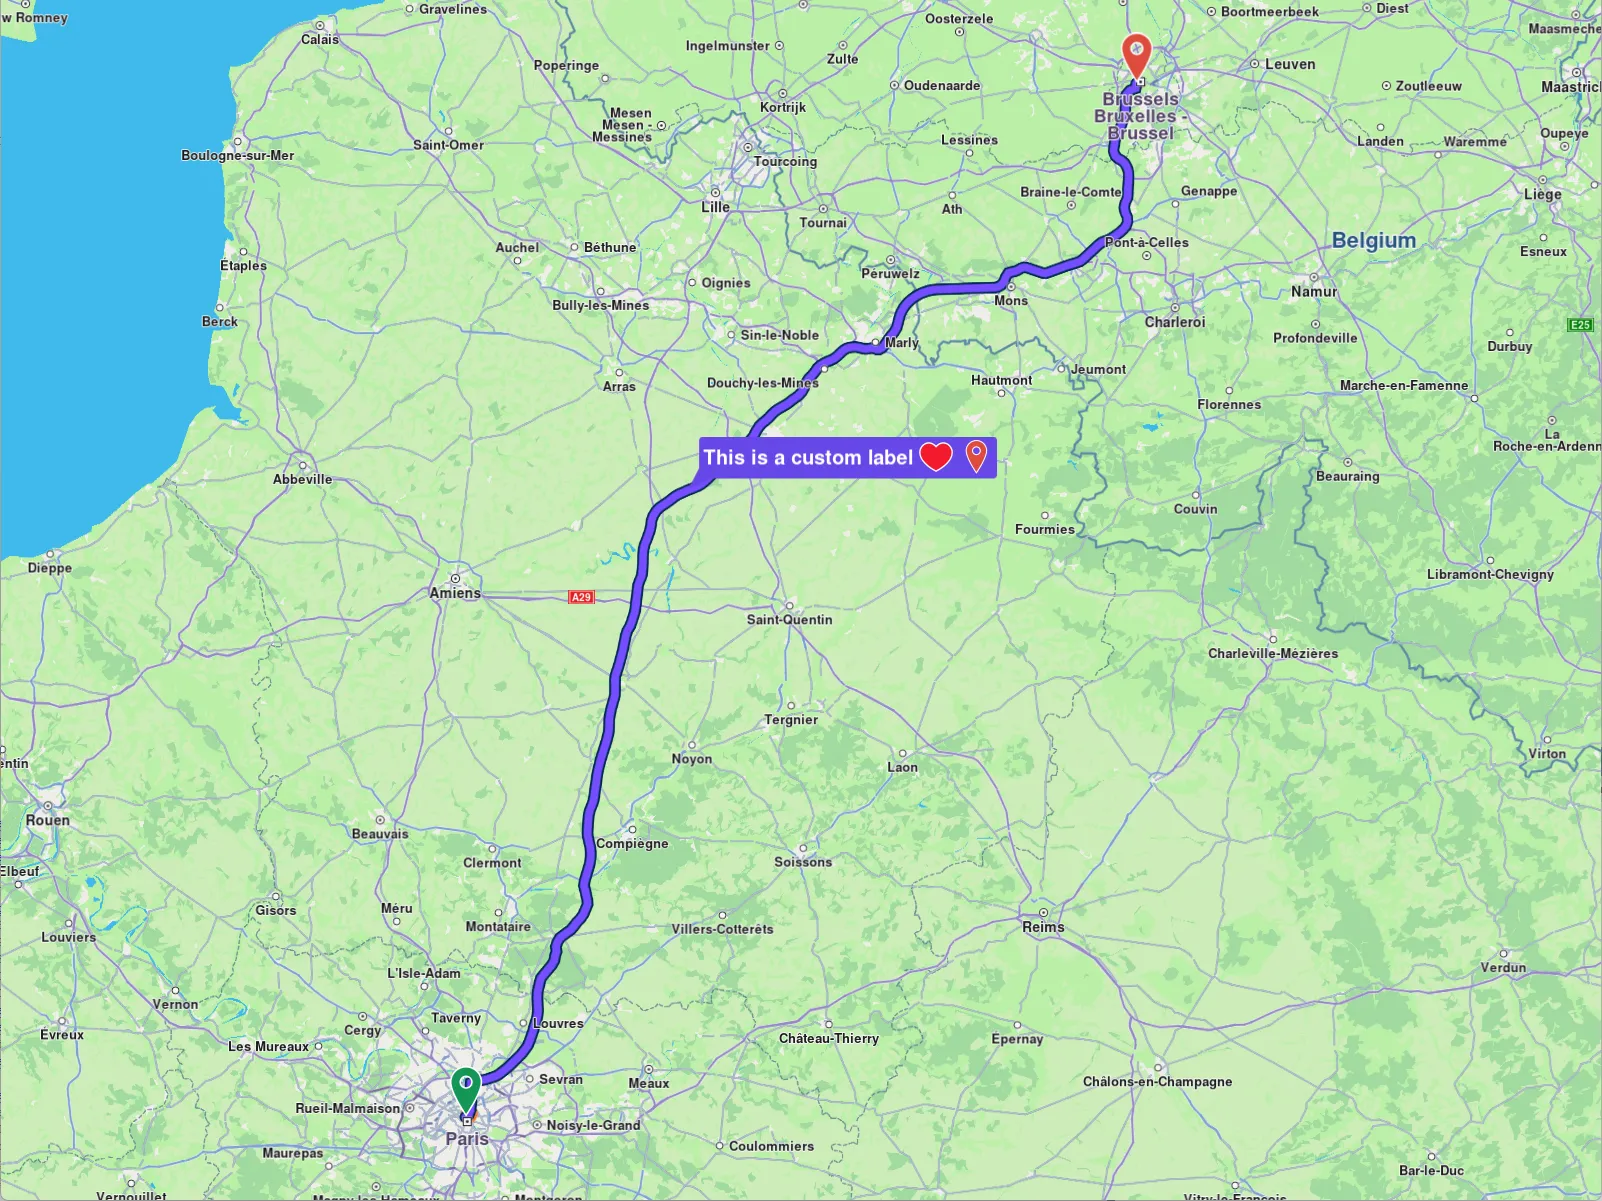
You can enhance the label by adding up to two icons using the optional images parameter, which accepts a List<Image>. Available icons can be accessed through the image::Core enum. Image position inside the label must be formatted using %%image_index%% like in the example below.
ImageList imageList;

imageList.push_back( Image( image::Core::FavoriteHeart ) );
imageList.push_back( Image( image::Core::Waypoint_Finish ) );

mapView->preferences().routes().add(routes.front(), true,
    "This is a custom label %%0%% %%1%%",
    imageList);
Check what portion of a route is visible on a screen region
To retrieve the visible portion of a route - defined by its start and end distances in meters - use the getVisibleRouteInterval method from the MapView:
auto pairStartEndDistance = mapView->getVisibleRouteInterval(route);
You can also provide a custom screen region to the getVisibleRouteInterval method, instead of using the entire viewport.
The method will return (0,0) if the route is not visible on the provided viewport/region of the viewport.
If getVisibleRouteInterval() is called immediately after centerOnRoutes() (or any other centering operation), the animation must complete before invoking getVisibleRouteInterval().
If no animation is provided, you may need to call mapView->getScreen()->render() to update the render state or allow the SDK to process some timer events; otherwise, getVisibleRouteInterval() may return (0,0).
The animation wait should be implemented as shown in the examples - using a loop that periodically sends timer events to the SDK. Without these events, the operation will not complete.
See the WAIT_UNTIL macro in the examples for a reference implementation.