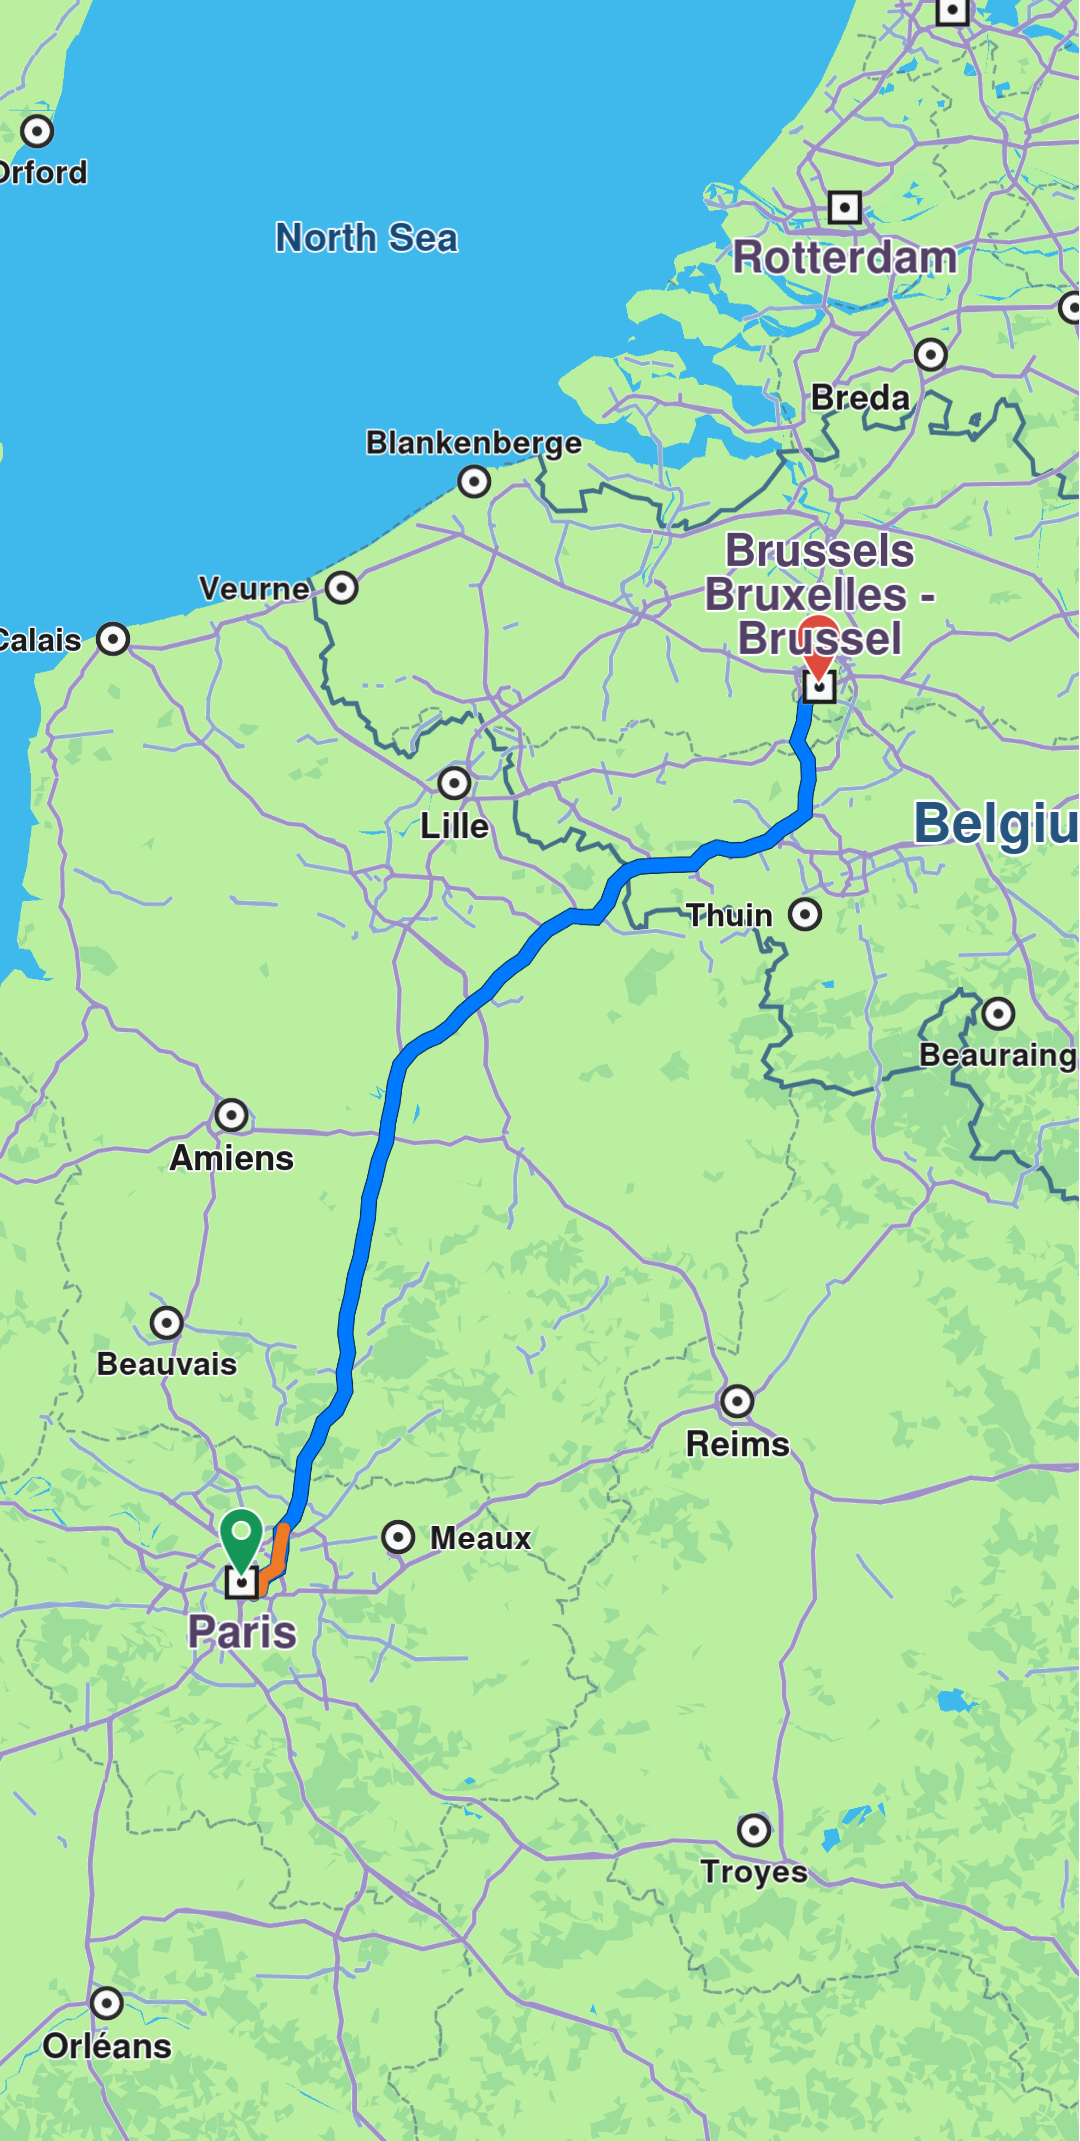
Display routes
Routes can be displayed on the map by using mapView.preferences?.routes?.add(route, isMainRoute). Multiple routes can be displayed at the same time, but only one is the main one, the others being treated as secondary. Specifying which one is the main route can be done when calling MapViewRoutesCollection.add() by passing true to the mainRoute parameter, or by calling the MapViewRoutesCollection.mainRoute setter.
- Kotlin
- Java
mapView.preferences?.routes?.add(route, true)
mapView.centerOnRoute(route)
if (mapView.getPreferences() != null) {
    mapView.getPreferences().getRoutes().add(route, true);
}
mapView.centerOnRoute(route);
To center on a route with padding, refer to the Adjust Map View guide. Utilize the rect parameter in the centerOnRoute method to define the specific region of the viewport that should be centered.
- Kotlin
- Java
mapView.preferences?.routes?.add(route1, true)
mapView.preferences?.routes?.add(route2, false)
mapView.preferences?.routes?.add(route3, false)
mapView.centerOnRoutes(arrayListOf(route1, route2, route3))
if (mapView.getPreferences() != null) {
    mapView.getPreferences().getRoutes().add(route1, true);
    mapView.getPreferences().getRoutes().add(route2, false);
    mapView.getPreferences().getRoutes().add(route3, false);
}
ArrayList<Route> routes = new ArrayList<>();
routes.add(route1);
routes.add(route2);
routes.add(route3);
mapView.centerOnRoutes(routes);

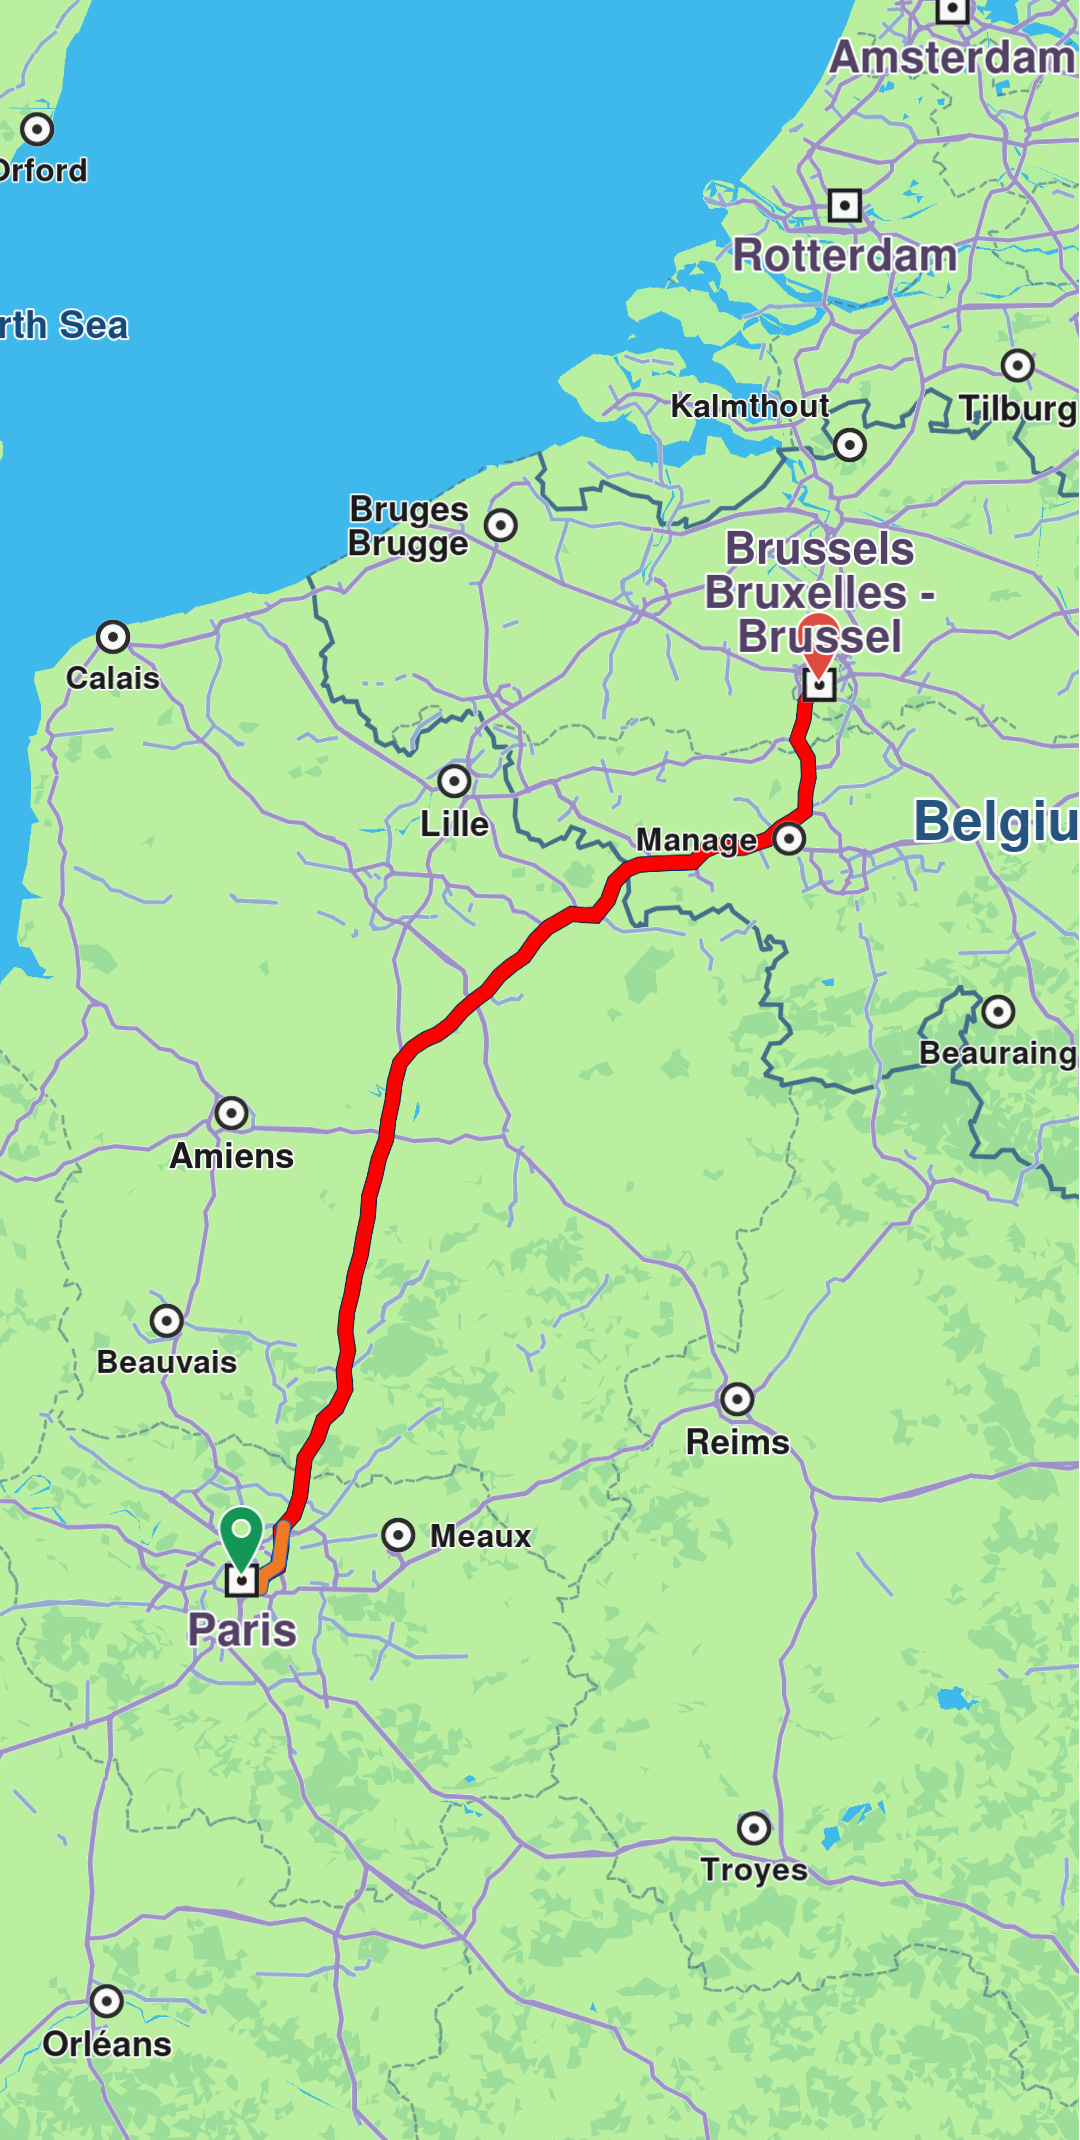
Route appearance on map can be customized via RouteRenderSettings when added, passed to the MapViewRoutesCollection.addWithRenderSettings() method, or later on, via MapViewRoute.renderSettings setter.
- Kotlin
- Java
val renderSettings = RouteRenderSettings().apply {
    innerColor = Rgba(255, 0, 0, 255)
}
mapView.preferences?.routes?.addWithRenderSettings(route, renderSettings)
RouteRenderSettings renderSettings = new RouteRenderSettings();
renderSettings.setInnerColor(new Rgba(255, 0, 0, 255));
if (mapView.getPreferences() != null) {
    mapView.getPreferences().getRoutes().addWithRenderSettings(route, renderSettings);
}
- Kotlin
- Java
val mapViewRoute = mapView.preferences?.routes?.getMapViewRouteByIndex(0)
mapViewRoute?.renderSettings = RouteRenderSettings().apply {
    innerColor = Rgba(255, 0, 0, 255)
}
MapViewRoute mapViewRoute = null;
if (mapView.getPreferences() != null) {
    mapViewRoute = mapView.getPreferences().getRoutes().getMapViewRouteByIndex(0);
}
if (mapViewRoute != null) {
    RouteRenderSettings renderSettings = new RouteRenderSettings();
    renderSettings.setInnerColor(new Rgba(255, 0, 0, 255));
    mapViewRoute.setRenderSettings(renderSettings);
}
All dimensional sizes within the RouteRenderSettings are measured in millimeters.
Convenience methods
The MapView class provides convenient presentRoute and presentRoutes methods that combine adding routes to the collection and centering the map:
- Kotlin
- Java
// Present a single route with default settings
mapView.presentRoute(route)

// Present a single route with custom settings
mapView.presentRoute(
    route,
    displayBubble = true,
    displayRouteName = true,
    displayTrafficIcon = true,
    centerMapView = true
)

// Present multiple routes
mapView.presentRoutes(
    routes,
    mainRoute = routes.first(),
    displayBubble = true,
    centerMapView = true
)
// Present a single route with default settings
mapView.presentRoute(route);

// Present a single route with custom settings
mapView.presentRoute(
    route,
    true,  // displayBubble
    true,  // displayRouteName
    true,  // displayTrafficIcon
    true   // centerMapView
);

// Present multiple routes
mapView.presentRoutes(
    routes,
    routes.get(0), // mainRoute
    true,           // displayBubble
    true            // centerMapView
);
To remove displayed routes, use MapViewRoutesCollection.clear(). You can also remove individual routes with mapView.preferences?.routes?.remove(route).
Set route labels
A route can include a label that provides information such as ETA, distance, toll prices, and more. To attach a label to a route, use the addWithAttributes method of the MapViewRoutesCollection:
- Kotlin
- Java
mapView.preferences?.routes?.addWithAttributes(route, true, "Added label")
if (mapView.getPreferences() != null) {
    mapView.getPreferences().getRoutes().addWithAttributes(route, true, "Added label");
}
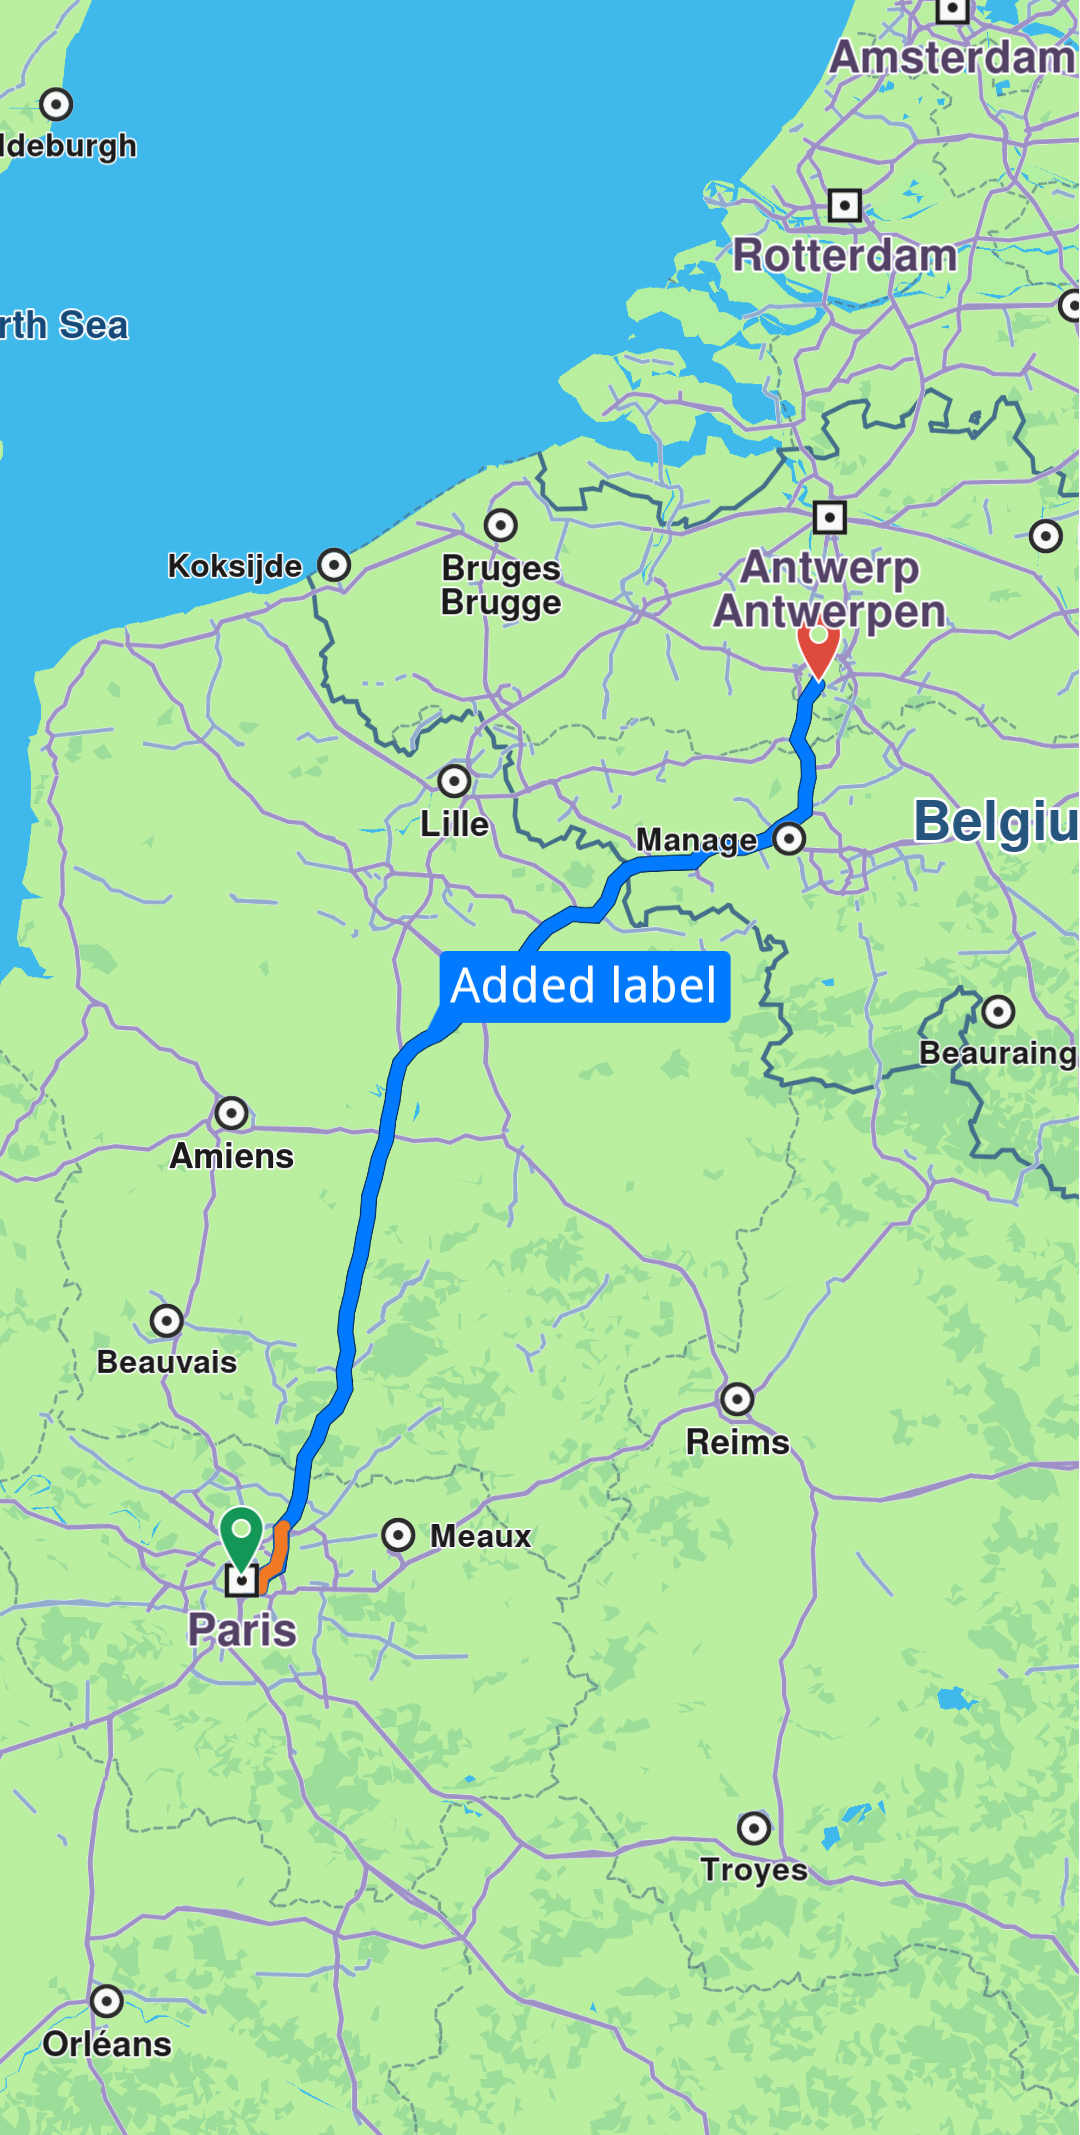
You can enhance the label by adding up to two icons using the images parameter, which accepts an ImageList. Available icons can be accessed through the ImageDatabase class.
- Kotlin
- Java
val images = ImageList().apply {
    ImageDatabase.tollImage?.let { add(it) }
    ImageDatabase.ferryImage?.let { add(it) }
}

mapView.preferences?.routes?.addWithAttributes(
    route, true,
    "This is a custom label",
    images
)
ImageList images = new ImageList();
if (ImageDatabase.getTollImage() != null) {
    images.add(ImageDatabase.getTollImage());
}
if (ImageDatabase.getFerryImage() != null) {
    images.add(ImageDatabase.getFerryImage());
}

if (mapView.getPreferences() != null) {
    mapView.getPreferences().getRoutes().addWithAttributes(
        route, true,
        "This is a custom label",
        images
    );
}

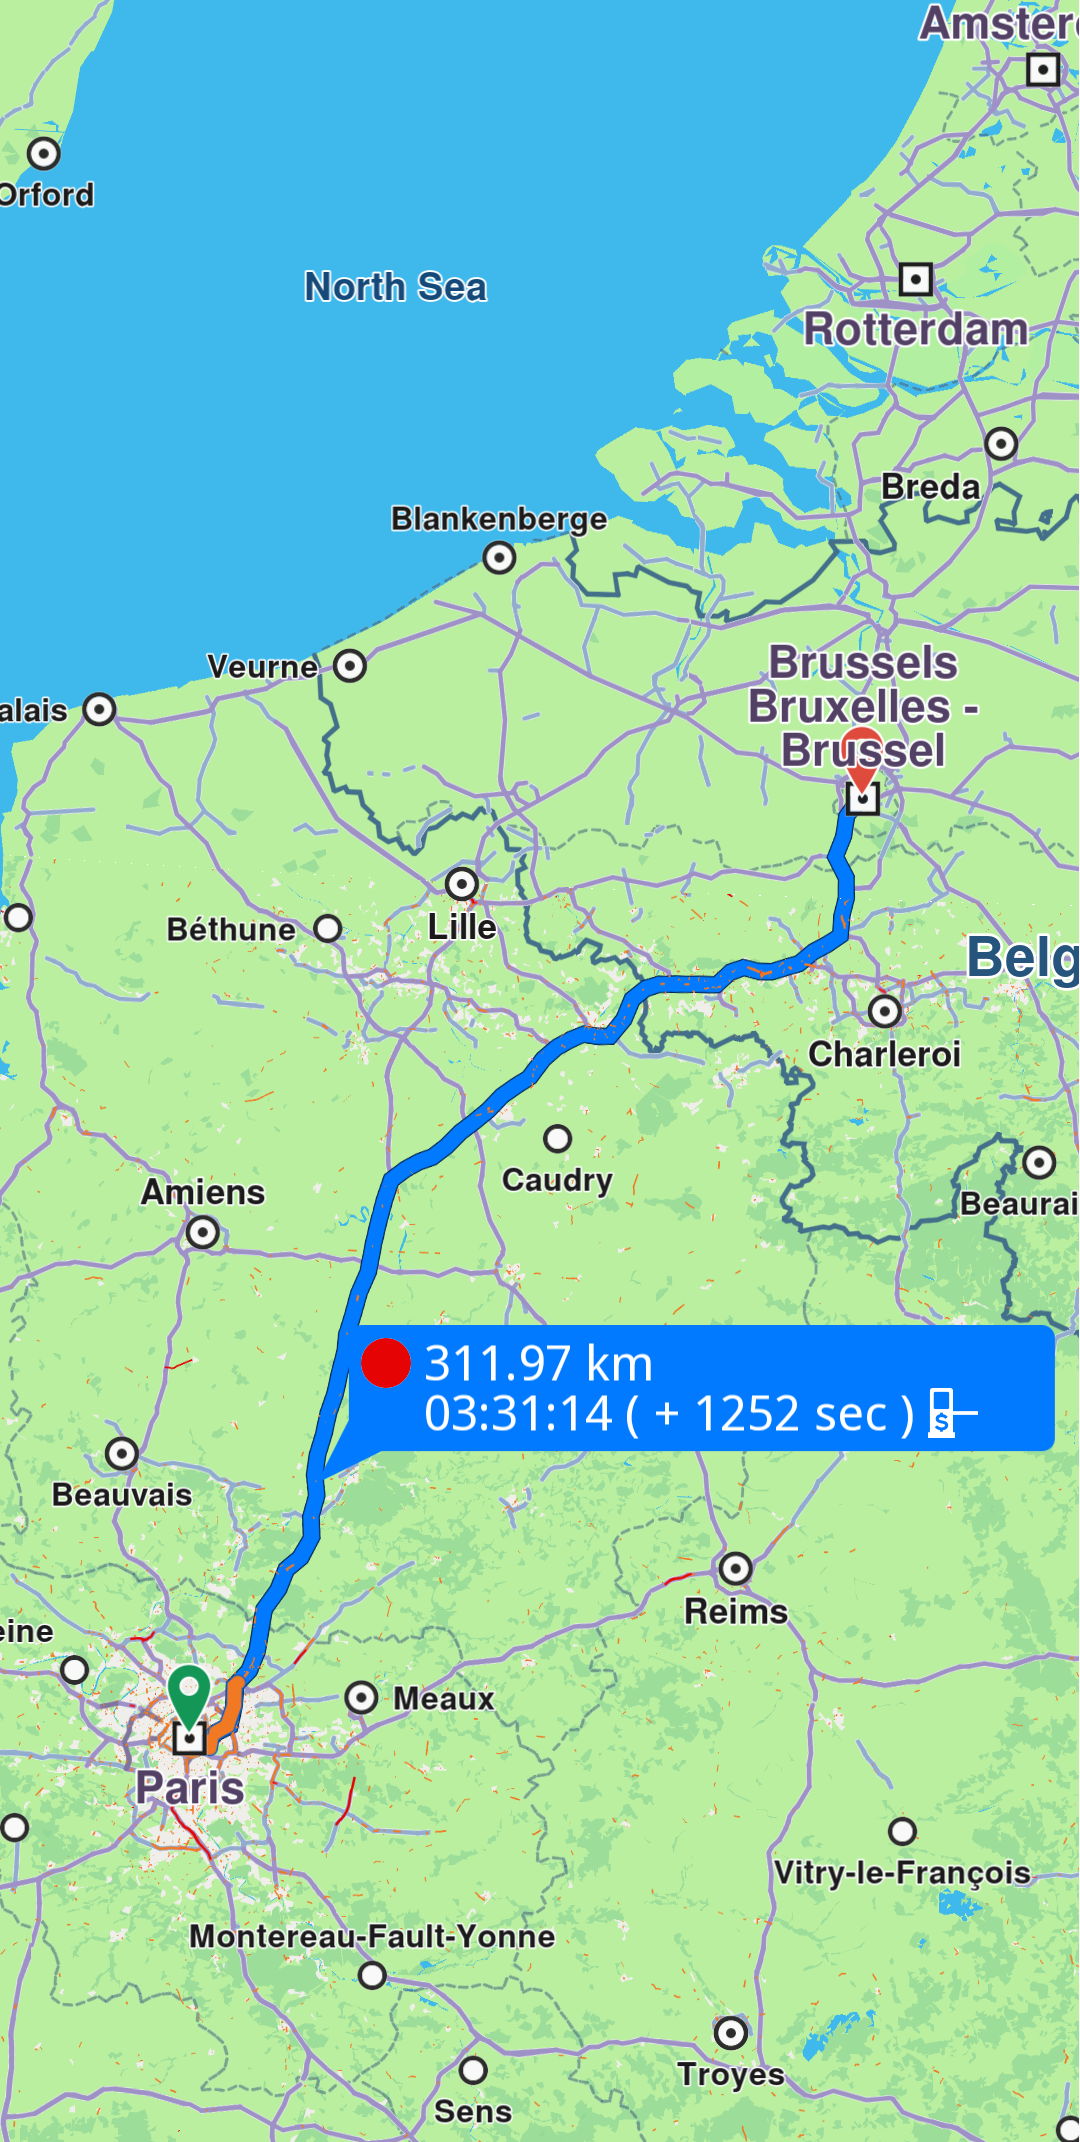
The label can also be auto-generated using route information:
- Kotlin
- Java
// Auto-generated labels are created using route's timeDistance information
val route = routes.first()
val timeDistance = route.timeDistance!!
val distText = GemUtil.getDistText(timeDistance.totalDistance, SdkSettings.unitSystem, true)
val timeText = GemUtil.getTimeText(timeDistance.totalTime)
val autoLabel = "${distText.first} ${distText.second}\n${timeText.first} ${timeText.second}"

mapView.preferences?.routes?.addWithAttributes(route, true, autoLabel)
// Auto-generated labels are created using route's timeDistance information
Route route = routes.get(0);
TimeDistance timeDistance = route.getTimeDistance();
Pair<String, String> distText = GemUtil.getDistText(timeDistance.getTotalDistance(), SdkSettings.getUnitSystem(), true);
Pair<String, String> timeText = GemUtil.getTimeText(timeDistance.getTotalTime());
String autoLabel = distText.getFirst() + " " + distText.getSecond() + "\n" + timeText.getFirst() + " " + timeText.getSecond();

if (mapView.getPreferences() != null) {
    mapView.getPreferences().getRoutes().addWithAttributes(route, true, autoLabel);
}
The label of a route added to the collection can be hidden by calling MapViewRoutesCollection.hideLabel(route).
Labels can also be managed through a MapViewRoute object. The label property is used to assign a label, while the hideLabel() method can be used to hide it.
Auto-generated labels will override any customizations made with the label and images parameters.
Check what portion of a route is visible on a screen region
To retrieve the visible portion of a route - defined by its start and end distances in meters - use the getVisibleRouteInterval method from the MapView:
- Kotlin
- Java
val visibleInterval = mapView.getVisibleRouteInterval(route, null)
val startRouteVisibleIntervalMeters = visibleInterval?.x?.toInt() ?: 0
val endRouteVisibleIntervalMeters = visibleInterval?.y?.toInt() ?: 0
PointF visibleInterval = mapView.getVisibleRouteInterval(route, null);
int startRouteVisibleIntervalMeters = visibleInterval != null ? (int) visibleInterval.x : 0;
int endRouteVisibleIntervalMeters = visibleInterval != null ? (int) visibleInterval.y : 0;
You can also provide a custom screen region to the getVisibleRouteInterval method by passing a Rect parameter, instead of using the entire viewport.
The method will return null if the route is not visible on the provided viewport/region of the viewport